Wednesday, September 23, 2026

Spooky Fun Fold card

 Happy Wednesday AI Friends!

Halloween is just around the corner and I love making cards using Art Impressions fun assortment of sets.  This card also fits the "On the Border" challenge which ends tonight so I hope you all have entered for a change to win a free stamp set of your choice.

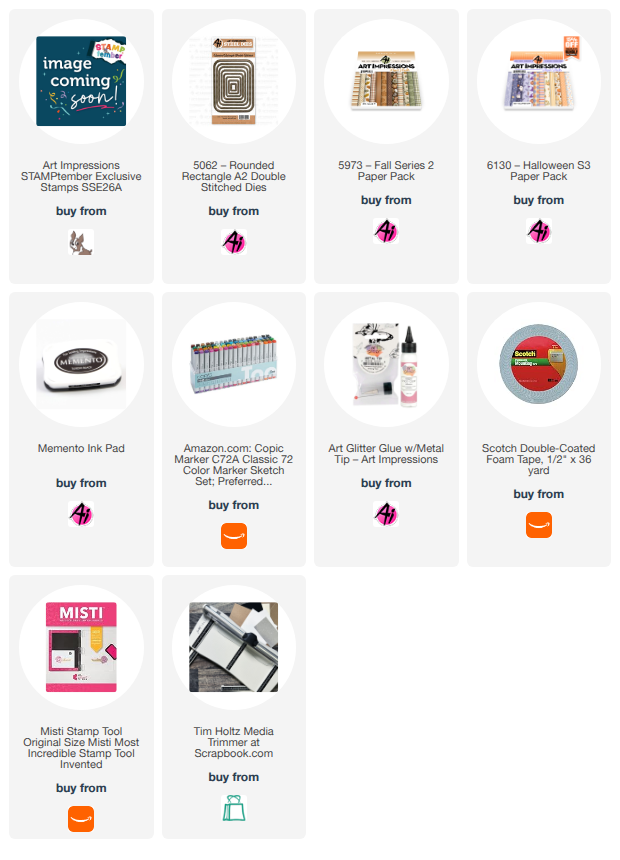
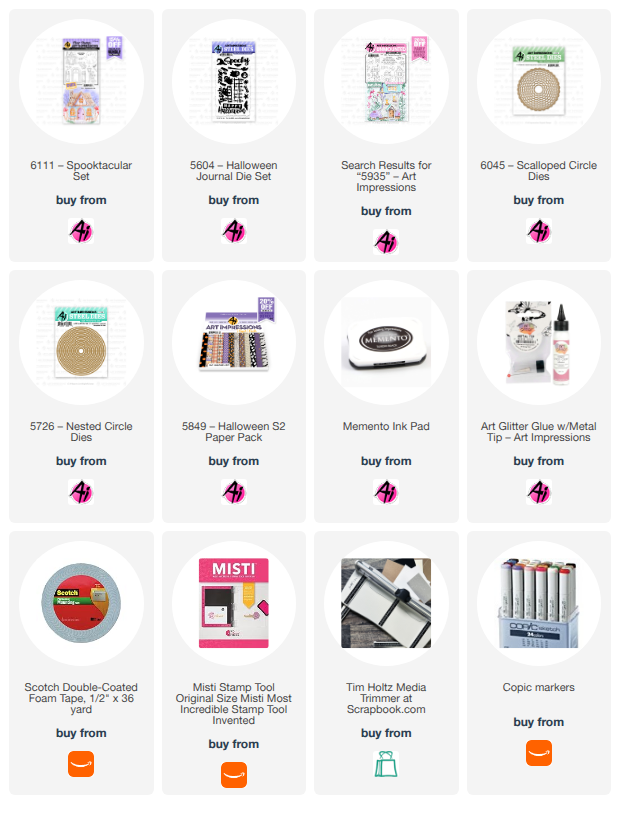
I used the #6111 - Spook-tacular set for this card as well as the #5604 - Halloween journal die set.  These sets are currently on sale at half off.  YAY!
 I stamped all of the images onto copic friendly paper with Memento black ink and colored with my copic markers listed below.  I then die cut them out with the coordinating dies that come with the set. 
I cut a base A2 card from white card stock.  Score in half and burnish.  I then trimmed off a 1 inch strip from the front.  I cut two pieces of black cardstock - one at 1" x 5 3/8" and one at 1" x 2".  I adhered a piece of the purple designer paper over the 1" x 2" piece.   I scored this piece at 1/2" and burnished it.  Adhere a piece of pattern paper to the other longer strip of black cardstock.  Glue the 1/2" tab of the 2" strip to the back of the longer strip (just above the center).  Now cut a scalloped circle from black cardstock and adhere that to the top of the smaller strip.  I then cut a piece of pattern paper using the #5726 - Nested circle dies and placed that over the black scallop circle.  
For the left side of the card, I cut a black piece of cardstock to fit the left panel and also a piece of pattern paper to fit over the top.

I decorated with the images and the card is finished with a fun fold opening.  BTW - the little grasses are in the #5935 - Fairytale Houses set.


I hope you enjoyed my card today and you enter the challenge.  Wouldn't you love to win a free stamp set?  

Have a great day creating!

Copics used:  E21, E23, E25, E50
T0, T2, T4, T6     R20
Y11, Y13, Y15, Y17
V12, V15, V17
YR12, YR14, YR16, YR18

Wednesday, September 16, 2026

Cruisin' Carol card

 Happy Wednesday AI Friends!

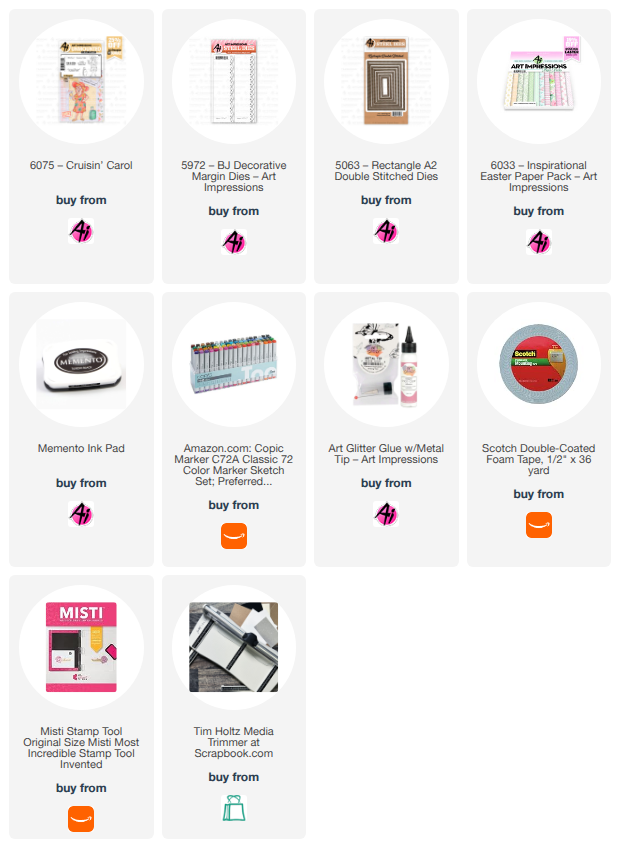
Today I have a card inspired by the current bi-weekly blog challenge - On the Border featuring the #5972 - BJ Decorative Margin dies and Cruisin' Carol - #6075.  I love these ladies from the AI People line. 


I stamped Cruisin' Carol onto copic friendly paper with Memento black ink and colored her with my copic markers listed below.  I then die cut her with the corresponding die that is included in this set.  

I die cut 2 pieces of pattern paper and a white cardstock panel using the #5063 - Rectangle A2 Double Stitched dies.  I also die cut two pieces of mint green cardstock using the #5972 - BJ Decorative Margin die for each side of the image panel.

I placed foam tape onto the backside of the image and popped her up onto the white panel.  The happy birthday word die cut is from my stash.

There you have it - Easy Peasy, Fun and Festive!  Thanks for joining me today!  Hope you join our bi-weekly challenge - On the Border - for a chance to win a free stamp set.  We love to see your creations!

Have a great week and hope you find lots of time to craft!

Copics used:  T0, T2, T4, T6
E00, E01, E11, E21, E23, E25
R20, R22, R24, R27, R29
Y28    YR12, YR14, YR16
B000      V12, V15, V17

Wednesday, September 9, 2026

Gnome Storybook

 Happy Wednesday AI Friends!

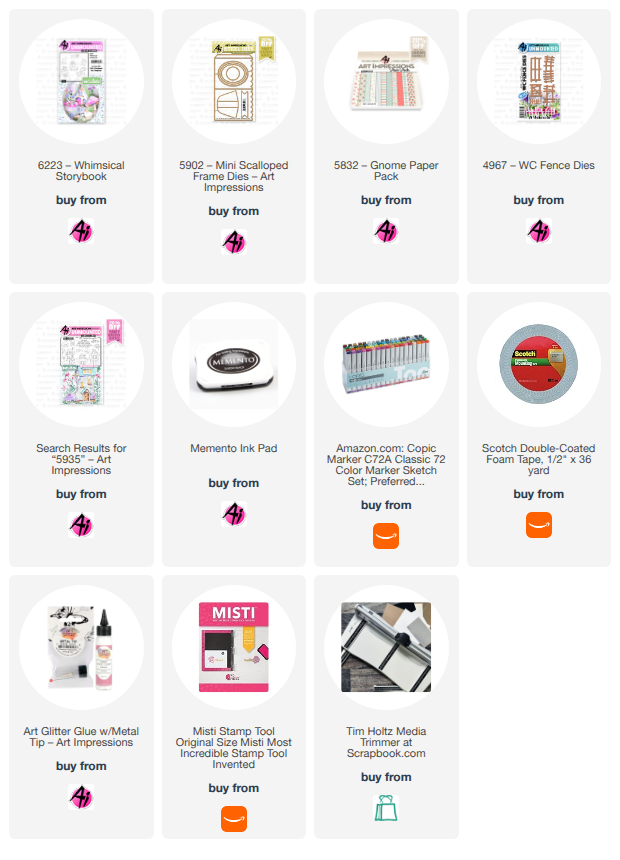
Have you seen the latest storybook stamp and die sets?  Bonnie knocked it out of the park with the #6223 - Whimsical Storybook set with the little gnome and fairy!  Who doesn't love gnomes and fairies? 

There is a perfect little storybook box die that fits this set but I chose to use the #5902 - Mini Scallop Frame set and pop up the layers using foam tape instead of frame layers.   I thought I would show you how versatile these sets are and how you can use them with other products you may have in your collection.


With Khaki colored cardstock, I cut the mini scallop frame with the oval window die placed in the middle.  I then placed the scallop edge of the die on the straight edge of the frame piece and did a partial die cut so that the straight edge had a scallop cut as well.  I cut a piece of pattern paper with the same process and adhered to the front of the frame.  I also cut a small piece of pattern paper to fit the inside of the frame as the background.  
I stamped the images of the storybook stamp set onto copic friendly paper using Memento black ink and colored with my copic markers listed below.  I die cut each with the coordinating dies that are included with the stamp set.  I added stickles to the fairy wings.


You can trim off part of the curved tabs from the images but leave some for gluing into the frame.  I adhered the house flat to the background and then popped up the other pieces to create dimension within the frame.  


I added the sentiment from the #5935 - Fairytale Houses set to the label die, included with the frame set, and adhered it to the front of the frame with some twine.  To finish off, I added the easel to the back of the frame so that this little cutie can be placed on display.

Thanks for joining me today!  I hope you have a wonderful week and you find time to create with this cute set!

Copics used:  R20, R22, R24
E00, E01, E11, E21, E23, E50, E51, E53, E55
N0, N1, N2, N3    B0000, B000, B00, B01
   Y15      YG61    G12     BG93

Wednesday, September 2, 2026

Window Shaker card

 Happy Wednesday AI Friends!

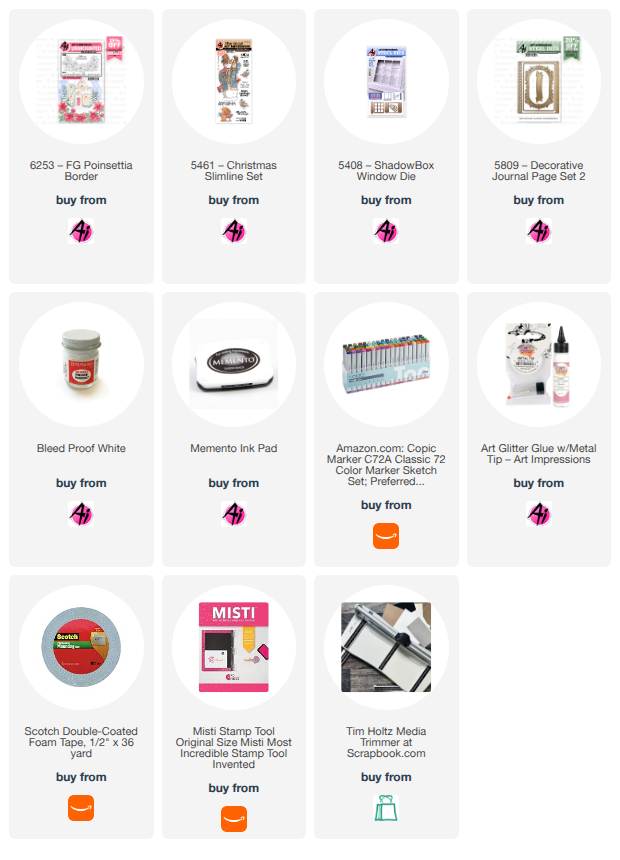
Today I wanted to make a card pairing the latest release of Countryside Series called #6253 - FG Poinsettia Border with the current blog challenge - "Furry Friends".  This little bunny from the #5461 - Christmas Slimline set is definitely one of my favorite furry friends and it was the perfect image to use with the poinsettia floral window swag.   

I started by stamping the poinsettia border and the bunny onto copic friendly paper with Memento black ink.  I colored both with my copic markers listed below.  I used the coordinating die to cut the bunny but I fussy cut the poinsettia border.  

I made the shaker window using the #5408 - Shadowbox window die set.  I die cut two panels and placed a 2 1/4" square piece of acetate in between the panels.  I then placed foam tape around the outer edge of the window and filled with small glass beads to resemble snow.  I also took a 2 1/8" square piece of light blue cardstock and blended ink (Broken China and Salty Ocean) around the edges.  I then splattered white paint onto that panel.  After letting that dry, I adhered this piece to the back of the shaker window.  The shaker is now ready.  

I glued the poinsettia border to the top edge of the window and placed foam tape onto the back side so that it would be level with the window when adhered to the front of the card.  I adhered the sentiment to the bottom edge of the window and placed the bunny onto the card.  I added a few enamel dots and a bow and the card is finished.

I hope you enjoyed my card.  Make sure to enter the blog challenge for a chance to win a free stamp set.

Thanks for joining me today!  Keep creating!

Copics used:  E50, E51, E53
R20, R22, R24, R27      N6
G20, G21, G24