Wednesday, October 28, 2026

Happy Haunting

 Happy Wednesday AI Friends!

Have you checked out the adorable newly released storybook tile stamp sets?  There are two Christmas sets, a Fall set and this Halloween set.  Make sure to check them all out!  You are sure to love them!!

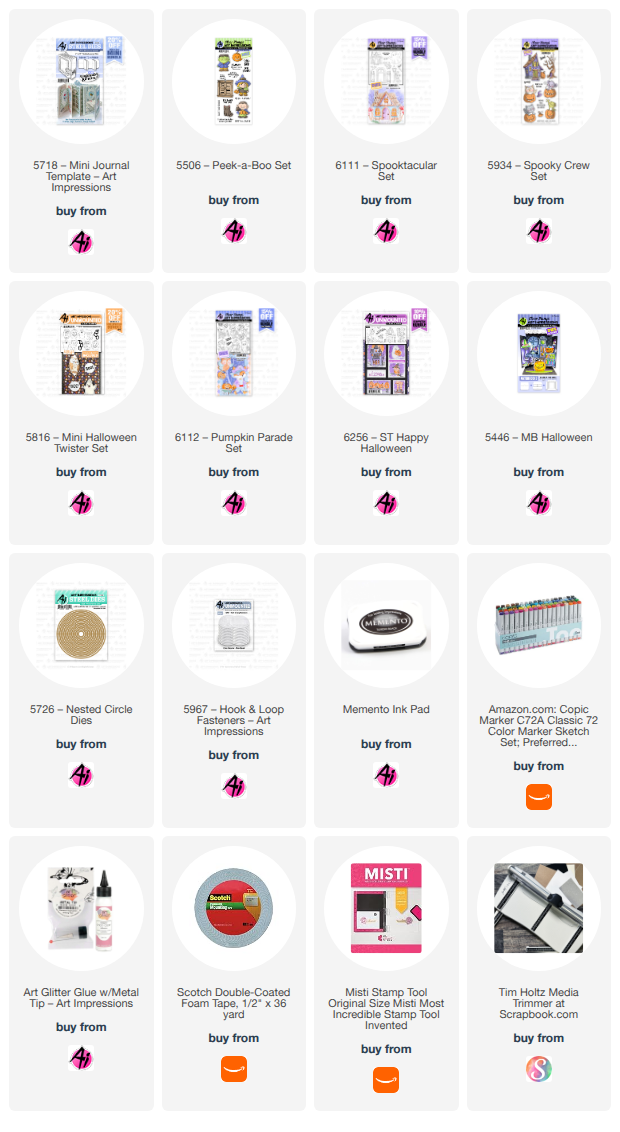
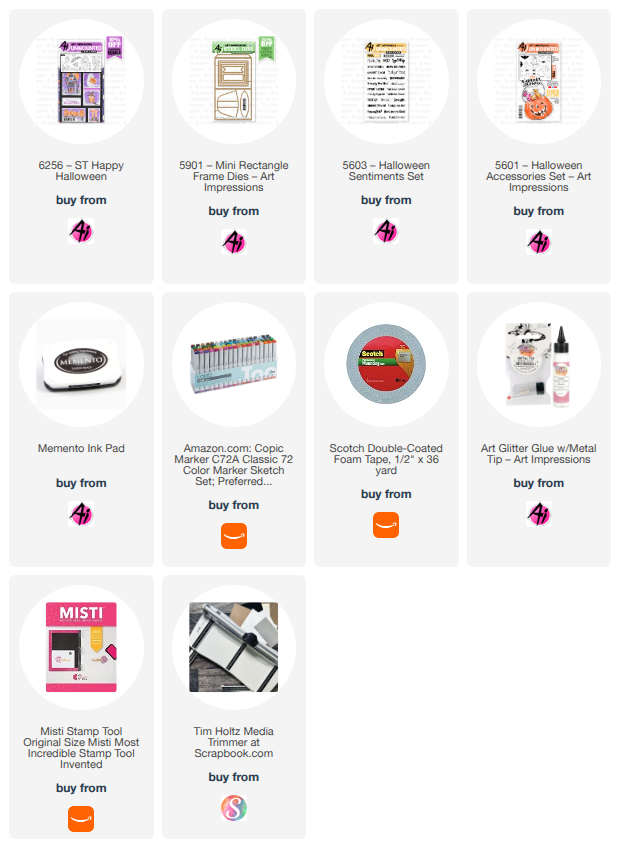
I made a darling little decor frame for my mantel out of the #6256 - Happy Halloween set.  I just love all the images in this set especially the witch feet.  Too cute!  I decked them up with stickles for the "Glitter All The Way" challenge happening on the blog this week.  I also used wink of stella on the moon, pumpkin faces and the windows of the haunted mansion.  Those aren't showing up very well in the picture, but they're there. 😏

I stamped all of the images onto copic friendly paper with Memento black ink and colored with my copic markers listed below.  I fussy cut three of the images so that I could pop them up within the frame made with the #5901 - Mini Rectangle Frame. 


These little storybook tile stamps fit perfectly into this little frame and make such a cute little decoration for a desk, counter or window sill for that someone special or just for yourself.

Hope you have a wonderful day and have time to create a card/project for the challenge for a chance to win a free stamp set.  We love to see all of your creations!

Copics used:  T0, T2, T4, T6
E21, E23. E25       R20, R22      B32, B34
Y15, Y17, Y28      V12, V15, V17
YR12, YR14, YR16, YR18, YR24, YR27
Wednesday, October 21, 2026

Halloween Mini Book

 Happy Wednesday AI Friends!

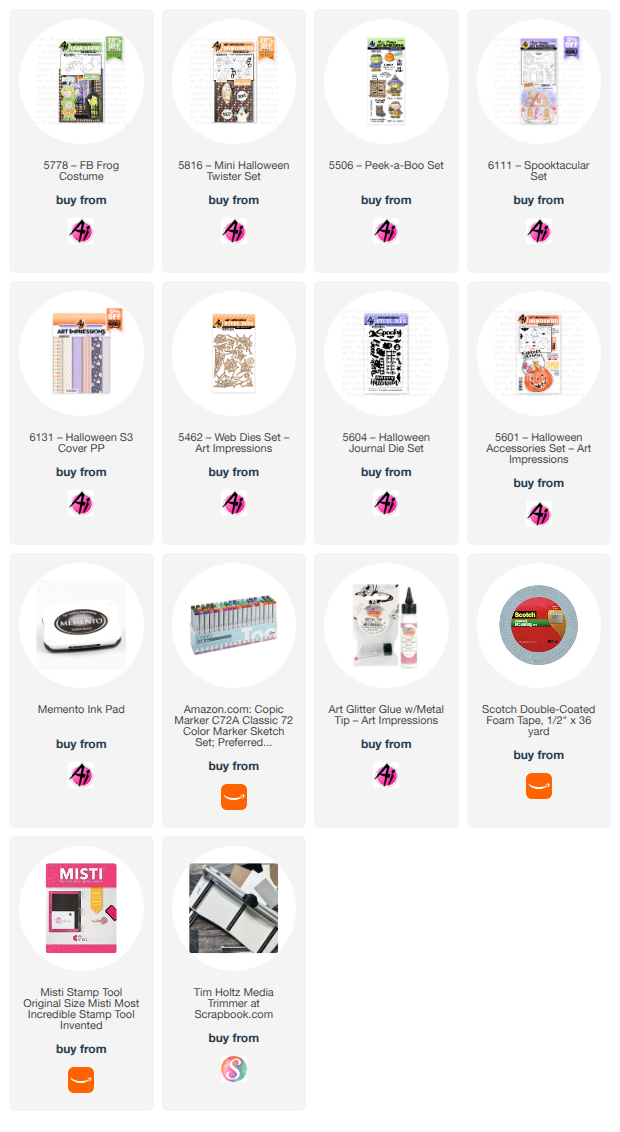
Today I have a Halloween Mini book using the #5718 - Mini Journal Template dies.  This mini book fits nicely into the #5805 - Mini Journal Box.  Back in July of this year, I created a Halloween mini box with an opening lid and promised to create the book that went with it.  Well, I finally made it, just in time. 😏

Here is the box lid from previous post:


The book starts here.  Normally the book and box would close snuggly, but since I tend to use dimension on some images, I attached a #5967 - Hoop & Loop Fastener under the box flap for closure and it works fabulously.  


I put a little twist on this book and found it was a bit more difficult to find images that fit in a landscape version, BUT it can be done.  LOL!  I used images from several AI stamp sets.  See list below.  Art Impressions has sooooo many fun halloween stamp sets which made this project so fun to create.

I stamped numerous images onto copic friendly paper with Memento black ink and colored with my copic markers listed below.  My granddaughter loves ghosts this year (yes, she is going to be one for trick or treat 😁), so you will see many throughout the book.  How easy is that for coloring?  
She's going to love this book!  


Here is a video of the book:

Hope you enjoy making one of these mini books for someone special in your life!  They will have such fun with it!  
Have a great week and keep creating!

Copics used:  E00, E01, E11, E21, E23, E25
T0, T2, T4             R20, R22, R24
Y15, Y17       YR12, YR14, YR16, YR18
V12, V15, V17     YG11, YG13, YG17, YG67
B32, B34, B37

Wednesday, October 14, 2026

Halloween Teepee card

 Happy Wednesday AI Friends!

Today I have a fun three sided Teepee card that spews Halloween all over it and works perfectly for the current Blog challenge "Bats in the Belfry".  This challenge is a fun one for me because I love creating Halloween projects with all of the cute stamp sets from Art Impressions.  I much prefer the cute Halloween images vs the scary ones.  I'm not a fan of scary!


         Top View

To create the base of this style of card, you need to cut two panels of black cardstock - one at 8 x 4" and one 4 x 4".  Score the larger one in the center at 4".  Then score diagonally from the top of the center line down to the bottom right corner.  Do the same on the left side.  Burnish each score line.  Score the 4" panel diagonally and burnish.  Take this smaller panel and place into the inside center fold of the larger piece matching up the smaller panel diagonal score line with the center score line of the larger panel.  Adhere one side down and then the other.   You should have the large panel with a small triangle jetting out at the bottom.  See picture below.

Cut a white cardstock panel at 3 3/4" square for the inside sentiment.  Cut in half diagonally and adhere to the inside as shown below.    

For the front of the card, cut pattern paper panels in the same way.  The smaller striped triangles are 
1 1/2" square and cut on the diagonal.  

         When opened:

Open the card up as shown above and fold in half to fit into an A2 size envelope.  However, make sure to keep any overhang of decorations close to the sides of each triangular panel so it doesn't extend past the width of 4 1/4".  I used a black velcro dot to keep the card together when opened.  

Decorate each panel with various images.  I used several from #5778 - FB Frog Costume, #5816 - Mini Halloween Twister, #6111 - Spooktacular set, #5506 - Peek-a-Boo set and various dies from the #5462 Web dies set and #5604 - Halloween Journal die set.

I hope my card inspires you to create some Halloween fun for the Blog challenge.  Please join us as we love to see all of your creations and you could win a free stamp set.  Yay!

Have a great day crafting!

Copics used:  E00, E01, E11, E21, E23, E25
R20, R22          T0, T2, T4
Y11, Y13, Y15, Y17
YR12, YR14, YR16, YR18
V12, V15          G20, G21, G24

Wednesday, October 7, 2026

Just a Little Note pad

 Happy Wednesday AI Friends!

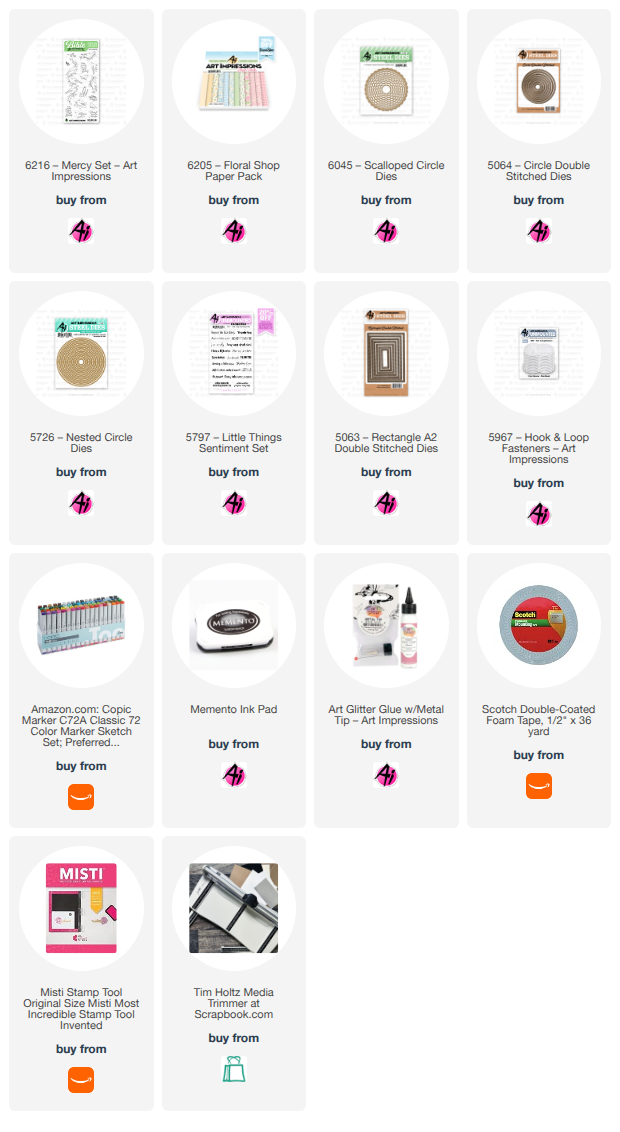
Our current blog challenge is "Spread Kindness" so I created a covered notepad with the sweet little bird from the #6216 - His Mercy stamp set.  Have you ever looked at a set and thought, how precious and beautiful, but you were too afraid to paint/color it?  Well, I was intimidated to color this, but I'm really excited with how cute it turned out.  What was I afraid of?  Ding a Ling!! LOL!  In my head, I could hear Bonnie and Kim saying just color one piece at a time and enjoy the process.  

This stamp set has such beautiful bird images and this one is my absolute favorite.  So darn precious and sweet!


My notepad measures 4" x 6" and 3/8" thick.  
To cover this size notepad, cut a piece of cardstock at 6" by 11 1/2".  
Score at 3 5/8", flip and score at 4", flip back and score at 4 1/2", 5", 9 1/8", 9 1/2".  Burnish the second score line as opposite fold than the others.  Glue down the two 1/2" folds to each other.  See below.  This will create the section for the pen.  


Die cut a pocket for the inside (optional).  To cover the notepad top that has the company name, place a piece of pattern paper over the top of the notepad (approx. 4" x 2 1/2") and glue down to the front.  Roll the rest of the pattern paper over the top of the notepad and down the back.  Glue in place.  Place glue over the back of the notepad and glue into the cardstock base.  Push tightly to the left edge and wrap the right edge around to the front.  Create pattern paper panels for the front left and right edges. 

Die cut the bird image with the stitch circle die and mat with the blue cardstock and then the white scallop circle.  Glue the right side of the scallop circle to the front right panel.  Adhere a #5967 - Hook and Loop Fastener to the back side of the scallop circle and then shut over the front and adhere the other side of the fastener to the left panel.  Add a "Just a Little Note" sentiment strip and your covered notepad is ready to give as a gift.

This project brought back such fond memories of my husband's aunt.  She use to have a notepad hanging from her front door of her summer cabin and she always said "Leave a Note if you are passing through".  She loved seeing those that stopped by but she was sure sorry that she missed them.  She LOVED company!!  What a sweet woman she was!  Isn't is funny that such a little thing can bring back such wonderful memories?  

Happy memories to all of you!  

Copics used:  B0000, B000, B01, B32, B34
E95, E97,      Y21, Y23     BG70
YG21, YG23   YR12, YR20, YR21