Showing posts with label Dies. Show all posts

Wednesday, August 26, 2026

Gone Fishin'

 Happy Wednesday AI Friends!

Today is the last day of the "Boy, Oh Boy" challenge so I made another masculine card for the occasion.  You can never have too many 'man' cards.  LOL!

For this one, I used the #5926 - Fishing Boat RIDES set.  I love these sets that have all the fun accessories plus the dies to cut all of the images out.  The other great thing about these, is that the accessories can be used with other sets and vice versa.  Back in June, Sharon used the fishing net on her Pickleball Patty card to have her catching butterflies instead of playing pickleball.  Ingenious!!  

I stamped all of the images onto copic friendly paper with Memento black ink and colored with my copic markers listed below.  I then die cut each with the corresponding dies.

For the wave layers, I cut panels with a cloud die turned upside down.  I then used a stencil brush and stamped white paint (Dr PH Martin's Bleed Proof) across the top to mimic waves.

I cut a slider track out of the darkest wave piece and placed foam tape along the back side bottom, top and left side.  


I also placed a small piece of foam tape on the back of the boat to fit in the slider track. 


 I then created a slider pull tab long enough to fit behind the boat to the right side of the panel.   Place the boat foam through the slider track and attach the pull tab to the foam tape.  Adhere to the card base.


Place foam tape (double stacked) onto the back side bottom and sides of the second wave panel.  Make sure that this foam tape does not hinder the movement of the boat.  Adhere this piece over the darkest wave panel on the card base.  Lastly, add the lightest wave panel over the top.  I did not pop up this layer.

Here is a video of how the boat rides the waves:

That's it for my card today.  Hope this gets you in the mood to enter the challenge for a chance to win a free stamp set.  

Have a great day and keep creating!

Copics used:  C00, C0, C1, C2
E00, E01, E11, E21, E25
Y13, Y15, Y17
YR12, YR14, YR16
YG91, YG93   R22, R24
B000, B12, B14

Wednesday, August 19, 2026

Sweet As Can Be

 Happy Wednesday AI Friends!

For the current blog challenge "Boy, Oh Boy", I couldn't resist using the #6103 - Baby Keepsake stamp set and the #6060 - Baby Boy Cover PP for my card today.  This stamp set has got to be the most darling set EVER!  Plus, the dies are included!!!  Yay!


I stamped the images onto copic friendly paper with Memento black ink and colored with my copic markers listed below.  I matted baby boy paper onto a blue piece of cardstock and die cut each of the images out.  I popped the images up with foam tape and placed within the windows of this slimline card.  Added the matted sentiments and a little piece of twine and the card is finished.

How fun and easy is that?  

Hope you enjoyed my card and it inspires you to join the blog challenge for a chance to win a free stamp set of your choice.  We love to see your creations!

Have a great day and keep creating!
Copics used:  N0, R20
E000, E21, E23, E25, E50, E51, E53, E55
Y11, Y13, Y19
G20, G21, G24, G40, G43, G46
B12, B14

Wednesday, August 12, 2026

Poppy Belly Band Box & Bookmarks

Happy Wednesday AI Friends!

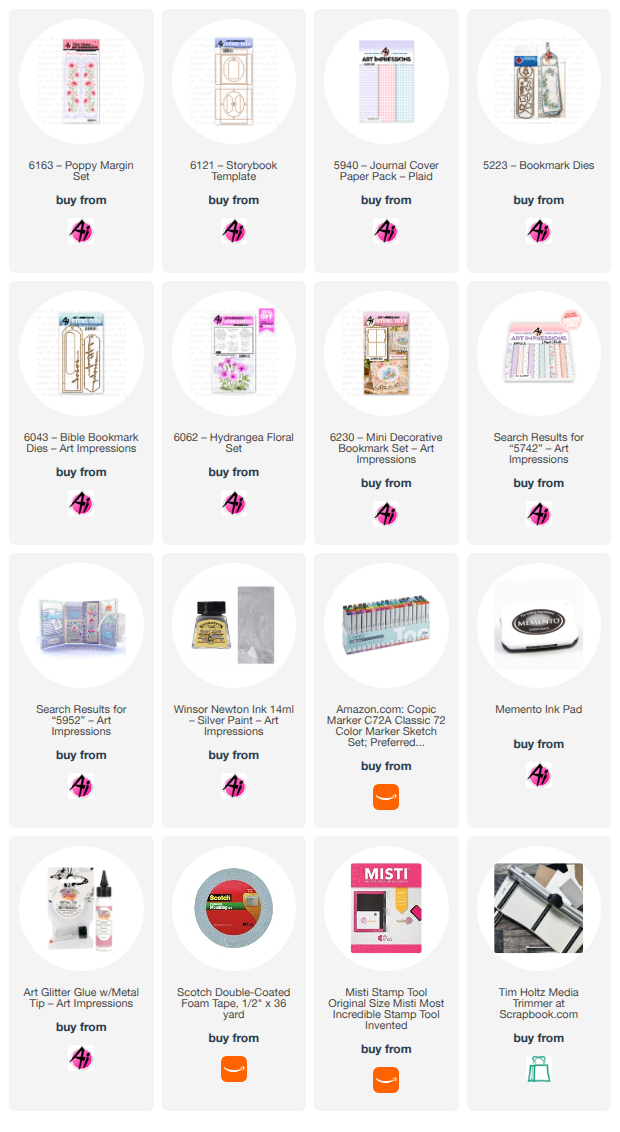
I have two projects for you today that feature the same stamp set #6163 - Poppy Margin set.  One is a belly band using the #6043 - Bible Bookmark and the other is a set of bookmarks using the #6230 - Mini Decorative Bookmark set.

The poppy margin was stamped with Memento black ink onto copic friendly paper and colored with my copic markers listed below.  I painted the scroll frame as well as the floral centers with the Winsor & Newton gold paint.  

The belly band fits nicely over the #6121 - Storybook box.  I created this box without cutting the oval center so that it was a solid closed box.  Wrap the belly band around the box to form the folds.  I then cut two small holes at each end, added the ribbon and sentiment and tied the bow.

Bookmark before matting and forming as a belly band:

Backside of the box with belly band:


Project 2:  The bookmarks below use several fussy cut florals from the poppy margin stamp set and placed on the sentiments.  The first bookmark is magnetic and the second one I used a covered paper clip.  
Paper Clip BM:  Take a lightweight piece of cardstock 3" x 2 1/2" (approx. the size of the bookmark) and fold in half.  Place the paper clip over the folded edge.  Cut a slit at the center fold of the bookmark cardstock and slip the top of the paper clip cardstock through the slit.  Glue the top layers together.  Do the same for the bottom layers.  The paper clip will then hold the pages together of the book.  


Hope you enjoy my projects today!

Have a great week and have fun creating!

Copics used:  G40, G43, G46
V20, V22, V25
Y32, Y35     B000

Wednesday, July 22, 2026

Little Miss Boo Box/Card

 Happy Wednesday AI Friends!

Our current challenge is "Summerween" so I decided to start on my Halloween mini journal book for the littles in my life.  Last year, I made Bonnie's Halloween journal into a scavenger hunt book for my oldest grandson and he had the most fun with it.  Actually, we all did!  My son and daughter-in-law made up riddles and clues for the scavenger hunt and I incorporated them into the pages.  Turned out soooo cute, so thank you Bonnie!

Not sure what I'm going to do in this book yet, so I only made the mini card and attached it to the Mini Journal Box #5805.  I'll finish the book at a later date and share at that time, but for now, I'll share the card/box and front of the inside book.

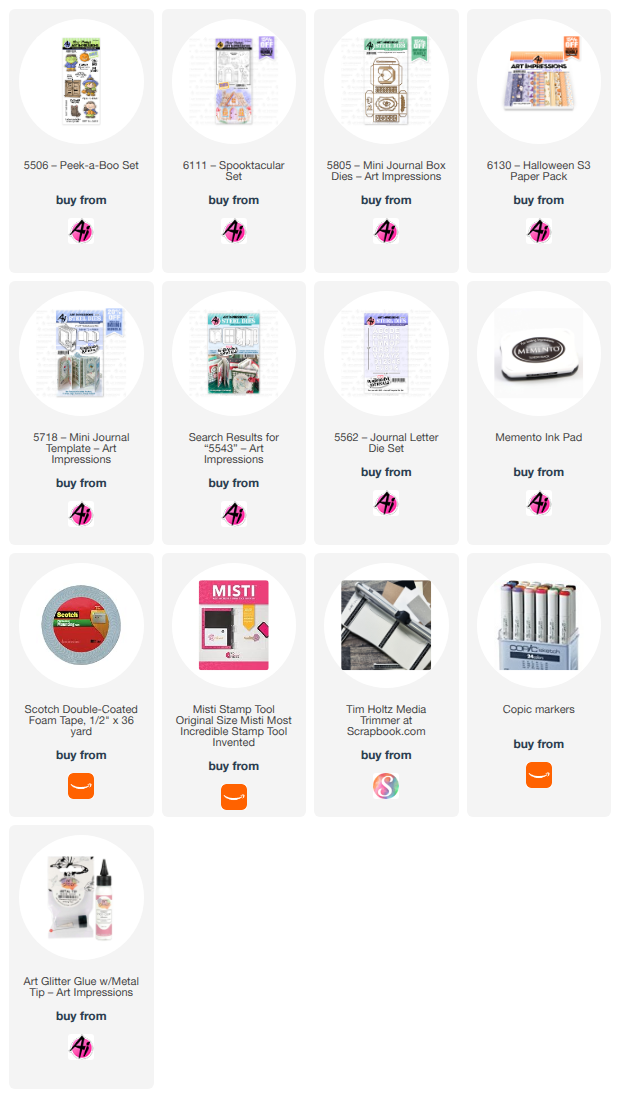
I started off by making the box with the die from the #5805 - Mini Journal Box out of orange cardstock.  I used the #6130 - Halloween S3 PP to line the box and decorate the sides as well as create the backgrounds for the card front and inside.  

I stamped a few of the images from two sets #6111 - Spooktacular and #5506 - Peek A Boo.  I then colored with my copic markers listed below.  Both of these sets come with coordinating dies which I just LOVE!  

I created a cute little decorative card (2 3/4 by 2 1/4) to fit on top of the box.  The pop up ghost has the coordinating die and scores for the folds, which makes the image pop up so easily on the inside.  

I adhered this mini card to the top of the box so you first open the card and then the box.  The card has a magnetic closure hidden under the front image and the inside sentiment.


The Mini Journal box die creates this cute little box with score lines.  All you have to do is fold and glue the sides.  Boom!  Easy peasy!  I suggest using heavy cardstock or add a pattern paper layer for stability.


This box was created by Art Impressions to hold the #5718 - Mini Journal book perfectly.  The finished dimensions are 2 3/4 x 2 1/4 x 7/8.  Also makes for a nice little treat box.


Thanks for joining me today and I hope you enter our "Summerween" blog challenge for a chance to win a free stamp set of your choice.  We love to see your creations!

Have a wonderful day!

Copics used:  E00, E01, E11, E21, E23, E25
N0, N1, N2, N3, N4, N6           R20
YR12, YR14, YR16, YR18         Y17
V12, V15, V17      G20, G21, G24

Thursday, June 18, 2026

OUCH - Doggy Cone

 Happy Thursday AI Friends!

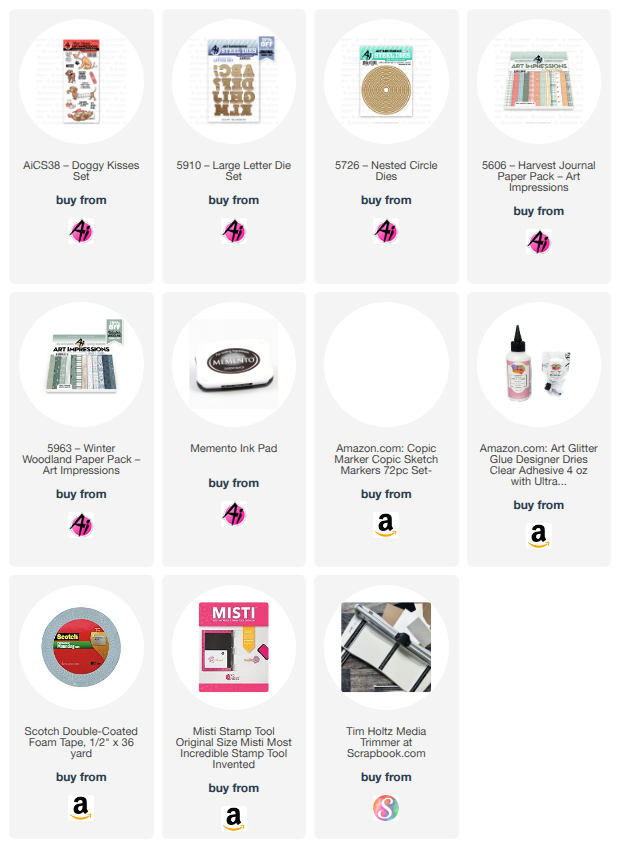
Today I have a fun fold wellness card with this cute little injured dog from the #AiCS38 - Doggy Kisses set.  This set has the most adorable little pups with the funnest little "get well" sentiments.  Definitely a cute, fun set!  Who wouldn't find this little guy to be uplifting and a fast "cure" for any illness?

I started by stamping the images onto copic friendly paper with Memento black ink and colored with my copic markers listed below.  I die cut the letters out with the #5910 - Large Alphabet set and colored around the edges with my copic marker (E53) to add that extra pop from the pattern paper.  I also popped up the letters with foam tape.


I cut the image panel with a circle die.  I adhered pattern paper to the card base and then die cut a circle into the top panel, using a larger circle die than the image panel.  I cut a narrow circle frame to give a nice finish to the opening.  For the pop through panel, I cut a strip 4 3/4" x 2" in white cardstock and scored along the long side at 1/2".  I adhered the 1/2" tab to the inside back of the card base, making sure that the strip will be centered when shutting the card.  I adhered a piece of pattern paper to the inside back underneath the strip piece and covered up the tab.  I then die cut a decorative edge to one side of a piece of pattern paper and cut to fit on top of the strip.  Placing the strip panel through the front circle, adhere the image panel onto the strip so that it fits nicely.  

I used a magnetic closure to keep the card closed, but this is optional.  I placed one under the bandaid on the front cover and the other under the paw heart inside.  


Video below shows how the card opens and closes.


Hope you enjoyed my card today.  Thanks for joining me!

Have a wonderful day and keep creating!

Copics used:  N0, N1
R20,    B000
E50, E51, E53, E55

Thursday, June 11, 2026

Motorcycle Manny & Sidecar Sally

 Happy Thursday AI Friends!

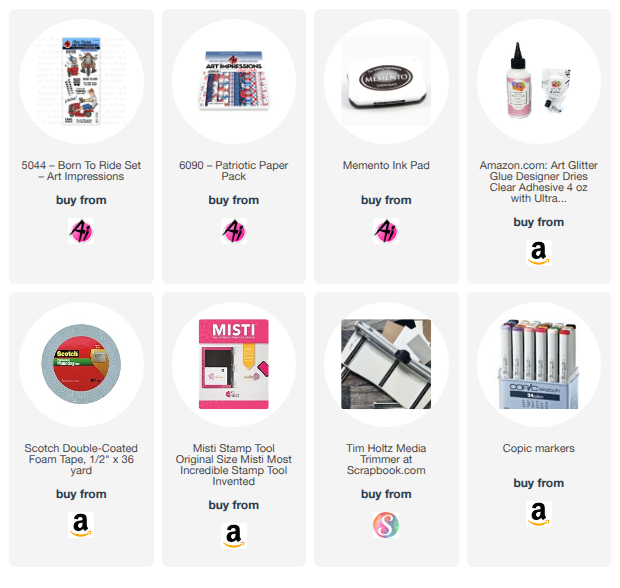
I realize that I am a little early to celebrate the 4th of July here in the USA, but I was inspired by the current blog challenge "Enjoy the Ride".  I decided to use the stamp set #5044 - Born to Ride and if you look at the packaging, he is wearing a flag bandana.  Screamed patriotic and therefore, inspired the 4th of July theme for my card.  I've always loved this cute little couple and I've never created with them yet so here goes:


I wanted to display fireworks and stars so I thought a pop-up card would be ideal.  I made a "tuxedo-style" card.  This is a box card with four sides but the front two panels are diagonally cut to create the tuxedo look.


Cut a 6 x 10 1/2" card base.  Score and burnish along the 10 1/2" side at 2 1/2", 5", 7 1/2" and 10".  Make a pencil mark at 2 1/2" along the 6" ends.  Place into your paper trimmer and make a diagonal cut from the 2 1/2" mark to the top score line (see top pic left side).  On the tab end (see pic right side), cut across that 1/2" at the pencil mark, tuck that tab under and cut from the mark to the score line on that side.  Your diagonal cuts should match up when folded in half.  At this point, I adhered two pieces of pattern paper (using the #6090 - Patriotic PP) to the two full size panels (measures 2 3/8 x 5 7/8").  I then cut two more pieces of pattern paper (same measurements).  To get the same diagonal shape, hold the pattern paper piece to one of the diagonal edges and cut to match.  Then trim off the bottom of the pattern paper to create a nice border of card base.  Do the same for the other side.  Adhere to the card base.  Place glue on the back side of the tab and join to the other diagonal panel to create a four sided tube.  See below.


For the inside and outside pop-ups, cut a piece of acetate and a piece of cardstock that measure 1/2" x 4 1/2".  Score and burnish both pieces along the 4 1/2" side at 1/2", 1" and 1 1/2".   Turn and repeat for the other end.  


Adhere the inside pop up die cuts to the non-scored strip of the acetate.  Place glue on the tabs of the acetate and glue down to the back panels, one tab to each panel.

I stamped the images onto copic friendly paper with Memento black ink and colored with my copic markers listed below.  I paper pieced his vest and her shirt to match.  I put stickles onto her glasses and the headlight of the motorcycle so they coordinated with the yellow glitter paper.  Very slight detail, but it was going to bug me if it didn't blend together.  LOL!

I fussy cut both characters and adhered her directly onto the diamond shape die cut (from my stash) and I popped him up with foam dots.  I backed the white diamond panel with yellow glitter cardstock and added a few glitter die cut stars.

.

Thanks for joining me today!  I hope you enter our blog challenge so that we get to see your wonderful creations and you get a chance to win a free stamp set of your choice.

Have a great day and keep creating!

Copics used:  E00, E01, E11
N0, N1, N2, N3, N4, N7
R20, R24, R27
B21, B23, B24
Y11, Y15, Y17

Thursday, June 4, 2026

Tulip Frog Frame and Box

 Happy Thursday AI Friends!

The frogs are a croaking in our backyard, which means summer is here!  We have just the cute little ones, so I can handle them.  It's the big ones that are yucky!  😝  In celebration of summer, I went frog crazy and made a cute little frame as well as gift boxes that housed a cute little porcelain frog.

  Both fun little projects!

Let's start with the mini frame:
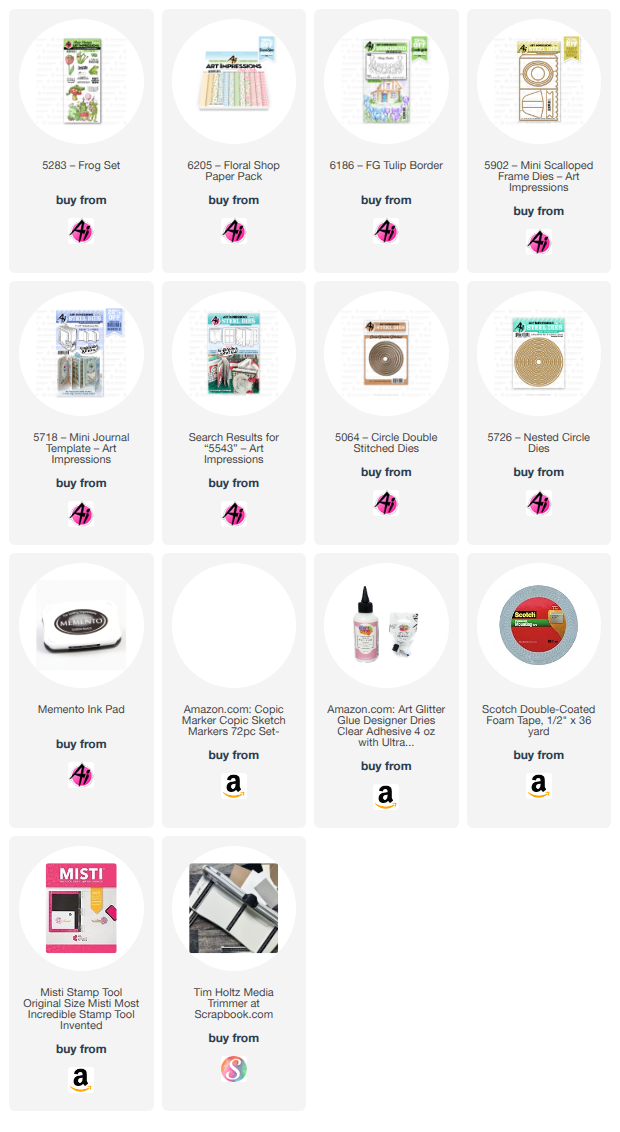
    I cut the scallop frame using the #5902 - Mini Scallop Frame die with a piece of pattern paper from the #6205 - Floral Shop PP.  I die cut an oval frame to cover the opening.  The poppies are from the new countryside series set #6187 - FG Poppy Border and the frog in the tulip is from the #5283 - Frog set.  I stamped these images onto copic friendly paper with Memento black ink and colored with my copic markers listed below.  I then fussy cut these images and popped up inside the frame.  I stamped the sentiment and die cut with the small scallop die from the #5543 - Journal Template die set.  Lastly, I added a bow and an easel piece for the back of the frame. 

For the box:
    This is made from a 6 x 6 piece of paper.  Final dimensions are 2 1/4"W by 2"D x 2 1/8"H.  
    Place your 6 x 6 piece of pattern paper diagonally onto your scoreboard at the 6" mark.  Score at 5" and 7".  Turn your paper 1/4 turn and score at 4 7/8" and 7 1/8".  Burnish all of the score lines.  Cut along score lines on both sides of two ends to make tabs.  See picture below.  Score at the top of each pointed end where the triangle meets the square.  Fold up the edges and place glue on the tabs and line up nicely to form the box.  


  Using the scraps that you cut off to make the tabs and the die from the #5718 - Mini Journal Template (see pic below), I die cut decorative edges for each pointed end.   I had to cut one side and then the other and piece them together onto the box (one on outside and one on inside).  This will add strength for the ribbon closure.   Lastly, I cut a 1/4" hole for the ribbon.  Fill the box with your treat or gift and tie up with your ribbon.


Thanks for joining me today!  Hope you have fun making these gift boxes and frames.

Have a great day and keep creating!

Copics used:  R24, R27, R81, R83, R85
B000,    G40, G43, G46
Y32, Y35, Y38

Thursday, May 14, 2026

Sweet Girls Playing

Happy Thursday AI Friends!

This card came together perfectly for the Mix & Match challenge, which calls for using two or more stamp or die sets.  I ended up pulling from several favorites to build a three‑dimensional scene that feels fun and playful.  I created a 3D effect by layering several die‑cut fences together, scoring them to pop forward


I began by die cutting the base from heavy cardstock using the #6114 - Box Village Template die.  I embossed this panel using a brick embossing folder that I had in my stash.  I then die cut the roof and window pieces from pattern paper using the #6159 - Flower Shop die set.  I die cut several fence pieces from heavy cardstock and layered together to double up and also to extend the fence.  I wrapped it around the base card on one end and over the front to the other side.  This fence stands out about 1/2" from the base panel.  

Using the #5578 - Little Angels set, I stamped two of the angels with Memento black ink and colored with copic markers listed below.  I fussy cut them out, cutting off the wings.  I die cut some balloons using the #5722 = Birthday Journal set and tied some string to the ends.  I placed some acetate behind them and attached to the back of one of the angel's hands. 

  To make the card base, take a standard A2 card base and place the Box Village Template die shape slightly over the card fold so that it will cut all sides but the folded edge.  Adhere the base panel to the card base.  Decorate as desired.

I hope you enjoyed my card today and thank you for joining me.  
Have a great day and keep creating!
Copics used:  E000, E01, E11    R20
YR00, YR02, YR04
V12, V15      Y15, Y17

Thursday, May 7, 2026

3D Tunnel card

 Happy Thursday AI Friends!

Today I’m sharing a 3D tunnel card featuring two of the newest Countryside series stamp sets: #6186 – FG Tulip Border and #6185 – Swiss Villa.  This beautiful release includes four cottages and three floral borders, all designed to mix and match for creating layered scenic cards.  Each of these images also works wonderfully on its own, making it easy to craft a simple yet striking card with just a single image.  Be sure to check out the sample projects posted on the website under each set.

To create this tunnel card, cut two 2 1/4" x 5" pieces of heavy cardstock.  Score and burnish along short side at 1/2", 1", 1 1/2", and 2".  Fold to create a tube and adhere the 1/4" tab to the inside of the tube. See pic below.  

Cut two 1 1/2" x 8 1/4" pieces of heavy cardstock and score along the long side at 1", 4", 5" and 8".  Fold (all valley) and burnish.  Adhere the 1/4" tab to the inside of the 1" tab.  Glue the two tubes inside one of these tower panels, centering within the 1" sides.  See pic below.  Flatten the card back and forth to adhere the glue in place.  Take the other tower panel and glue the bottom of the two tubes to the inside of this panel.  Make sure to line up so that the card will lay flat, by folding the card back and forth.

Cut pattern paper pieces to fit each of the outer edges and the inside tubes.  Cut arches or ovals using nesting dies to create the tunnel effect.  I also cut a fence using the #5807 - Journal Fence set and layered that between the cottage and the floral border layer.  


I stamped the images onto copic friendly paper with Memento black ink and colored with my copic markers listed below.  I fussy cut both the cottage and the flower border.  I adhered the floral border to the front oval die and the cottage to the back panel made up of the inside oval piece and cloud pattern paper.  I added the sentiment onto a banner die from the #5543 - Journal Template die set.  Lastly, I added some grass die cut pieces, a frog from the #5283 - Frog set, and the sun die from my stash.

This card will fit nicely into an A2 envelope when flat.

I hope you enjoyed my card today and I thank you for joining me.

Have a great day and keep creating!

Copics used:  E51, E53, E55
Y13, Y15, Y17
B21, B24
G20, G21, G24

Thursday, April 23, 2026

Bunny in Flower bendy card

 Happy Thursday AI Friends!

I recently purchased the Bunny set #4886K – Easter Blessings, and I’ve already made so many cards with it. It’s not just for Easter either! I’ve used it for birthdays, spring cards, thinking‑of‑you cards, and more. The images in this set are adorable and so versatile.

I love making fun‑fold cards, and this design works perfectly on a bendy card. It’s simple to put together, lays flat for mailing and the recipient enjoys how it stands on display.


I began by stamping this cute little image onto copic friendly paper with Memento black ink and colored with my copic markers listed below.  I die cut with one of the dies from the #6045 Scallop Nested Circle die set and then matted on pink cardstock cut with the #5726 Nested Circle die.  

To make card base - Cut a 5 1/2 x 4 1/4" piece of heavy cardstock.  Score and fold in half (valley fold) at 2 3/4".

Also cut a piece of white cardstock using the #6155 Margin die.  I cut the straight edge to make the margin die approx. 1 1/4" wide (high) and then cut a bit off of each side evenly to make it 6" in length with the heart being in the middle.  I trimmed a piece of pink cardstock and glued behind the heart cutouts.  I then scored at 1/4" along each side of this 6" panel.  Fold the 1/4" tabs under and glue to the front side of the card base.  

  Cut two panels of designer paper to fit each half of the card base (2 5/8" x 4 1/8").  Glue one of these to each side of the card base, in between the margin die panel and the card base, covering the tabs of the margin die panel.

For the bendy portion of the card - Cut a piece of pink cardstock at 5" x 4".  Score and mountain fold each at 1/4" and 2" from both sides of the 5" length.  Place liquid glue on each of the 1/4" tabs only and glue to the designer paper (under the margin die panel) centering this onto the base card.  I cut designer paper panels to fit each of the bendy folds leaving a slight border.  

Lastly, adhere the circle image panel to the middle fold of the bendy panel only, otherwise the card will not bend.

Add hearts, ribbon and the word "loved" (from the margin die set) for accents and dimension.

I hope you enjoyed my card today!  Thanks for joining me!
Have a wonderful day and keep creating!

Copics used:  E50, E51, E53,     B000
R20, R22, R81, R83, R85
G20, G21, G24

Thursday, April 16, 2026

Rain or Shine

 Happy Thursday AI Friends!

Have you entered the latest blog challenge - "I See Right Through You"?  Anything that you can "see through" will qualify (ie windows, globes, shakers, etc.).  Make sure to enter for a chance to win a free stamp set.

I chose to use two of the freebie bears along with the fence and daisies from the #5935 - Fairytale houses.  I made an acetate window with raindrops for the front with the umbrella freebie bear and then a sunshine scene on the inside with the freebie holding a daisy.


I stamped the bears and daisies with memento black ink and colored with my copic markers listed below.  I then fussy cut the bears and used the coordinating dies with the daisies.
To create the raindrop window, I inked blended two panels the same.  I used the MFT Falling From the Clouds die set.  I then cut a piece of acetate large enough to fit the opening.  I made some score marks diagonally and then dropped some glossy accents onto the acetate along the score marks to resemble rain.  Let the glossy accents dry and then glue to the back side of the opening.  I cut another window frame to cover the acetate edges on the inside. 


I decorated the inside with the daisies, fence, sun and bear.  I shut the front of the card and adhered the rain bear to cover the daisy bear from the front.  I also placed clouds over the front to cover the sun on the inside.  The daisies will be seen through the window.  I added a few little white hearts to the corners and grass to the bottom of the fence posts.  The front sentiment is from the #5797 - Little Things Sentiments and the inside sentiment was just made up to fit the scene.

That's it for me today!  Hope you enjoyed!
Make sure to play along and enter the blog challenge for a chance to win a free stamp set.
Have a great day and keep creating!

Copics used:  E50, E51, E53, E55
B000, B12, B14
R20, R22, R24
Y13, Y15, Y17, Y21
G20, G21