Happy Thursday AI Friends!
I'm so excited to be the one to introduce the new AI blog challenge called "Flurries Forecasted"! I'm not quite ready for the snowy weather but I'm sure ready to add snow flurries to my cards, tags and projects. Hope you are just as ready as I am and decide to play along with us!
You may have noticed that I love interactive cards, so yep, I have a fun one for you today using the
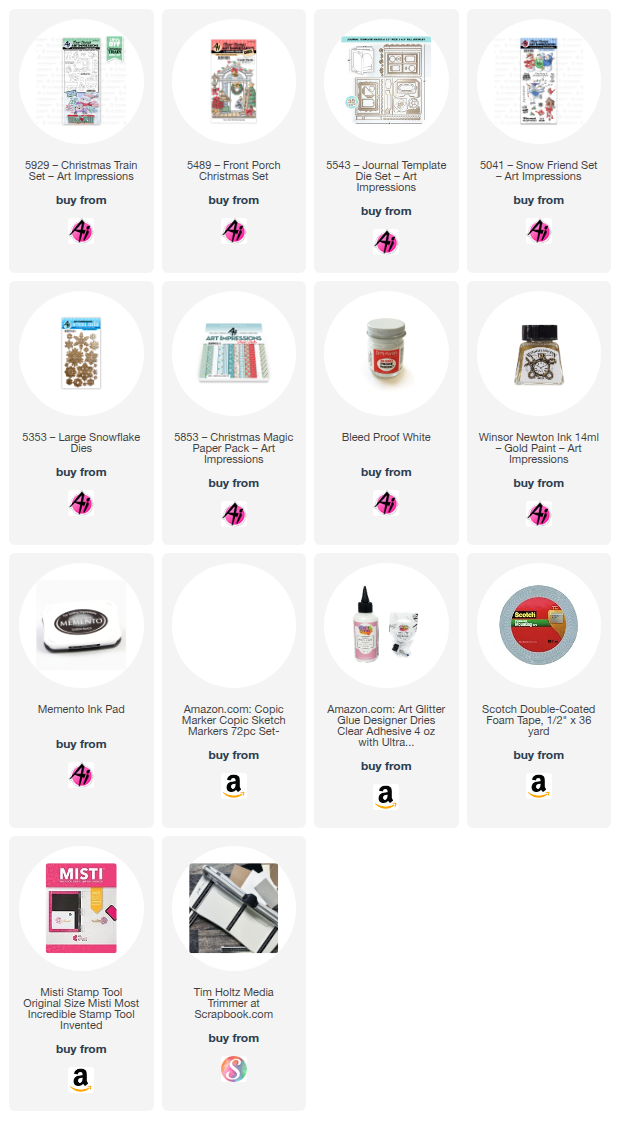
#5929 - Christmas Train set along with some accessories from the #5489 - Front Porch Christmas set.
I love the way these sets work together so that you can combine and stretch their use.
The video below will show how this card opens and stores. When folded it's an A2 card, but pops open to be approx. 5 1/2 x 12" wide. Because of the panels that extend out, the card is much thicker than a standard A2 card and will need a larger envelope plus additional postage, if mailing.
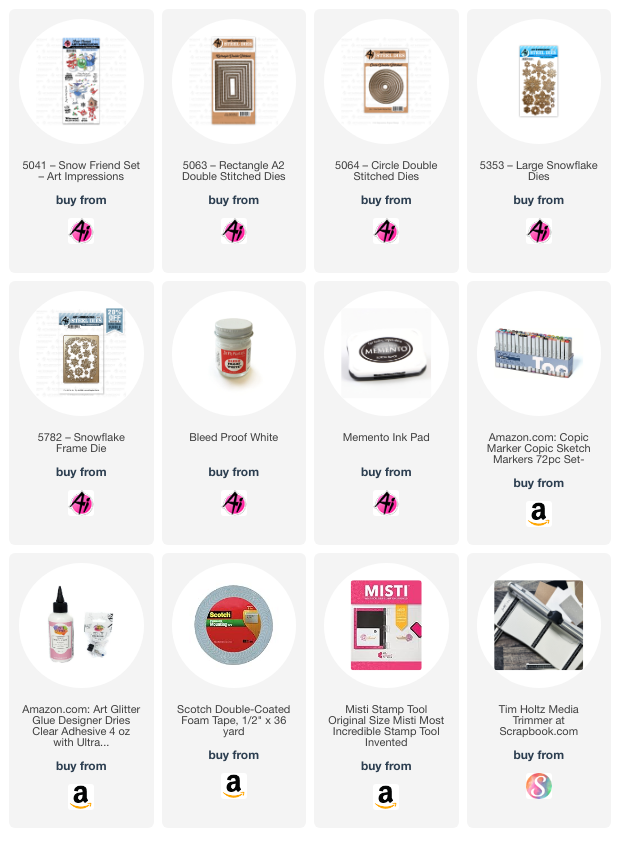
So to get started - I stamped the images with Memento black ink onto copic friendly paper and colored with my copic markers listed below. I then die cut each of the images with the coordinating dies that are included in both of the stamp sets. For the two penguins rolling down the snowy hill (on the front of the card), I die cut an extra one, out of heavy cardstock, and adhered to each to give a little extra weight for them to roll better. I die cut various size snowflakes using the #5353 - Large Snowflake dies from glitter cardstock. I also cut several trees out of the #5853 - Christmas Magic PP using a die set from my stash but any pine tree dies will work nicely.
Now, we're ready to build the card. I started with a standard top fold A2 card from heavy cardstock. I scored at 5 3/8" as well as the 5 1/2". This will allow the folds to come up and over the thickness of the final card. Fold and burnish these score lines really well. Hint: I found that my card stood up better if I trimmed off about 1/2" from the bottom of the back panel. The inside pop out card is cut from heavy cardstock and measures 4 3/4" x 9 1/4". Score at 1", 3 3/4" and 6 1/2". This will provide you with three panels that are 2 3/4" wide. This is a nice size for each of the train cars. Score and burnish these folds quite a few times back and forth to help breakdown the fibers.
For the front of the card, cut two slider tracks in blue cardstock, far enough apart so that the penguins won't bump into each other when then roll. I also cut three blue panels to fit each panel of the fold out base. I spattered Dr. PH Martin Bleed Proof white paint over each of the blue panels to create the snow-like look. While those were drying, I cut two panels of glitter cardstock (larger than the front A2 blue panel) and cut the same tracks to match up to the ones on the blue base and I fussy cut each to extend the top of the hill. I found it easier to cut the glitter panels down after lining the tracks up with the blue panel. I inked the edges with Ranger Distress Oxide ink - Broken China before adhering and used foam tape for the bottom hillside. Adhere the hillsides down onto the blue base panel matching up the corresponding tracks and leaving some areas to tuck the trees. The bottom glitter panel will be stacked over the top panel to create a forward hill.
To create the rolling penguins, I die cut six 5/8" discs from heavy cardstock (or you can use a penny, button or anything flat and round). Glue one set of three discs together for each penguin. Stack and glue two foam dots in the middle of each disc (making sure the dot will fit freely in the slider track). Place the dots through the slider track from back to front and glue the penguin to the top of the dot poking through the track. Do the same for the other penguin and track. You should be able to test to make sure they roll freely at this point. If all is good, place two layers of foam tape to the back of the blue panel. Be careful not to place foam tape too close to either slider track as this will prevent the penguins from rolling. Test again before adhering. Place a piece of glitter cardstock face down over the tape, so that the glitter will show through the tracks, and then glue down to the front of the A2 card.

Now, for the extended pop out card. Glue the one inch tab to the inside back panel of the A2 card base. See below.
Cut several snow drifts from glitter cardstock. For the two main snow hills, I cut two long ones (different heights), ink the top edges and then cut into thirds so that the hillsides with match up from one panel to the next. I put foam tape under the front hillside so that the train cars will fit behind with a little dimension. This is the only dimension I did so that the panels would fold nicely. If there are too many pop up items, the panels will not fold. I added a few scrap pieces in back for added snowy hills.
I added a blue panel to the inside as well as a sentiment panel. Fold your panels in to make sure it is closing nicely. They should fold in as follows: right panel closes onto center, then under left and then into the card. If you are having any trouble, you may have to trim down the blue panels slightly.
Now the fun, you are ready to decorate the front and each of the panels. Remember not to add any more dimension to the inside panels. Foam tape, at this point, is not your friend. ;)
However, the front is fair game. Have fun!
I hope you enjoyed my card today to kick off the new blog challenge "Flurries Forecasted".
Hope you play along for a chance to win a free stamp set. We love to see your creations!
Have a wonderful day! Keep creating!!
Copics used: C00, C1, C3, C5
B0000, B000, B00, B01
E21, E23
R20, R22, R24, R27
Y32, Y35 YR16, YR18
G40, G43, G46