Happy Thursday AI Friends!
My card today is inspired by the current challenge "Artful Architect". What is better than a treehouse? Well, I can think of alot of other houses I'd rather live in, but these cute little critters are happiest in their treehouse.

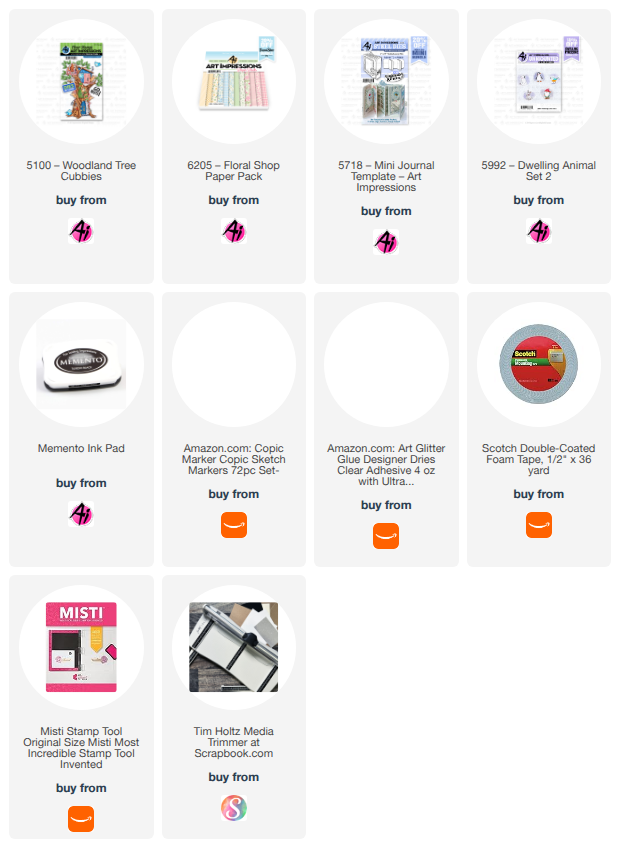
I made this as a shape card by using the tree die and partial cutting only the right edge of the card front. After cutting only the right edge, I used my scissors to cut from the top down to meet the first cut of the tree and did the same on the bottom. Depending on how far in from the right side that you make your partial die cut, you may need to cut in between to get a continual cut all the way down the right side. I hope that makes sense.
I stamped the images onto copic friendly paper with Memento black ink and colored with my copic markers listed below. I then cut each of them with the coordinating dies included with the stamp set.
I adhered some of the images into the windows and doors before adhering the colored tree onto the partial cut right edge. The bunny and the birds were popped up with foam dots.

The Squirrel! sentiment was die cut using the tag die from the #5718 - Mini Journal Template. I glued only the right edge down so that this tag could latch onto the front for a nice closure. See video below.
That's it for me today! I hope you enjoyed my card and it gives you inspiration to enter our current blog challenge for a chance to win a free stamp set.
Have a great day and keep creating!

Copics used: C00, C0, C1, C2 R20
E30, E31, E33, E35, E55, E57
Y13, Y15, Y17 G40, G43, G46
B000, B12, B14, B21, B23, B24


