Showing posts with label Celebration. Show all posts

Thursday, July 24, 2025

Hedgehog Tuck Flap Card

 Happy Thursday AI Friends!

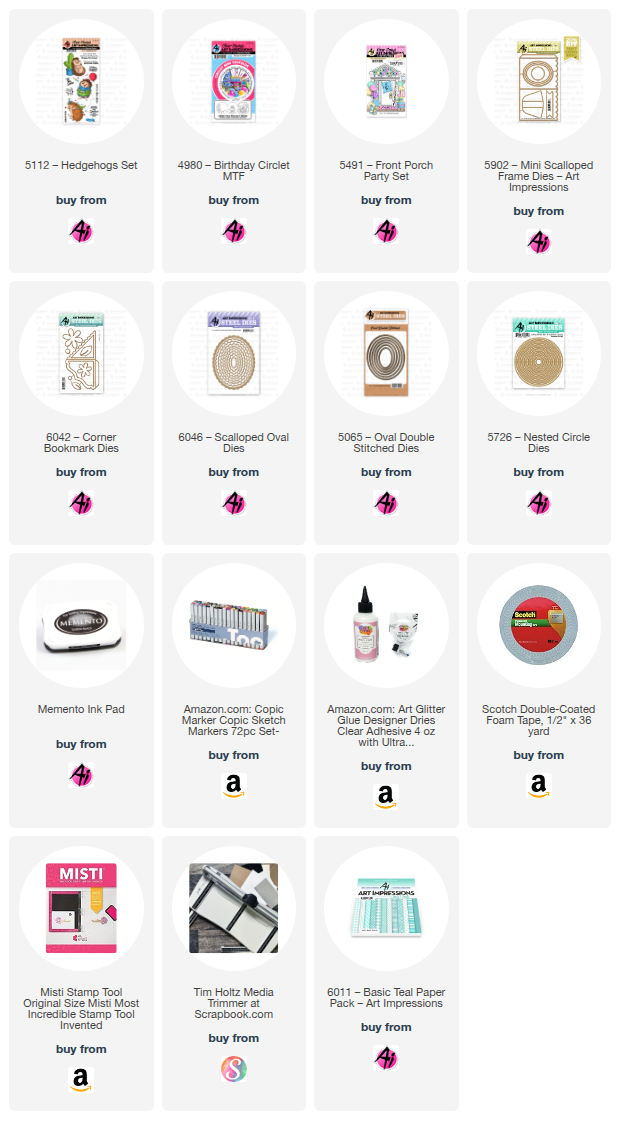
We have a new blog challenge currently going on called "Let Them Eat Cake".  Any card, project with cakes or cupcakes, etc.   I decided to make a cute little Hedgehog Tuck Flap card using the #5112 - Hedgehogs set with the cake from the #4980 - Birthday Circlet MTF and the presents from the #5491 - Front Porch Party set as accents. 

I stamped all of the images onto copic friendly paper with Memento black ink and colored with my copic markers listed below.  The hedgehog was stamped onto a 3.5 inch square.  The other images are cut using the dies, so can be stamped onto any size paper.  

I die cut the cake and balloons with the corresponding die (#4980 Birthday Circlet) and then fussy cut the portion that wasn't cut out with the die.  The presents (#5491 - Front Porch Party) were cut with the dies included in that set.  I mounted each of those onto a white circle die cut and then layered onto a blue circle die cut.  I cut two corner bookmarks using the new #6042 - Corner Bookmark dies.  I assembled the bookmarks and adhered the circle die cuts onto each of the fronts of the bookmarks. 

For the card base and fold, I cut a top folding A2 card size 4.25 by 8.25 inches and scored at 5.5 inches.  This will leave a 2.75 inch flap for the front.  Using the #6011 - Basic Teal PP, cut two pieces (front -
2.5 x 4 inch and the inside - 5.25 x 4) to be layered onto blue cardstock.  Place the corner bookmarks over the bottom edges of the inside layer and adhere this layer to the inside of the card base.  This will glue the bookmarks to the inside of the card and leave the back of the card white.  Mount the hedgehog image onto blue cardstock.  Place glue onto the backside of the top half only and adhere to the front flap of the card base.  Add the sentiment from the Hedgehog set and die cut with the #6046 - Scallop Oval dies with a blue layer cut from the #5065 - Nested Oval dies.

Create an easel with the #5902 - Mini Scallop Frame die and glue to the back of the card base.  Tuck the hedgehog image piece inside the bookmark edges and you have a Tuck Flap card that stands on display, thanks to the easel.

Hope you join us in this "Let Them Eat Cake" challenge for a chance to win a free stamp set of your choice.  We LOVE to see your creations!

Hope you have a wonderful weekend and keep creating!

Copics used:  E01, E02, E11, E21, E23, E25
R20, N0, N1, N2
B000, B00, B01, B02
Y13, Y15, Y17, Y21
YG21, YG23, YG25 
Thursday, May 1, 2025

Little Pink Panda

 Happy Thursday AI Friends!

Wow, if you haven't done this yet, check out the newest release at Art Impressions.  Bonnie created the most adorable little panda baby set.   I couldn't wait to play with this set and the timing is perfect for the current challenge here on the blog called "Un-Bear-Ably-Cute".  Your project just needs to include a bear.  

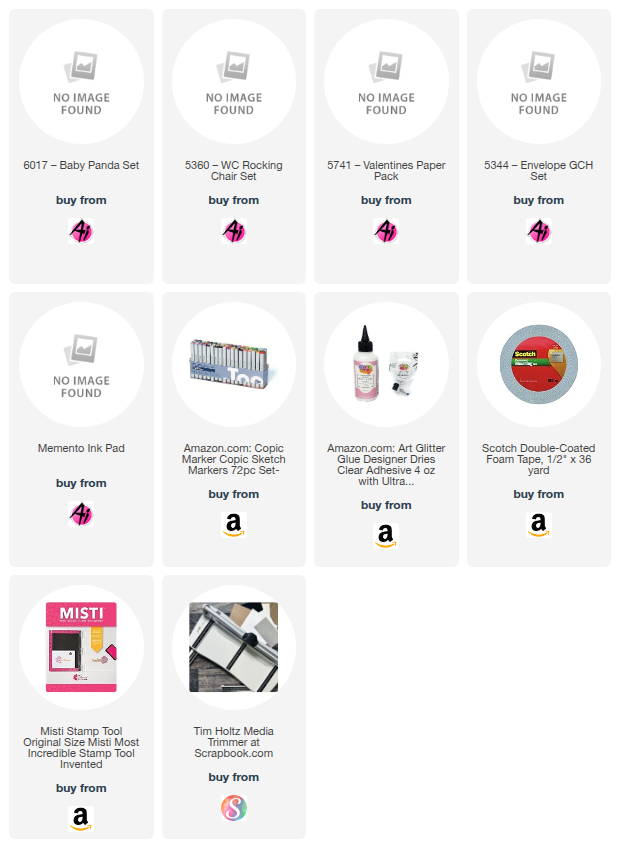
I used the #6017 Baby Panda set and the #5360 WC Rocking Chair stamp/die set to create my scene.  The pattern papers are from the #5741 Valentines PP.  

I began by stamping all of the images onto copic friendly paper with Memento black ink and colored with my copic markers, listed below.  I die cut a rocking chair from brown cardstock and inked the edges.  I then stamped the back of the chair onto pattern paper and paper pieced it onto the brown cardstock chair above the arm.  I die cut the seat of the chair from a coordinating piece of pattern paper and pieced it onto the seat of the chair to look like a cushion.  I positioned the panda onto the cushion and the presents hugging tight to the chair to hide any piecing imperfections.  😏  I popped all of the images up with foam tape.  The heart frame die cut panel is from my stash and the flooring is a piece of peel and stick wallpaper from the dollar tree.  The sentiment was stamped onto a scalloped die cut from the #5344  Envelope GCH.  

                                     I hope you enjoyed my card for today.  Thank for you joining me.  
                                                            Have a great day and keep creating!
Copics used:  C00, C0, C3, C5, C7
Y11, Y13, Y15, Y17
YR12, YR14, YR16
B00, B12, B14
G40, G43, R20, R22, R24

Thursday, March 13, 2025

Birthday Wobble

 I am soooo thrilled to be the feature for this challenge - "I Like to Move it, Move it".  I am such a fan of interactive cards, so this is a delight for me.  I had soooo much fun creating this card and I am soooo excited for how it turned out.  

First of all, I stamped all of the images on copic friendly paper with Memento black ink and colored with my copic markers listed below.  Some images were dies so I cut them with copic friendly paper and then colored with copic markers. 
I cut two 4 1/4 x 4 1/4" pieces of heavy white cardstock and scored each piece at 1".  Do NOT adhere together yet as you need to place the acetate pieces in between.
  
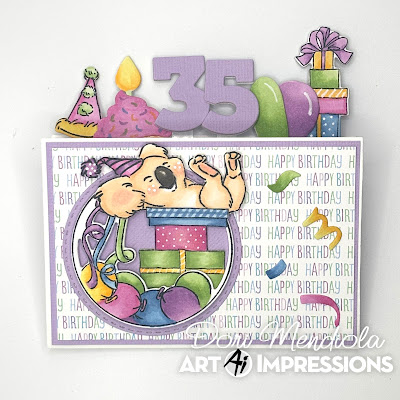
Let's decorate the front of the card first.  I matted a piece of pattern paper onto a piece of purple cardstock allowing for an 1/8" border around all sides.  This is then adhered to one of the white cardstock pieces. The 1" fold should be towards the back at the bottom.  I started by using the front layer (balloons) of the #4980 Birthday Circlet MTF.  I die cut this layer with the coordinating die and then cut the whole circle with one of the #5726 Nested Circle dies.  I used the koala sitting in the teacup from the #5349 Koala set and cut him off of the teacup so that I could place him on the stack of presents from #5954 Woodland Bears set.  I only used the bottom three presents of that stamp so that it fit nicely in the circlet.  I popped the circlet onto foam dots and placed onto a stitched circle die cut from purple cardstock.  I then glued the bottom two presents behind the balloons and popped up the top present as well as the koala so that they sat on top of the circlet.  I colored several confetti pieces from the #5407 Birthday Cake GCH and adhered them to the front of the card.  I saved several colored pieces for the inside of the card.  

Now, for the inside of the card.  I cut several strips of acetate, about 1/2" x 3" for each item.  I arranged the images how I wanted them to pop up over the front flap of the card.  I glued each to the top of a piece of acetate making sure there is enough acetate at the bottom to glue between the 1" folds.  Once the images are glued to a piece of acetate, I then glued the bottom of the acetate to the back of the front flap fold.  When all of the acetate pieces are glued down, I took the back flap and glued the two fold pieces together, making sure the acetate pieces are glued in firmly.  I then finished decorating the inside of the card with pattern paper and purple cardstock over the exposed white cardstock.  Lastly, I added the final pieces of confetti to decorate.  

Below is a video of how the card wobbles.


I hope you enjoyed my card today!
Have a wonderful day and happy creating!!

Copics used:  E21, E50, E51, E53
W5, R20
Y11, Y21, Y23, Y35
RV55, RV63, V12, V15
G40, G43, B41, B45

Thursday, February 20, 2025

Ultimate Birthday

 Happy Thursday AI Friends!

My card today features the #5405 Mrs. Set.  I thought it represented the "Ultimate Birthday", from the PJs to the glass of wine.  It also fits this week's challenge "Drink Up".  Check out the bi-weekly challenge tab on the Art Impressions blog and join in the fun by entering your card to have a chance at winning a free stamp set of your choice.

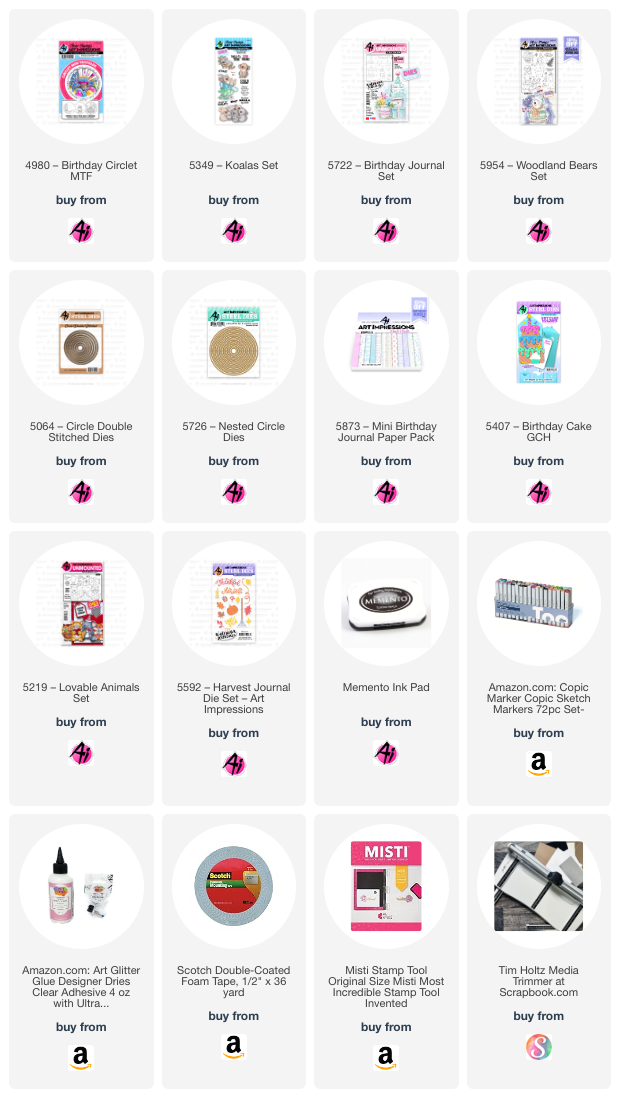
I started by stamping the images onto copic friendly paper with Memento black ink and colored with my copic markers listed below.  I then cut each of the images out with their corresponding dies.  For the wine glass in her hand, I colored an extra wine glass from her hat and fussy cut it out, removing the bow.  I cut a slit in her fingers and adhered the wine glass in between.  


I die cut the white frame from the #5768 Decorative Journal Pg. 1 die set.  I love the beautiful edge on that frame.  I typed the sentiment and printed onto a tag from the #5133 Flag Double Stitched dies.  Lastly, the cupcake came from the #5455 Birthday Buggy set.

Thanks for joining me today.  Hope you have a wonderful day.  Happy creating!
Copics used:  E000, E01, E11, E21, E23
R20, R81, R83, R85, R89
YR32, YR35, YR38
C1, YR14, YG25

Thursday, January 9, 2025

Golden Celebration

 Happy New Year AI Friends!

Hope you all had a wonderful holiday season and are off to a fantastic 2025! 

 My card today was inspired by the current challenge "Craft Time is Golden".  I sort of went "all out" golden.  😁  When I started creating, the gold was minimal, then all of a sudden, it went full on gold! Guess you could say it screams New Year's celebration, but wouldn't it be great for a 50th wedding anniversary card or add a little black and make it a graduation card.  

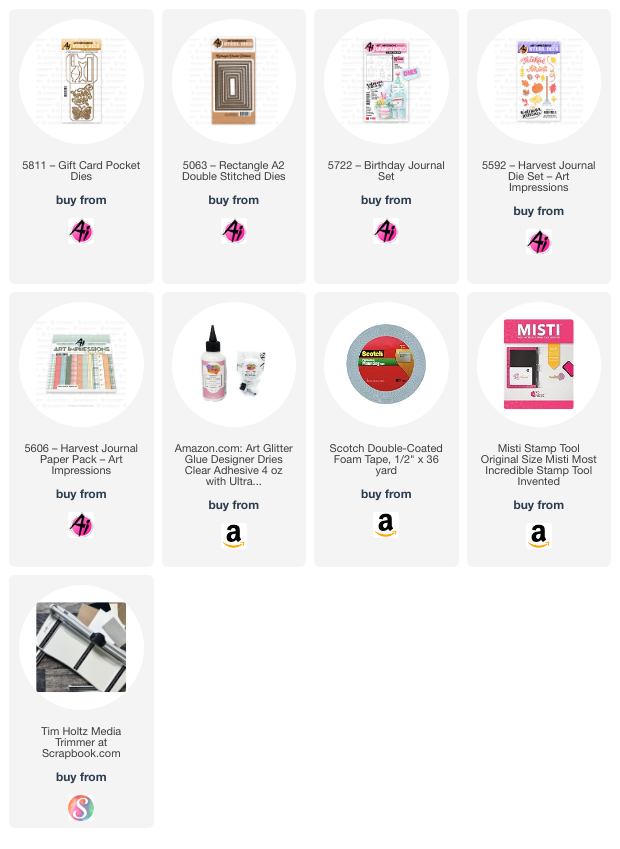
I used the 5811 - Gift card pocket die set for the bow and the 5722 - Birthday Journal set for the balloons and celebrate word die.  The streamer is from the 5592 - Harvest Journal die set.   I also used the 5063 - Rectangle A2 Double stitched die set for the frame and gift box.  And lastly, I used the 5606 - Harvest Journal PP for the striped pattern paper background.


To make the balloons pop out of the box, I used a slider pull tab and cut a vertical strip in the white frame piece, under the box, for the pull tab to slide.  I adhered a strip of acetate to the bottom of the bow and adhered some balloons on it.  I adhered a pop dot onto the pull tab and placed the pop dot through the vertical slit and onto the bottom of the acetate, so that when you pull the tab the bow rises and the balloons pop up.

Hope you enjoyed my card today.   

Thursday, June 20, 2024

Celebrate the Red, White & Blue

 Hello Fans!

I'm excited to share my feature post for the new Art Impressions blog challenge - Stars and Stripes Forever.   Any card or project with stars and stripes will work for this challenge so I hope you will play along.  I love all of the July 4th fanfare here in the good ole USA, from parades to barn dances to fireworks displays.   Such a great time for family fun and celebration!

So, with that, I decided to create an interactive card that is sure to get us all in the mood for the festivities.

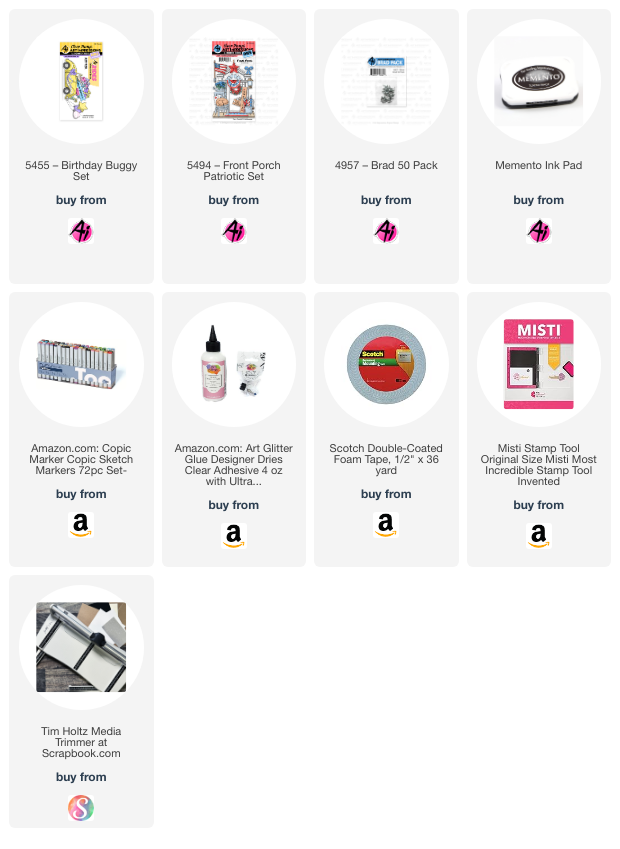
I began with the #5455 Birthday Buggy set and the #5494 Front Porch Patriotic set.  I stamped all of the images onto copic friendly paper and colored each with my copic markers (colors listed below).  If you look at the pictures below, you will notice there is a pull tab and when you pull it to the right, the flags pop up.  So much celebration going on in this little buggy.  LOL!  


This mechanism was inspired by the Lawn Fawn Swish n Pop die set.  The acetate piece (arm) was cut manually so that the flags could hide behind the buggy when down.  Picture 1 shows the shape of the arm and the two small holes cut into the base of the arm.  As you can see, it doesn't have to be pretty or exact because it will be hidden.  There are also 4 small holes in the background paper.  Depending on which hole you use, will determine where your pop up displays.  I used the farthest one to the left for the flags.

Picture 1:

The pull tab is attached with a small brad (#4968 White Brad 50 pack) to the bottom hole of the arm and another brad attaches the arm to the background paper.  (See picture 2)  In order for the pull tab to not flap around, you will want to create a collar to minimize the movement of the pull tab.  Glue the collar to the background paper and slide the pull tab through it.  Test your mechanism to see where the flags will pop up.  Glue the flags to the acetate arm, making sure the buggy will cover them when down and they pop up where you want them to.  Place a small piece of foam tape as a stopper so the flags don't go over too far when up.  Place foam tape to the bottom of the background paper making sure not to hinder the mechanism from moving.

Picture 2:

Lastly, place your bottom panel over the foam tape and test the mechanism by pulling on the pull tab.  If all works well, adhere to the card base.  While the flags are down, mark the pull tab where it matches up to the side of the card.  (See Picture 3)  Pull the tab out and cut along your mark.  Stamp the tab end with the word "Pull" or cover with a piece of colored paper with an arrow so the recipient knows to pull the tab.

Picture 3:

Now you are ready to decorate the card.  I cut a piece of black cardstock (about an inch wide) and used a gold pen to create the yellow lines in the road.  Place the road on the bottom panel and glue down.  Glue the buggy onto the road, making sure that the flags pop up where you want and are hidden when down.  I choose to add a thin strip of silver glittered cardstock to the top of the gray polka dot paper to create a nice transition but also to hide any foam tape (oops).  LOL!  It also accentuates the glittered stars.  I die cut stars and the word "Celebrate" using dies from my stash.


Hope you enjoyed my card today and you are inspired to join the challenge for a chance to win a free stamp set of your choice!

Have a great day!

Copics used:  E21, E23
C00, C0, C02, C03, C05
B24, B26, B28
R35, R43, R46


Friday, August 27, 2021

Kangaroo Pouch

 The Art Impression's challenge for this two-week period is "Lion, Tigers, Bears Oh My".  It is a challenge showcasing any animal image.  I chose the Art Impressions Kangaroo Mouthful set.  I love this set!  It comes with a mama kangaroo, baby kangaroo, a bunch of flowers, a present, a cluster of balloons, a blow horn and a birthday hat.  I used them all except for the flowers.  Such a great set!! The dies are also included, which is always a plus.  


I made a shaker gift tag with the Art Impressions double stitch tag die.  I die cut the tag out of pattern paper and then cut two pieces of page protector plastic using the tag die as a template to cut around.  I then sealed three sides of the plastic with the WeR Fuse tool to create the shaker tag.  I glued two sets of the balloons to the inside tag and placed sequins in the pouch to make it a shaker.  I then fused the top of the tag together.  
To finish the tag, I colored all of the images with copic markers.  I made a slit in the mama kangaroo's mouth and pouch to place the blow horn and present within.  I then glued the images to the outside of the tag and tied some ribbons to the top.   
What little one wouldn't have fun playing with this tag?  Probably will enjoy the tag more than the present.  😁


Saturday, July 31, 2021

Box fold card

 Art Impressions is having a "Funky Fold" card challenge this week.  What a fun way to get your creative juices flowing.  I love cards that are out of the ordinary.  Check out the challenge entries on the Art Impressions Blog for some great ideas.  I used the "Airplane Birthday" stamp set from Art Impressions for the image and colored with copic markers.  I utilized the Silhouette Cameo to cut the box card that folds into a 4.25 x 5.5 inch envelope.  This card pops up into a box shape and displays nicely on a shelf.  


 This stamp set is so much fun and even includes a dog image with a parachute on his back as well as a cloud stamp.  Soooo cute!

Friday, May 28, 2021

Fairy Flutter

 It's a "Birthday" challenge at Art Impressions this week.  Who doesn't love making, giving and especially receiving Birthday cards?  It's a present in and of itself!  I love to see the creativeness of others so I'm looking forward to viewing all the entries in this challenge.  Always inspiring!

  My card this week features the Fairy Flutter stamp set from Art Impressions.  Unfortunately, she is discontinued, but she is a very used stamp set at my house.  I love interactive cards and this one has the wings fly up and down when you pull the tab.  Sooooo darn cute and fun!


  The sentiment is included with this set (as well as the fairy die) and it's perfect especially for those of us who wish to be 29 again.  Such a great age!  I've been 29 for MANY years.  πŸ˜‰

  Hope you enjoy.  Have a great Memorial Day weekend!


Friday, January 29, 2021

Celebration

 Art Impressions is celebrating their 300th challenge.  Wow, that's a lot of challenges!  Congrats to AI!!

For this challenge, I wanted to utilize a stamp set with the biggest cake and the most candles, however, not quite 300 ( I'd still be coloring if that was the case). πŸ˜„  This stamp set is called Giant Cake Set and it's perfect for any celebration.  This is a great stamp set and so easy and fun to color.  Such great happy expressions on their faces!


Congratulations AI!!  I've been enjoying participating in your challenges.  Love seeing all of the projects that are entered.  Very inspiring!

Hope everyone has a wonderful weekend!!