Showing posts with label Fall. Show all posts

Thursday, November 13, 2025

Fall Placecards

Happy Thurday AI Friends! 

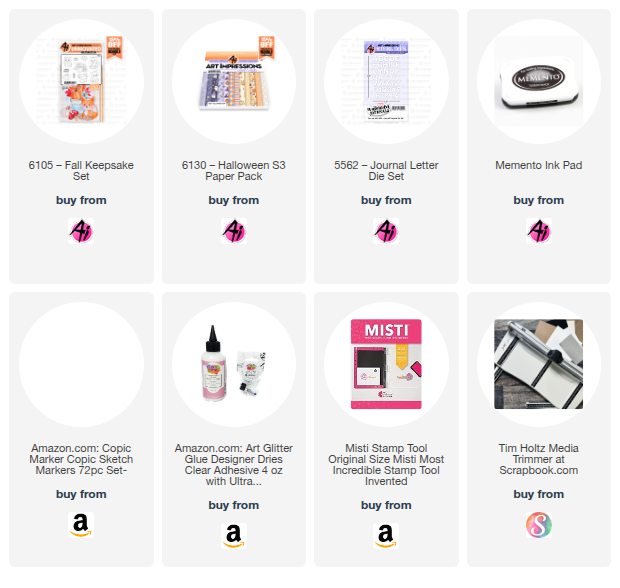
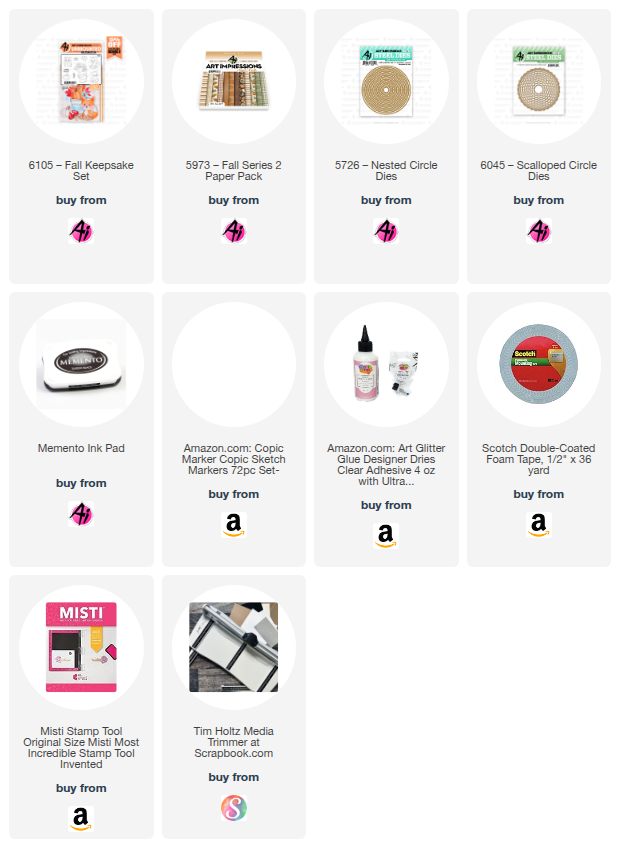
Have you checked out the newest challenge called "Gobble Gobble" on the AI blog?  Super fun and simple to play.  Just anything fall or thanksgiving themed.  I thought placecards would be fun for this challenge especially using the newly released stamp set #6105 - Fall Keepsake set.  Perfect for your thanksgiving table!


I began by stamping the images with Memento black ink onto copic friendly paper and colored with my copic markers listed below.  I then die cut each with the coordinating dies (yep, they're included with this stamp set).  I also cut an extra set of all images with scrap cardstock.  I like to adhere to the back of the colored image for stability plus dimension instead of foam tape.  

The placecard is made by cutting a 5 1/2" x 3 1/2" piece of cardstock.  Score at 2", 4" and 4 3/4" along the 5 1/2" side.  Fold and burnish as mountain, valley, mountain.  Place your images as desired and die cut the letters for each name with the #5562 - Journal Letter die set.  

And there you go, easy peasy, you're ready for your table setting!

Thanks for joining me and I hope you join along with the blog challenge for a chance to win a free stamp set.   We love to see your creations!

Have a wonderful day and keep crafting!
Copics used:  E50, E51, E53, E55, E57, E95, E97
R20    YR02, YR04, YR07, YR20, YR21, YR23

Thursday, November 6, 2025

You're A Hoot

 Happy Thursday AI Friends!

I have a gate-fold card for you today with a decorative closure.  
I used the newly released #6105 - Fall Keepsake set along with the #5973 - Fall S2 PP.  
I love all of the little critters and accessories that come in this set as well as the coordinating dies.
I began by stamping all of the images with Memento black ink onto copic friendly paper and colored with my copic markers listed below.  I cut each of them using the coordinating dies.  I cut two panels with the leaf paper from the Fall S2 PP using a die from my stash, but any die will do.  I placed one of the panels behind the critters and the other popped up to tuck some of the images behind.  

For the gate-fold closure, I cut two pieces of scrap cardstock approx. 1" x 1/2" and scored both at 3/8" and 5/8".  I folded the scored lines the same direction.  I butted up the scored pieces together and adhered them behind the owl, making sure to place the scored line horizontally behind the owl.  The flap openings should be to the top and bottom on the back of the owl.  I then adhered a circle to the other side.  See picture below.  Sorry that it isn't clearer, but hopefully you can see it well enough.


When you've added the owl and the circle to either side of the scored pieces, it will slide over the opening of the gate-fold to keep it closed.

Thanks for joining me.  I hope you have a wonderful day.  Keep creating!

Copics used:  N0, N1, N2, N4
E00, E11, E50, E51, E53, E55, E95, E97, E99
R20, R24, R27
Y11, Y13, Y15, Y19
YR12, YR14, YR16, YR18
G21, G24

Thursday, November 21, 2024

Harvest Blessings

Happy Thursday AI Friends!

Today I have a fun fold A2 card for you that provides a great way to display your Fall Blessings, when expanded.  

Have you checked out the latest fall paper pack (5973 - Fall S2 PP) from Art Impressions?  OMgosh, this is such a beautiful paper pack!  All of their papers are fantastic but this one has such great fall colors and patterns.  To show them off, I used the stamp sets #5492 Front Porch Harvest and #5598 Harvest Set along with the sentiments from the #5600 Harvest sentiments set.   


I stamped all of the images onto copic friendly paper and colored using my copic markers as listed below.   The hay bale is stamped directly onto the panel.  All other images are die cut using the coordinating dies that come in the stamp set.  

To create the fun fold card:  Cut your base cardstock at 4 1/4 x 11 and score on the long side at 2 3/4, 
5 1/2 and 8 1/4.  Fold and crease as mountain, valley, mountain.  This will create a W when standing upright.  Fold the side tabs backwards so that the card displays a solid A2 card front with the fold in the valley fold in the middle.  Next cut a 2 x 8 piece from the same cardstock and score the long side at 1 1/4, 2 1/2, 4, 5 1/2, 6 3/4.  Fold and crease as mountain, mountain, valley, mountain, mountain.  Should form a square when upright.  Place glue on the front of the left 1 1/4 tab.  Adhere to the left center of the A2 base along the fold.  Do the same to the right side.  Your fun fold card is now created.  Create your layers for each panel by cutting 1/4 inch smaller than the base.  
For the front panel:  You can cut any size or shape that you choose.  Adhere to the middle fold only of the 2 x 8 inch cardstock piece.  If you adhere to the side folds, the card will not pop up when fully opened.

When folded:

     Front side of the A2:                                                      
  

                                             Back side:


I hope you enjoyed my card for today and that you all have a wonderful Thanksgiving holiday. 
May each of you find some time to do what you love! 

Copics used:  E41, E43, E44, E47
YR12, YR16, YR20, YR23, YR27, YR68
R32, R35
YG91, YG93, YG95

Thursday, October 31, 2024

Hello Fall

 Happy Thursday AI Friends!

My card today is inspired by the Challenge "All the Fall".  I should probably have made a Halloween card since today is Halloween, but oh well.  ๐Ÿ˜  Instead, I chose to welcome in the Fall season using the 5776 Front and Back Sitting Girl, the 5460 Halloween Slimline and the 5783 Fall Leaf Frame die.

I began by stamping the images using Memento black ink on copic friendly paper and colored with copic markers listed below.  For the wagon and the pumpkins, I did a partial stamp of the bottom portion of the 5460 Halloween Slimline set.  I used the die to cut it out and then cut off the owl and above leaving the pumpkins and the wagon.  The sitting girl fits perfectly on the pumpkins and I added a leaf to cover the missing portion of the pumpkin.  I cut her arm to place the leaves under so it looks like she is holding them.  

I cut two leaf frames from two different colors of cardstock and inlaid the opposite color die cut pieces into the corresponding spot on the other frame.  This will give you a two for one frame to use on another card.  I placed a piece of the falling leaf pattern paper from the 5838 Fall paper pack behind the frame for the background.  I then popped up the girl sitting on the pumpkins and adhered to the frame.  Since I didn't have the same color pop dots or nuvo drops, I made my own.  I placed a piece of packing tape over the rust colored cardstock and punched out several pieces using a hole punch.  The packing tape gives a glossy look, but you can also add glossy accents.  I recommend adding the glossy accents after adhering the dots to your card as they are tiny and hard to work with when loose.

Hope you enjoyed my card today!

Happy Halloween, Happy Fall and Happy Nevada day for those of us in Nevada.

Copics used:  E00, E01, E8, E11, E13, E15
E21, E23, E25, E42, E44, E47, E53
N0, N2, N4, N6
R20, RV52, RV55, RV66
YR14, YR16, YR18, YR21, YR68