Showing posts with label Snowman. Show all posts

Thursday, July 9, 2026

Let It Snow

 Happy Thursday AI Friends!

Can you believe it's July already?  Yikes!  Each year, we ask "Where did the first half of the year go?"  So, this year, I'm going to tell myself, it's only July and I'm going to get a head start on Christmas.  Maybe, this tactic will work.  LOL!  Doubt it, but I'm going to give it a whirl.  🀞

This week's challenge "Christmas in July" is going to give me the push I need.  How about you?  Want to join me?  Below is my 2026 Christmas card, or at least, I think it's going to be my Christmas card.  However, if something new comes out, well, then, there's no guarantee.  πŸ˜‰

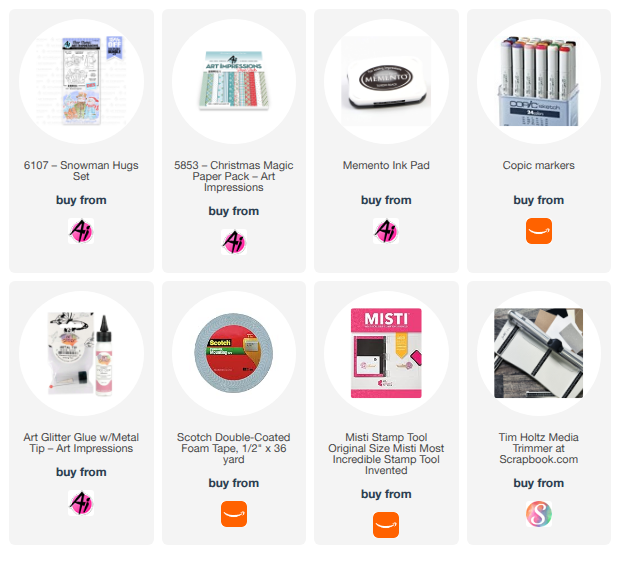
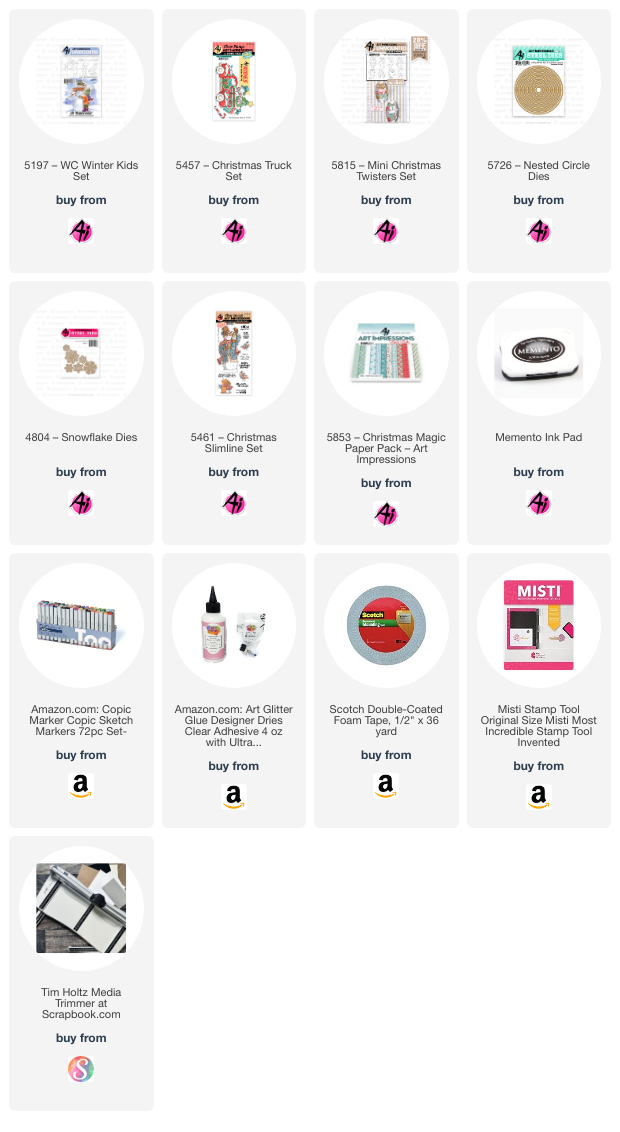
I used the stamp set #6107 - Snowman Hugs and colored this adorable snowman from the set.  I just LOVE him!!!  I stamped him onto copic friendly paper with memento black ink and colored with my copic markers listed below.  I used the blender pen to create the stripes on his jacket and rim of his cozy cap.  He is fun and easy to color, which makes it great for the number of cards that I make at Christmas.  The set also comes with the corresponding dies so I can cut a second one out with ease to layer for extra dimension.   

The pattern paper from the #5853 - Christmas Magic PP makes the perfect background for this card. 

Hope you join in this challenge and give yourself that jump start that we need to create our annual Christmas cards.  Wouldn't it be nice to have them done by October instead of beginning in October?
Good luck!  Happy creating!

Copics used:  B0000, B21, B23, B24
R20    Y12, Y16
G20, G21, G24
BG10, BG13, BG15,BG23

Thursday, January 15, 2026

Wanna Build a Snowman

 Happy Thursday AI Friends!

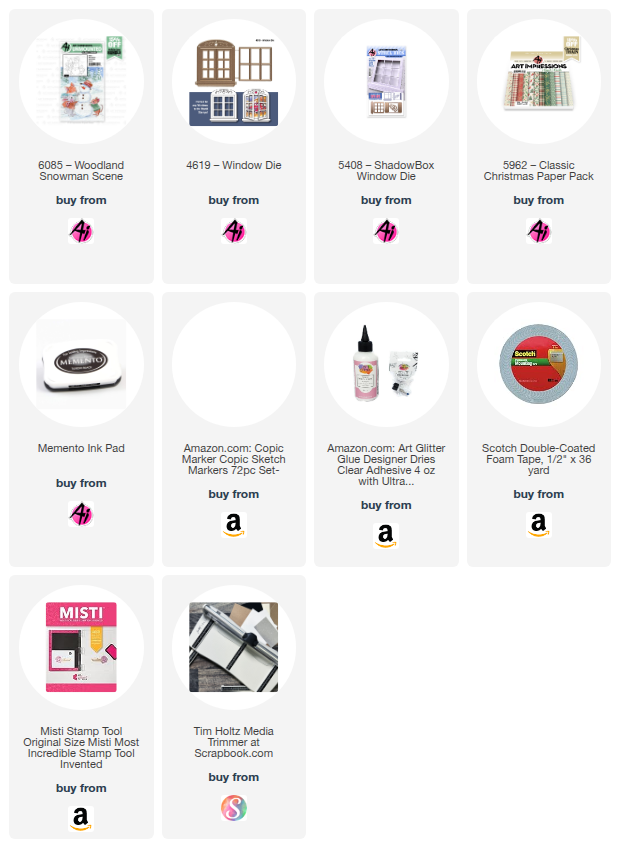
I have a cute little snowman card for you today using the #6085 - Woodland Snowman Scene stamp set.  The stamp sets in this series fit nicely within the #4619 - Window die.  A great way to highlight the scene and add a touch of interactive to your card.


I began by stamping the scene onto copic friendly paper with Memento black and coloring with my copic markers listed below.   I cut the window die from red cardstock using the #4619 - Window die.  I cut the front panel and card base using the #5408 - Shadow box window to position the scene behind the window.  I created the sentiment using my computer and die cut with a tag die from my stash.  I placed a few red hearts onto the card for an extra touch of fun.

Lastly, I added a bit of wink of stella to the hillsides and the snowman.  It isn't noticeable in the above picture so I zoomed in to show below.

Thanks for joining me today!  

Have a great day!  Enjoy and keep creating!

Copics used:  N0, N1, N2, N4, N6, N7
R8, R20, R22, R24
E21, E23, E93, E95, E97
BG70, BG72
B0000, YR16, YR18
YG61, YG63, YG67

Thursday, November 20, 2025

Let it Snow - Pop out Interactive card

       Happy Thursday AI Friends!

I'm so excited to be the one to introduce the new AI blog challenge called "Flurries Forecasted"!  I'm not quite ready for the snowy weather but I'm sure ready to add snow flurries to my cards, tags and projects.  Hope you are just as ready as I am and decide to play along with us!

You may have noticed that I love interactive cards, so yep, I have a fun one for you today using the 
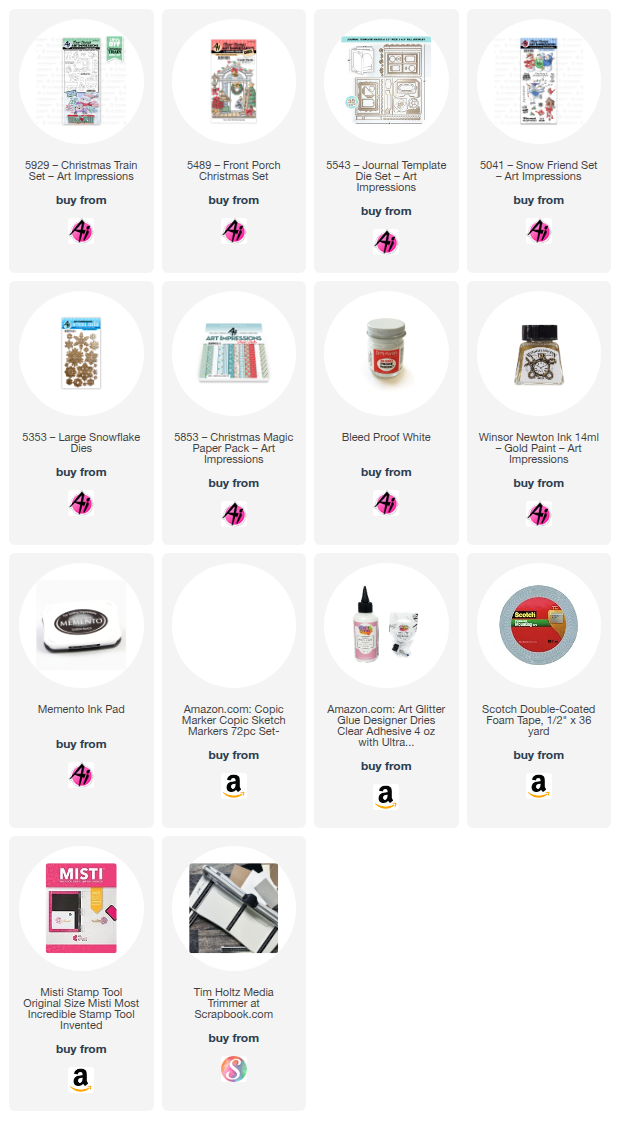
#5929 - Christmas Train set along with some accessories from the #5489 - Front Porch Christmas set.
I love the way these sets work together so that you can combine and stretch their use.


The video below will show how this card opens and stores.  When folded it's an A2 card, but pops open to be approx. 5 1/2 x 12" wide.  Because of the panels that extend out, the card is much thicker than a standard A2 card and will need a larger envelope plus additional postage, if mailing.  


So to get started - I stamped the images with Memento black ink onto copic friendly paper and colored with my copic markers listed below.  I then die cut each of the images with the coordinating dies that are included in both of the stamp sets.  For the two penguins rolling down the snowy hill (on the front of the card), I die cut an extra one, out of heavy cardstock, and adhered to each to give a little extra weight for them to roll better.  I die cut various size snowflakes using the #5353 - Large Snowflake dies from glitter cardstock.  I also cut several trees out of the #5853 - Christmas Magic PP using a die set from my stash but any pine tree dies will work nicely. 

Now, we're ready to build the card.  I started with a standard top fold A2 card from heavy cardstock.  I scored at 5 3/8" as well as the 5 1/2".  This will allow the folds to come up and over the thickness of the final card.  Fold and burnish these score lines really well.  Hint:  I found that my card stood up better if I trimmed off about 1/2" from the bottom of the back panel.  The inside pop out card is cut from heavy cardstock and measures 4 3/4" x 9 1/4".  Score at 1", 3 3/4" and 6 1/2".  This will provide you with three panels that are 2 3/4" wide.  This is a nice size for each of the train cars.  Score and burnish these folds quite a few times back and forth to help breakdown the fibers.

For the front of the card, cut two slider tracks in blue cardstock, far enough apart so that the penguins won't bump into each other when then roll.  I also cut three blue panels to fit each panel of the fold out base.  I spattered Dr. PH Martin Bleed Proof white paint over each of the blue panels to create the snow-like look.  While those were drying, I cut two panels of glitter cardstock (larger than the front A2 blue panel) and cut the same tracks to match up to the ones on the blue base and I fussy cut each to extend the top of the hill.  I found it easier to cut the glitter panels down after lining the tracks up with the blue panel.  I inked the edges with Ranger Distress Oxide ink - Broken China before adhering and used foam tape for the bottom hillside.  Adhere the hillsides down onto the blue base panel matching up the corresponding tracks and leaving some areas to tuck the trees.  The bottom glitter panel will be stacked over the top panel to create a forward hill.  
To create the rolling penguins, I die cut six 5/8" discs from heavy cardstock (or you can use a penny, button or anything flat and round).  Glue one set of three discs together for each penguin.  Stack and glue two foam dots in the middle of each disc (making sure the dot will fit freely in the slider track).  Place the dots through the slider track from back to front and glue the penguin to the top of the dot poking through the track.  Do the same for the other penguin and track.  You should be able to test to make sure they roll freely at this point.  If all is good, place two layers of foam tape to the back of the blue panel.  Be careful not to place foam tape too close to either slider track as this will prevent the penguins from rolling.  Test again before adhering.  Place a piece of glitter cardstock face down over the tape, so that the glitter will show through the tracks, and then glue down to the front of the A2 card. 


Now, for the extended pop out card.  Glue the one inch tab to the inside back panel of the A2 card base.  See below.

Cut several snow drifts from glitter cardstock.  For the two main snow hills, I cut two long ones (different heights), ink the top edges and then cut into thirds so that the hillsides with match up from one panel to the next.  I put foam tape under the front hillside so that the train cars will fit behind with a little dimension.  This is the only dimension I did so that the panels would fold nicely.  If there are too many pop up items, the panels will not fold.  I added a few scrap pieces in back for added snowy hills. 
 
I added a blue panel to the inside as well as a sentiment panel.  Fold your panels in to make sure it is closing nicely.  They should fold in as follows:  right panel closes onto center, then under left and then into the card.  If you are having any trouble, you may have to trim down the blue panels slightly. 

Now the fun, you are ready to decorate the front and each of the panels.  Remember not to add any more dimension to the inside panels.  Foam tape, at this point, is not your friend.  ;)  
However, the front is fair game.  Have fun!

I hope you enjoyed my card today to kick off the new blog challenge "Flurries Forecasted".  
Hope you play along for a chance to win a free stamp set.  We love to see your creations!
Have a wonderful day!  Keep creating!!

Copics used:  C00, C1, C3, C5
B0000, B000, B00, B01
E21, E23
R20, R22, R24, R27
Y32, Y35    YR16, YR18
G40, G43, G46
Tuesday, November 18, 2025

Floating Snowman Snow Globe GCH

 Happy Thursday AI Friends!

Simon Says Stamp has an exclusive Art Impressions stamp set available only on the Simon Says Stamp website.  This set was just released Monday, November 17, 2025 and is available for a limited time only and once sold, it will be gone.  So, hurry up and get yours before they are gone.  You have to go see all of the cute samples!  Sooo many fun and different ways to use this set!

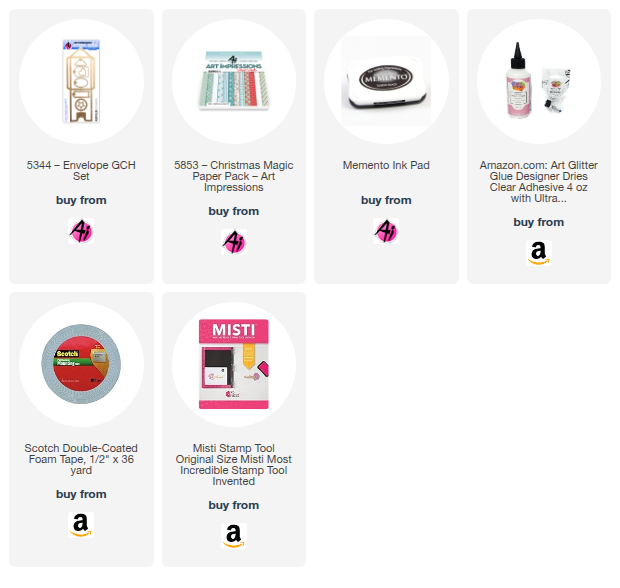
I made it as a tag/ornament with a gift card holder on the back.  Check out my video below to see how the snowman moves within the snow globe.


To make him float within the globe, I used invisible thread/fishing line and attached the body and hat to the string separately from each other.  
Glue the string to the back of the snowman's body.  Place a second die cut to his back over the string to secure it in place.  Position the hat over his head (DO NOT glue in place), making sure he fits nicely within the globe.  Glue the string to the back of the hat.  The hat should be held only by the string with the body dangling below on the same string.  Adhere a scrap piece of hat over the string to secure the string in place behind the hat.  At this point, the string should be the only thing holding the hat and snowman together.   Glue the end of the string between the globe layers.  Fill the globe and attach the acetate layer.  Decorate the outside of the snowglobe and attach a tag holder to the back between the globe and the gift card holder.  
Have fun watching the kiddos play with the snowglobe (if you are able to hand it over). ;)


Thanks for joining me today!  Make sure to grab your snowglobe from Simon Says Stamp before they are gone.  These exclusives go fast!

Hope you have a wonderful day!  Keep creating!


Thursday, January 23, 2025

Snow Friend

 Happy Thursday AI Friends!

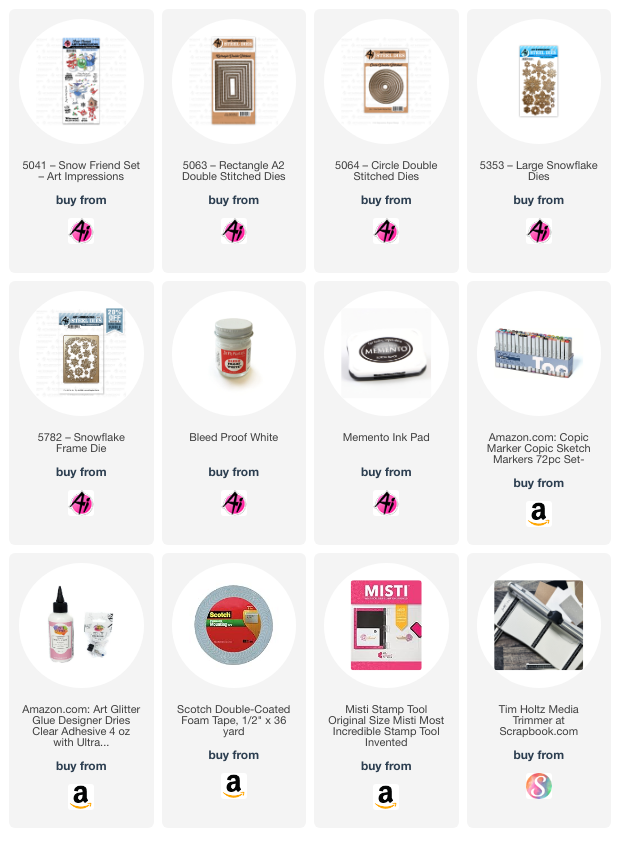
Today my card was inspired by the current Art Impressions blog challenge "Monochromatic".   I've never really done this before, but I found it quite fun!  All you have to do is create a card using one color (or different shades of one color).  I decided to use the 5041 - Snow Friend set.  I've always loved this snowman but since Christmas has passed, I wanted him to reflect the winter season.


I stamped the image with memento black ink onto copic friendly paper and colored with my copic markers listed below.  I then fussy cut him out and cut off the string of Christmas lights that he is holding.  Some of the strings still showed, so I colored over the string pieces with a white paint pen and they are no longer visible.  TaDa!  πŸ˜€

I ink blended a white cardstock panel with Ranger Distress Oxide inks (colors Prize Ribbon and Salty Ocean).  I spattered a little water onto the panel and dabbed it off with a paper towel.  Then I flicked some Dr. Ph Martin's Bleed Proof white paint, mixed with some water, with a small paint brush onto the panel to create a snowy effect.  I cut the panel with the largest 5063 - Rectangle A2 Double Stitch die and I used the 5064 - Double Stitch circle to cut a partial circle out of the top right side.  I created two snow mounds with white cardstock from a panel cut with the rectangle A2 double stitch die.  Lastly, I die cut several snowflakes from the 5353 - Large Snowflake die and the 5782 - Snowflake Frame sets.
 I covered the snowflakes with stickles and created an icy ground to skate on.

That's my card for today!  Hope you enjoy and keep creating!
Make sure to enter the challenge - see Art Impressions blog for details and a chance to win a free stamp set.

Copics used:  C1, C3, E21, E23,
B0000, B00, B12, B14, B16, B21, B23
R20, YR12, YR14

Thursday, November 14, 2024

Snow Much Fun Globe

 Happy Thursday AI Friends!

I have a fun card for you today that fits the "Under the Dome" challenge.  Who doesn't love snow globes?   I used the #5815 Mini Christmas Twister snowman along with the #5457 Christmas Truck cubbie and the #5197 WC Winter kids sets.  


I used a plastic dome cover from the packaging of a battery powered light.  You can use any size covering from most household items.  Find one around your home that fits your scene or go to your nearest dollar tree and look for an item that the covering would work.  πŸ˜€  My measures 2 3/4" so it is perfect for my scene and made for a nice snow globe.  

I stamped the images onto copic friendly paper and colored with my copic markers listed below.  I die cut the images with the coordinating dies except for the little girl in front, which I fussy cut, but it was simple enough.  I inked the hillsides and the background with Broken China Distress Oxide ink.  I layered the scene together on a circle die cut larger than the base of the globe.  Once the scene was created, I painted with some stickles and let dry.  Before I added the snow (glitter) to the globe, I dusted the inside of the globe with my anti-stick powder pouch.  I then filled the globe with glitter and placed liquid glue around the edge and placed the scene piece onto the globe.  I die cut a circle frame using pattern paper from #5853 Christmas Magic PP and two sizes of the #5726 Nested Circle dies, making sure that the inner circle fit around the base of the globe.  I created two more hillsides to place on the bottom of the card, stamped the sentiment from the #5461 Christmas Slimline set and inked the edges with the broken china distress oxide ink.  I adhered the little girl to the bottom right and a few snowflakes around.  

This is such a fun card to play with.  

Thanks for joining me today and I hope you decide to enter the challenge to have a chance to win a free stamp set.  Make sure to check out the tab above for details.

Enjoy your day creating!!!

Copics used:  C1, C3, C5, C7
E43, E44, E47
B0000, B12, B14, B16
YG63, YG67
R20, R22, R24, R27

Thursday, November 16, 2023

Merry & Bright

 This is week #2 of Art Impression's "Making Spirits Bright" challenge.  I don't know about you but my spirits are brightened whenever I receive a handmade card/tag/gift.  I enjoy receiving as much as I enjoy making them.  What happened to the old days where we use to make Xmas gifts vs. bought?  So much more special and meaningful.  I vote to go back to the old ways!  


 For this challenge, I decided to make a shape card using the Art Impressions Holly Jolly stamp set.  These little snowmen are so darn cute!  To make the shape card, I used a large shape die that I had in my stash and just scored it in half to make my base.  I then used the next die in that pack and layered on top of the other to make the base layers.  Such a fun way to use your dies and create a cute card.  

 I stamped the image on cryogen white cardstock and colored with my copic markers.  I framed the image with another die from the shaped nesting die set.  The sentiment is from the same Holly Jolly stamp set and I used the smallest die from the Art Impressions double stitch rectangle die.  The flag banners were cut from the Art Impressions flag double stitch die set.

Hope my card gets you in the crafty mode.  

Enjoy your day.


Tuesday, December 15, 2020

Christmas

 A Christmas card is the theme for this week's Art Impressions "Reason for the Season" challenge.  Art Impressions has sooooo many adorable snowmen stamp sets to pick from, but I chose the Jolly Snowmen set for this challenge.   I love the grin and happy feeling this little snowman expresses.  He just makes me smile!

I hope you enjoy my card.

Stay well and Happy Holidays!