Showing posts with label Gnome. Show all posts

Thursday, February 12, 2026

Gnome Valentine and treat box

 Happy Valentines Day AI Friends!

A couple of weeks ago, I posted a treat box within my "Sunshine" post dated Jan. 22, 2026.  I used the front and back gnomes from the #5785 - Gnomes set.  My daughter loves gnomes so I filled it with the scotchmallow from See's candy, also her favorite.  She fell in love with the little treat box and asked if I would make some for my granddaughter's preschool teachers as well as her co-workers.  Needless to say, I will do anything for my grandbabies.  😍  So, I made several (see below).  They are fun and easy to put together.  Check out my post from January. 

I decided to make a card to match the little treat box using the same stamp set.  It's a card within a card that adds a nice twist to the standard A2 card. 

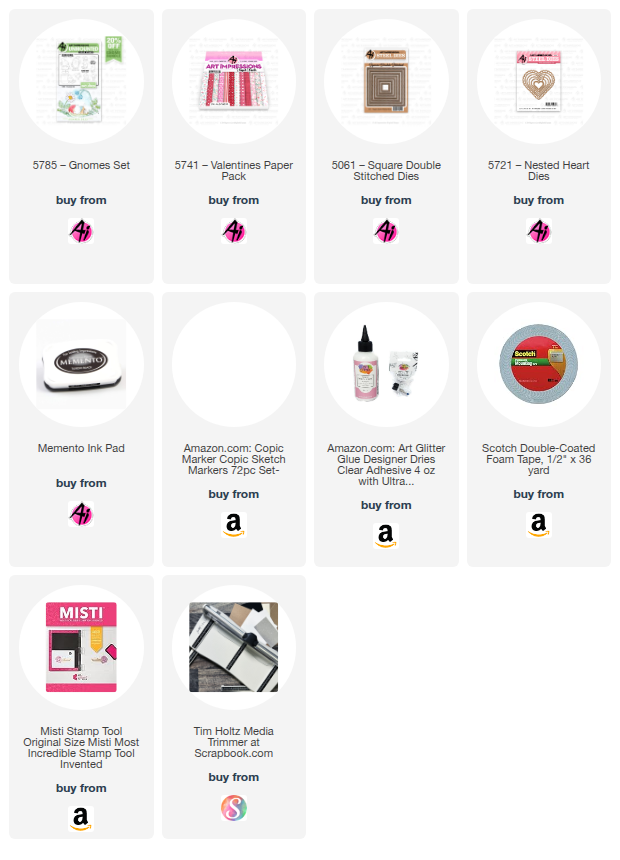
To start, I stamped and colored the images with copic markers listed below.  I die cut the images with the corresponding dies that are included in the sets.
I created a standard A2 card using the #5741 - Valentine PP.   I also die cut 3 red panels using the stitched square dies #5061 and a square side-fold card from white cardstock, just slightly larger than one of the red panels to provide a border.  I positioned the smaller card to open from left to right and adhered the back side to the inside of the A2 card.  The right side of the smaller card will then close over the front of the A2 card.  I adhered a red panel to the front of the square card, one to the inside front and one to the front of the A2 card to be covered by the smaller card front.  I then decorated with the gnome images and the heart dies.  Placed a small white string bow on the front with a few scattered mini hearts to finalize the card.


Here are the 10 little treat boxes.  I used the #5721 - Nested Heart dies to cover the front and back of the treat box.  I just love the way these turned out. 


Hope you all have a wonderful day today and a very Happy Valentine's Day!

Copics used:  C0, C1, C2, C3
 E93
R20, R22, R24, R27
R81, R83, R85
G40, G43, G46
Y13, Y15, Y17

Thursday, January 22, 2026

You are My Sunshine

 Happy Thursday AI Friends!

Well, the current challenge "Pocket Full of Sunshine" just shouts warm and happy to me, so I got carried away!  I apologize, but, how can you not love the color of yellow and the feel of sunshine?  It just makes you smile, doesn't it?

I created several projects today, but I couldn't stop!  I just kind of kept on going.  😊
I started out with a card, then a pouch and finally a box.  As long as I had paper, I kept on playing.


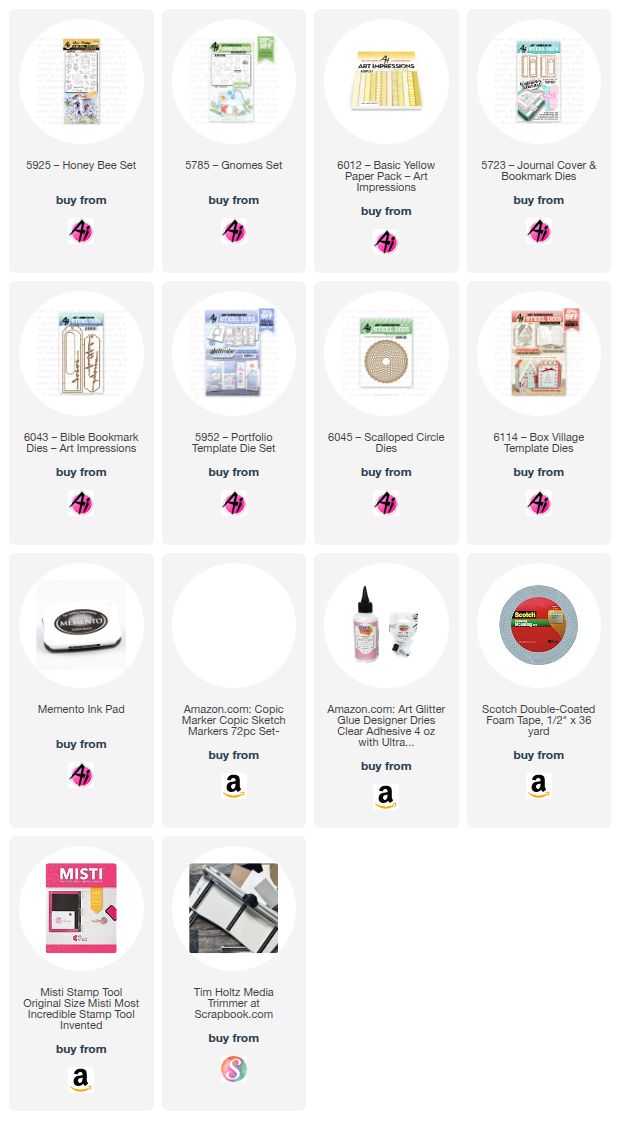
Card:  Stamped the images from #5925 - Honey Bee stamp set onto copic friendly paper with Memento black ink and colored with copic markers listed below.  I created a pocket by cutting a rectangle and scoring 1/2" around three edges.  Fold and burnish each edge.  Snip off a bit of each of the folded corners creating tabs to glue down to the base.  I added a scallop top from the #5952 - Portfolio Template die set for the top of the pocket.  I then created a bookmark using the #5723 - Journal Cover and Bookmark die set as well as the #6043 - Bible Bookmark and Word die set to insert into the pocket.  The sentiment die is from the #6114 - Holiday Lane Village Template.  The sun die is from my stash.  


Treat Pouch:  created from a 6 x 6" piece of cardstock.  Fold and burnish one corner diagonally to the other creating a triangle.  Fold and burnish the front corner down halfway towards you.  Lift that corner back up and fold the left bottom corner up and align with the halfway fold line.  Do the same for the right bottom corner.  Glue those in place.  Fold the top front corner back down towards you and tack into place.  The pouch is now ready to decorate and fill with treats.  


Box:   I saw this video on youtube for The Paper Pixie.  Julie Dimatteo is the host of this youtube and she is fantastic.  Her explanations are soooo well done.  This video is called the Sweet Jar Treat box.  
I thought this was the cutest thing so I had to try it out.  I created the box the same but used the Art Impressions #5785 - Gnomes stamp set as well as the #5925 - Honey Bee set.  It calls for two strips of plain card stock - one at 1 5/8" x 6 1/4" and the other is 1 5/8" x 5 15/16" (see says 5 5/16" but s/b 5 15/16").  The box holds one Ferrero Rocher candy and would be a sweet treat for a teacher, special friend or any other special person in your life.  

Well, that's it for me today. 

Have a great day and keep creating!

Copics used:  N3, N4
R20, E21
G43, G46, B21, B23
Y11, Y13, Y15, Y17

Thursday, January 1, 2026

No. 1 Book and Gnome Bookmark

 Happy New Year AI Friends!

I hope you had a wonderful holiday and are ready for the New Year!
 Can't wait to see all the fabulous creations from Bonnie and Kim.  I have no doubt that they will have lots of fun products for us again this year!

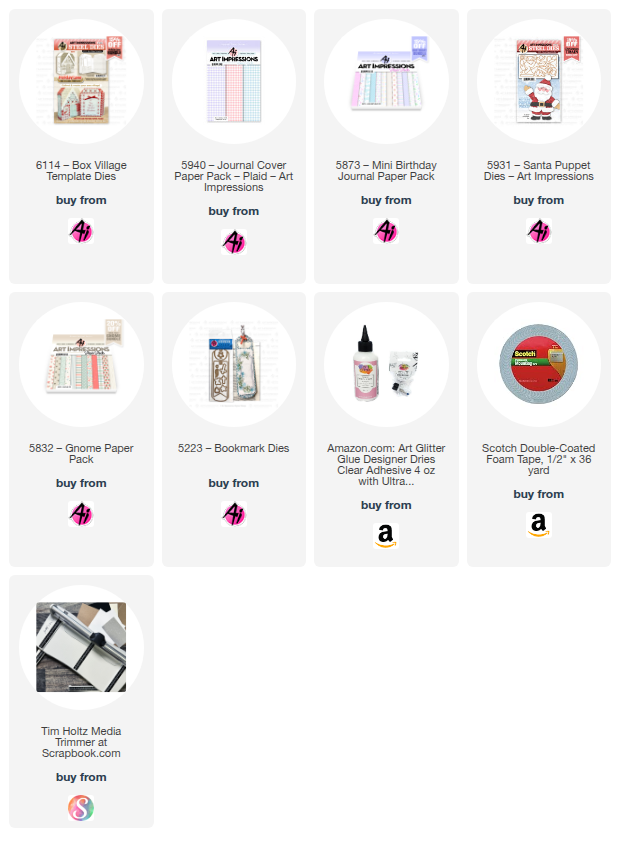
I'm starting off the New Year using #6114 - Box Village Template dies from the Holiday Lane series.  
I slightly changed the book cover to make it look like a number 1 for my granddaughter's first birthday.  Hope it's clear for you to see - made with the #5940 Journal Cover Paper Pack - Purple Plaid paper.  

I used #5873 - Mini Birthday Journal Paper pack for the inside of the book.  The inside contains pictures, pockets, notes and details from her first year and as much as I would love to show her off, my daughter asked that I didn't, so, unfortunately I don't have many pages to show.  However, my main purpose in showing this book was to emphasize how you can make slight changes to extend the die sets to fit your occasion.  Let your mind go!  Mine sometimes goes in odd directions but it's fun to see what can be created.  LOL!   


  Her birthday was S'mores themed so I created a S'mores with a square die from the #5725 Nested square dies set and the #5407 Birthday Cake GCH frosting die.  The graham cracker part was cut in rectangle shape and rounded the corners with a corner punch.  I inked the edges, stamped a cute little face on it and added a bow.  The sentiment tag is from the #6121 Storybook template.

Gnome Bookmark:  Another slight alteration of dies - here's a bookmark I made into a Gnome using the #5931 Santa Puppet die set.  The only real change that I made was that I added an additional beard layer by partial die cutting to make it slightly smaller so that it fit on top of the bottom one.  Then the nose fit nicely in between the top beard layer and the rim of his cap.  I omitted the brows, mustache and eyes.  Since he isn't a Santa, I also omitted the belt and fur parts of his outfit.  I die cut his outfit using the #5832 Gnome PP.  This paper choice made him look like he was wearing PJs so I added a cookie and coffee mug (from my stash) in his hands.  I placed him onto a bookmark made with the #5223 - Bookmark die.  He actually resembled me after Christmas.  I was a complete couch potato with my PJs on and my coffee mug in hand.  Life is good! 


Welcome to 2026 and another fun year with Art Impressions. 

Thanks for joining me today!  
Have a great day and keep creating!


Thursday, August 7, 2025

Gnome Frame

Happy Thursday AI Friends!

Today I have a cute little frame that fits right in with the current blog challenge called "Stitches and Scallops".  I love this little #5902 - Mini Scallop Frame set.  It makes the cutest little display card for a desk, mantel, shelf or anywhere for that matter.  This one with the gnomes brings a smile to my face.
        

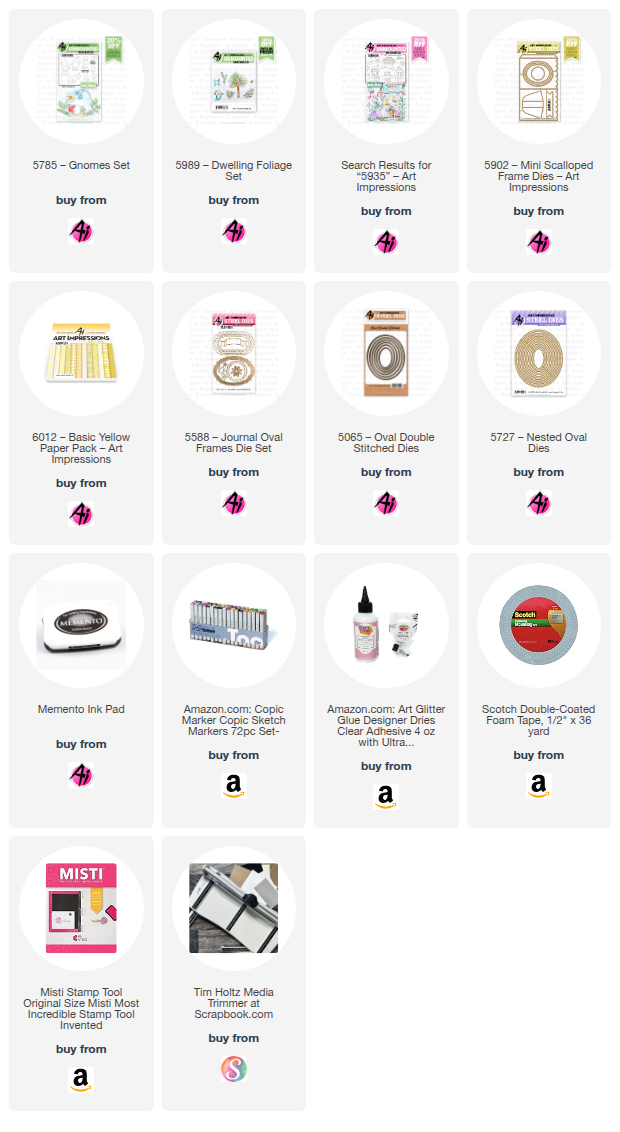
I began by stamping the images onto copic friendly paper with Memento black ink and coloring with my copic markers listed below.  The gnomes (5785 - Gnomes set) and the bees (5935 - Fairytale Houses) were cut using their corresponding dies that are included in these sets.  
The scene was stamped onto a 3 x 2 1/2" piece of copic friendly paper.  The tree stump is from the 2025 freebies part 1.  If you don't have that freebie, you can use the stump from the KH5951 - Foxes set and draw in the door and window.  I colored, free hand, the walkway and the grass.  Don't look too close because they are pretty rough.  😞  The leaves were stamped with Memento black ink using the 5989 - Dwelling Foliage set and colored with my copic markers.

I die cut the frame from a piece of striped paper from the 6012 - Basic Yellow PP using the #5902 - Mini Scallop Frame die.  I also die cut the oval opening using the #5727 Nested Oval die.  I then die cut a stitched oval frame to place on the outside of the oval opening using the #5065 - Oval Double Stitch die with a slightly larger nested oval from the #5727 - Nested Oval dies.

I popped the gnomes up on foam tape and adhered one to the top of the stump and the other to the outer side of the stitched oval frame.  I adhered one bee directly to the image and the other to the outer frame.  Lastly, I cut the sentiment banner from the #5588 - Journal Oval Frame set and stamped the sentiment from the #5785 Gnomes set onto the center of the banner.  

Oops, almost forgot the easel.  Make sure to die cut one from the #5902 - Mini Scallop Frame die and adhere to the backside of the scallop frame so that it stands nicely.


That's it for me today.  Hope you play along and enter the challenge "Stitches and Scallops" to win a free stamp set of your choice.  It's easy and so fun (especially if you win). 😁

Have a great weekend and keep creating but make sure to share because we love inspiration!
Copics used:  E01, E11, E21, E23, E25
W0, W1, W3, W5
Y15, Y17
B32, B34
G40, G43

Friday, May 17, 2024

Gnome Magnet Treat Box

 Happy Friday AI Friends!

Today I have a fun little treat (pun totally intended - LOL) that goes with the "Just For You" challenge.  Who doesn't LOVE Gnomes?  I decided to make a little gnome magnet to go with this treat box.  He's tucked away in a little pocket but can be removed to reside on the fridge, a teacher's chalkboard or in your scrapbook room on a magnetic surface.  

He's so darn cute!  


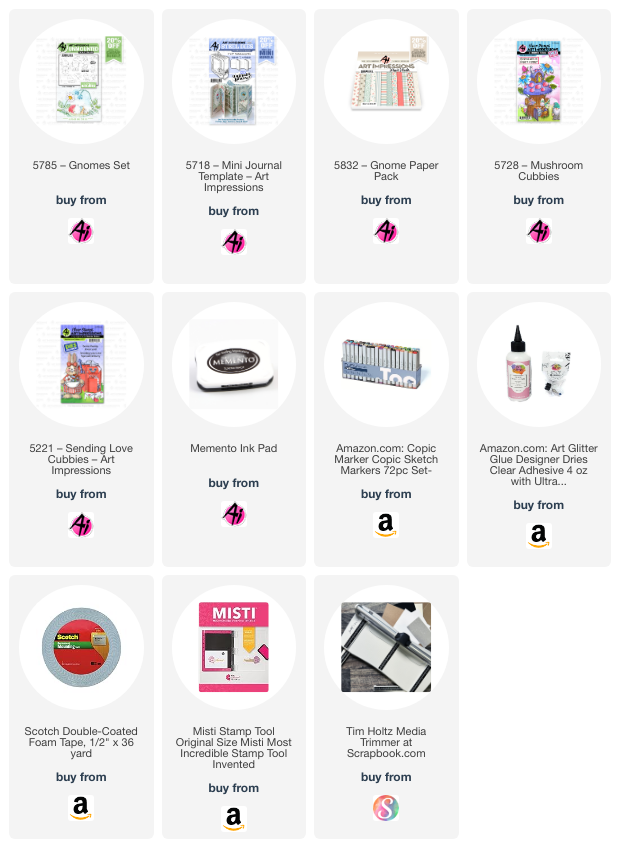
I used the Art Impressions #5832 Gnome paper pack for the treat box as well as the pocket that the gnome sits in.  The Gnome is from the #5785 Gnome set which has the matching dies.  I stamped the front only of this little gnome onto copic friendly paper and colored him with copic markers (see color list below).  After coloring the gnome, I covered him with a piece of clear packing tape to protect the coloring and make him sturdy.  I then die cut him with the coordinating dies and also cut a corresponding piece of adhesive magnet to attach to his back side.  I colored and die cut a few other images from #5728 Mushroom Cubbies and #5221 Sending Love Cubbies to decorate the pocket, which is from the #5718 Mini Journal Template set.  

Treat box:  Dimensions 5 x 1 1/4 x 1.  Use one piece of 6x6 paper.  Score (pattern facing up) at 1, 2 3/4, 3 3/4 and 5 1/2.  Turn clockwise (pattern facing to the right) and score at 1, 4 1/2 and 5 1/2.  Score each of the lines with your bone folder.  With pattern facing up, cut off the bottom right corner piece (s/b 1/2" x 1"). Then across that same row, snip each score point up to the nearest fold to create the bottom of the box when folded in.  Put glue on the pattern side right edge 1/2" piece (above the cut off corner).  Fold into a box shape and seal the glued edge inside.  Lastly fold in the slit pieces (small pieces first) then glue inside of one large piece and seal to create the bottom.

Fill the box with candies and give to a teacher, friend or just for you.   

Hope this brings you a smile!  Thanks for stopping by!


Copics used:  C00, C01, C02
E00, E02, E11, E53, E55, E57
 B91, B93, B95
R22, R24, R27 
YR21, YR23, YR24
YG03, YG17, YG63