Showing posts with label Christmas. Show all posts

Thursday, November 14, 2024

Snow Much Fun Globe

 Happy Thursday AI Friends!

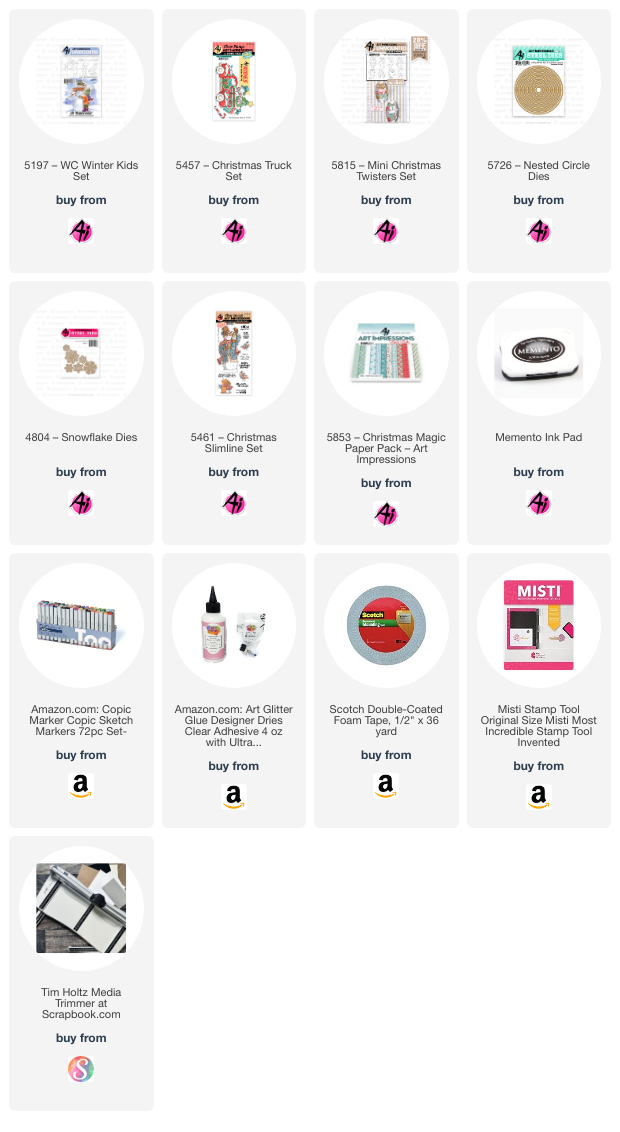
I have a fun card for you today that fits the "Under the Dome" challenge.  Who doesn't love snow globes?   I used the #5815 Mini Christmas Twister snowman along with the #5457 Christmas Truck cubbie and the #5197 WC Winter kids sets.  


I used a plastic dome cover from the packaging of a battery powered light.  You can use any size covering from most household items.  Find one around your home that fits your scene or go to your nearest dollar tree and look for an item that the covering would work.  πŸ˜€  My measures 2 3/4" so it is perfect for my scene and made for a nice snow globe.  

I stamped the images onto copic friendly paper and colored with my copic markers listed below.  I die cut the images with the coordinating dies except for the little girl in front, which I fussy cut, but it was simple enough.  I inked the hillsides and the background with Broken China Distress Oxide ink.  I layered the scene together on a circle die cut larger than the base of the globe.  Once the scene was created, I painted with some stickles and let dry.  Before I added the snow (glitter) to the globe, I dusted the inside of the globe with my anti-stick powder pouch.  I then filled the globe with glitter and placed liquid glue around the edge and placed the scene piece onto the globe.  I die cut a circle frame using pattern paper from #5853 Christmas Magic PP and two sizes of the #5726 Nested Circle dies, making sure that the inner circle fit around the base of the globe.  I created two more hillsides to place on the bottom of the card, stamped the sentiment from the #5461 Christmas Slimline set and inked the edges with the broken china distress oxide ink.  I adhered the little girl to the bottom right and a few snowflakes around.  

This is such a fun card to play with.  

Thanks for joining me today and I hope you decide to enter the challenge to have a chance to win a free stamp set.  Make sure to check out the tab above for details.

Enjoy your day creating!!!

Copics used:  C1, C3, C5, C7
E43, E44, E47
B0000, B12, B14, B16
YG63, YG67
R20, R22, R24, R27

Thursday, November 7, 2024

Dancing Santa Tag

 Happy Thursday AI Friends!

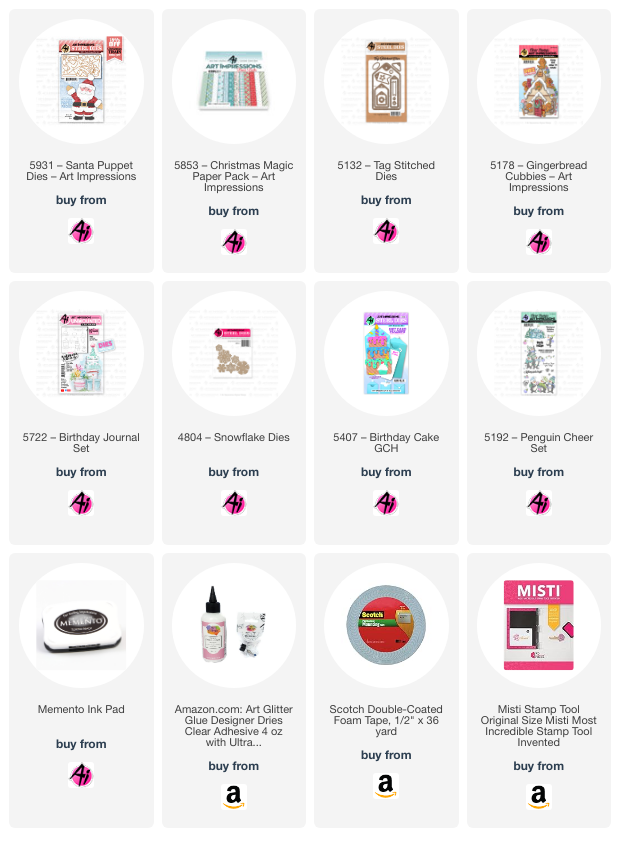
Have you seen the new Art Impressions Christmas release?  Wow, what a bundle!  Two cute stamp sets, a die set and two beautiful paper packs.  I decided to play with the #5931 Santa Puppet die set and boy, did I have fun making several versions of this Santa.  I have several more that aren't christmas so I'll save those for another post.  Stay tuned.

For my first Santa, I made him a dancing tag.  His body and legs move.  Check out the video below.


I partial die cut the pants (cut up to top of pant and then hand cut to make pant waist higher - see Pic 1).  I die cut all of the other pieces as well as an extra jacket and hands and decorated accordingly (see Pic 1 below).  The oval white piece on the right is a rough cut of the back of the head as you will need a base piece.  I then punched a hole in the three pieces as seen in Pic 1.  To put them together so that Santa dances, hold the leg piece where you want it to fall under the finished jacket.  Turn this over and adhere a foam dot into the hole (Pic 2).  Layer the extra jacket behind the back of the other jacket and adhere with the foam dot (see Pic 3).  Next hold the face over the front of the jacket, turn over and place another foam dot into the hole on the back of the jacket (see Pic 4).  Adhere the head base piece onto the foam dot in the jacket.   Your dancing Santa is ready for decorating with a pompom on the hat and a string to hang from the tree or present.

         Pic 1                                                                                                              
  
                                Pic 2

         Pic 3                                                                                                                
   
                                  Pic 4

      Pic 5

My other variations using the 5931 Santa Puppet die set:

Cut my Santa in half and made two tags, one of which using the 5132 Tag Stitched Die.  I popped up the chimney and placed the body of Santa upside down into the chimney.   The second tag, I scored the arms before putting the cuffs on and folded them in half, then put the cuffs on the outer side so he was wrapping his arms around the star.  I also added google eyes to him for fun.  I cut several snowflakes from the 4804 Snowflake dies and the icicles on the chimney are from the 5407 Birthday Cake gift card die.  The sentiment is from 5350 Animal Nativity Set and candy canes are from 5187 Gingerbread cubbies and 5457 Christmas Truck cubbies.


For the following tag I decided to make him a gnome santa.  I shortened his arms and legs and placed the hat lower on his face.  For his beard, I cut two but I cut one differently, by cutting half and then moved the die to stretch his beard and make it wider.  Another thought, you could use the 5223 Bookmark die and cut the top tab off to make a smooth beard.  He actually fits perfectly, but I wanted a fuller beard.  The die used for the santa sack is included in the 5931 Santa Puppet die set.  I believe it is actually to be used as the santa face base, however, I saw someone suggest a possible santa sack so I borrowed her great idea.  I wish I could remember who it was, so I could give her a shout out.   The candy canes are from the 5178 Gingerbread Cubbies and the banner is from 5722 Birthday Journal die set.  The sentiment is from the 5192 Penguin Cheer set.


Monday, December 4, 2023

Clean & Simple

 The last challenge of the year for Art Impressions is "Clean and Simple".  Seems I'm always trying to add something to my cards to "spoof" them up, but this challenge is letting me keep it simple, so no adding bling and embellishments, etc.  I used the Art Impressions Gingerbread Cubbies and the new Joyful Snowman Set.


First I stamped the sentiment from the Joyful Snowman set onto a piece of white cardstock and cut it with a stitched circle die.  Then I cut another circle die just a tad bigger with red cardstock to make the frame.  I temporarily placed the white circle die cut in the center of a 4 x 5.25 piece of kraft cardstock and using my misti stamping tool, I positioned a variety of gingerbread girls and boys stamps from the Art Impressions Gingerbread Cubbies set around 1/2 of the circle die.  I inked the stamps with white pigment ink and stamped onto the kraft cardstock.  I turned the paper around in my misti and stamped the other 1/2 of the cardstock to finish the circle.

I mounted the kraft cardstock onto a piece of red cardstock and then onto a 4.25 x 5.5 card base.  I glued the sentiment circle onto the red circle frame and popped that up with foam tape onto the kraft cardstock in the center of the gingerbread girls and boys.  I colored one gingerbread boy with copic markers and die cut with the dies included in the set.  I tied a piece of twine into a bow and glued the gingerbread boy in the center and attached to the card.

Ta Da done and it took me less than 45 minutes to create two cards.  

I send about 75 Christmas cards out every year and for some reason I always make them so much more involved.  They take me months to complete.  Why don't I keep it simple?  They are just as cute!!  AND so much easier!!!!  

Enjoy and hope you have a Merry Christmas and a very Happy New Year!!


Friday, December 9, 2022

Christmas

 The final challenge for 2022 at Art Impressions is called "That's a Wrap".  I can't believe that we are at the end of another year.  This year has flown by and I remember my mother always telling me that the older you get, the faster the time goes.  Boy, she was right again!  The only thing is:  I didn't think I was getting older.  😁

  Anyway... back to the challenge.  I chose to use the Art Impressions Chubby Snowmen stamp and die set.  I am a sucker for snowmen and this has got to be the cutest set ever.  Love the fact that it comes with dies for the images.  Huge plus!  

I stamped the images on cryogen white cardstock and colored with copic markers.  I then die cut the images out and also cut a blank out of heavy cardstock to mount behind the colored image.  I make many Christmas cards so this was a time saver instead of using foam tape (cost savings too).  I used a birch tree die cut, from my stash, for the background and framed it with a stitched rectangle die from Art Impressions.  I also cut the snow hill using the inside piece of the rectangle.  I made the snowy background from a trick by Jennifer McGuire.  Using a laminator, sprinkle a dusting of embossing powder in between the laminating envelope and run it through the laminator.  As it runs through, it melts and creates the snow effect.  Genius!  I then glued the birch tree die to the laminated sheet and onto a blue cardstock for the background.  Mounted it all onto a gray mat and then onto a red mat and finally onto a white A2 card.  Lots of layers, but I love it!

I hope you have a Merry Christmas and a very Happy New Year!  


Friday, December 10, 2021

Christmas 2021

 The challenge at Art Impressions this week is Happy Happy Holidays.  This is always my favorite time of year.  I LOVE to create Christmas cards and I usually make about 75 to send out.  So, I started this card back in May but, of course, I am still working on getting them done.  Why is that?  Seems the time just gets away from me (or maybe a little procrastination - cuz there wasn't a hurry back then)!  Even though it has taken me a long time to finish these, it was worth it because this is probably my favorite one of all!


 I used the Reindeer Flutter set from Art Impressions.  This is an interactive card - pull the tab down and the penguin's feet flutter up and down.  Sooooo darn cute!!  I stamped the image on copic friendly cardstock and colored with my copic markers.  I used stickles on the jingle bells around the reindeer's neck and glossy accents on the reindeer's nose to give them a little shine.  I inked the background with tumbled glass distress oxide ink and cut it out with the Art Impressions stitched rectangle die.  I also cut the Art Impressions little snowflake dies out of white glitter cardstock for accents.  I die cut the hilltop and the snowy hill from white glitter cardstock from dies I had in my stash and inked the hilltops using mowed lawn and pine needles oxide ink for the trees and tumbled glass for the snow banks.  Lastly, I used white glitter cardstock on a black cardstock base to frame the scene.  The sentiment is included in the Reindeer Flutter set.

Hope you enjoy my card!  
Happy Happy Holidays!


Sunday, March 21, 2021

Mini card

 This week's Art Impression challenge is "Itty Bitty" so I decided to make a mini card out of the Art Impression's Gingerbread house from the Gingerbread Cubbies set.  

  To make this a card, I folded a piece of cardstock and then placed the house die with the left side just over the edge of the fold so that when you cut the house, the left edge doesn't cut, but instead, is the fold of the card.  To finish the inside of the card (no windows or door cuts), I made another die cut of the house on scrap paper and traced it onto plain white cardstock, then I fussy cut it out, trimming the left side to accommodate for the fold and glued it to the inside.  Now you have a plain inside for your sentiment.

 You can make almost any die cut a card by using this technique.   I think the Art Impression's school bus from the School Bus Cubbies set would be adorable as a flip up card.  Gotta try that one next!  I've been wanting to make this Gingerbread cubbies since Christmas and just never found the time, so who says you can't make Christmas cards in March.  πŸ˜‚  This would make a great tag on a Christmas bag!  Can't wait to make more!  Too stinkin' cute!!


  These little cubbie sets are soooo fun to make and play with.  Hope you get to try them out for yourself! 

  Enjoy! 

Tuesday, December 15, 2020

Christmas

 A Christmas card is the theme for this week's Art Impressions "Reason for the Season" challenge.  Art Impressions has sooooo many adorable snowmen stamp sets to pick from, but I chose the Jolly Snowmen set for this challenge.   I love the grin and happy feeling this little snowman expresses.  He just makes me smile!

I hope you enjoy my card.

Stay well and Happy Holidays!