Happy Wednesday AI Friends!
Our current challenge is "Summerween" so I decided to start on my Halloween mini journal book for the littles in my life. Last year, I made Bonnie's Halloween journal into a scavenger hunt book for my oldest grandson and he had the most fun with it. Actually, we all did! My son and daughter-in-law made up riddles and clues for the scavenger hunt and I incorporated them into the pages. Turned out soooo cute, so thank you Bonnie!
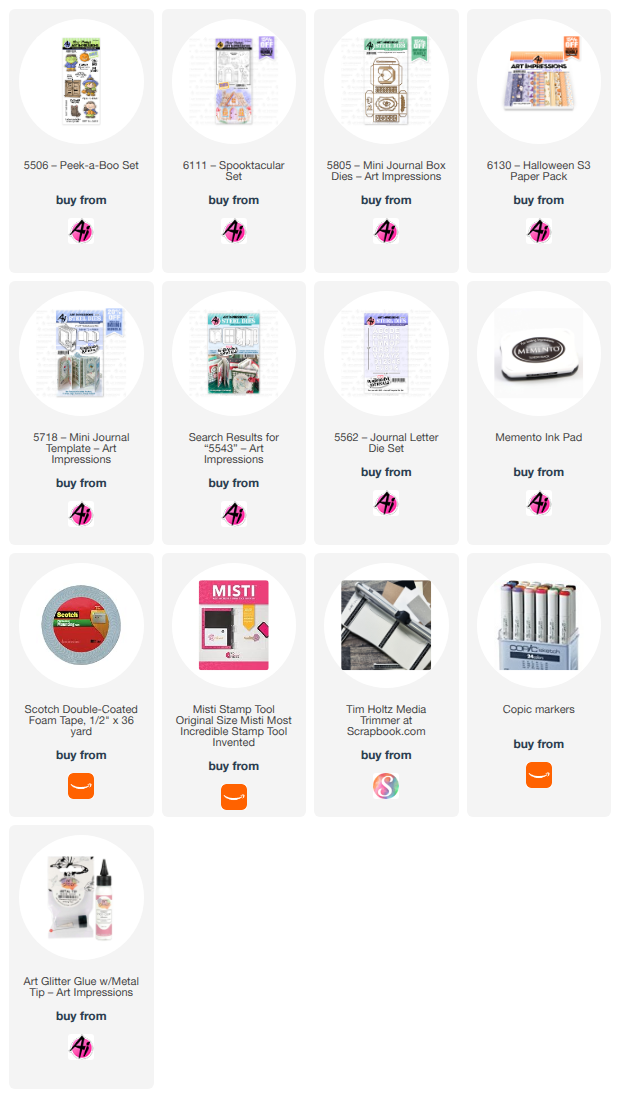
Not sure what I'm going to do in this book yet, so I only made the mini card and attached it to the Mini Journal Box #5805. I'll finish the book at a later date and share at that time, but for now, I'll share the card/box and front of the inside book.
I started off by making the box with the die from the #5805 - Mini Journal Box out of orange cardstock. I used the #6130 - Halloween S3 PP to line the box and decorate the sides as well as create the backgrounds for the card front and inside.
I stamped a few of the images from two sets #6111 - Spooktacular and #5506 - Peek A Boo. I then colored with my copic markers listed below. Both of these sets come with coordinating dies which I just LOVE!
I created a cute little decorative card (2 3/4 by 2 1/4) to fit on top of the box. The pop up ghost has the coordinating die and scores for the folds, which makes the image pop up so easily on the inside.
I adhered this mini card to the top of the box so you first open the card and then the box. The card has a magnetic closure hidden under the front image and the inside sentiment.
The Mini Journal box die creates this cute little box with score lines. All you have to do is fold and glue the sides. Boom! Easy peasy! I suggest using heavy cardstock or add a pattern paper layer for stability.
This box was created by Art Impressions to hold the #5718 - Mini Journal book perfectly. The finished dimensions are 2 3/4 x 2 1/4 x 7/8. Also makes for a nice little treat box.
Thanks for joining me today and I hope you enter our "Summerween" blog challenge for a chance to win a free stamp set of your choice. We love to see your creations!
Have a wonderful day!
Copics used: E00, E01, E11, E21, E23, E25
N0, N1, N2, N3, N4, N6 R20
YR12, YR14, YR16, YR18 Y17
V12, V15, V17 G20, G21, G24


