Showing posts with label Window. Show all posts

Thursday, May 7, 2026

3D Tunnel card

 Happy Thursday AI Friends!

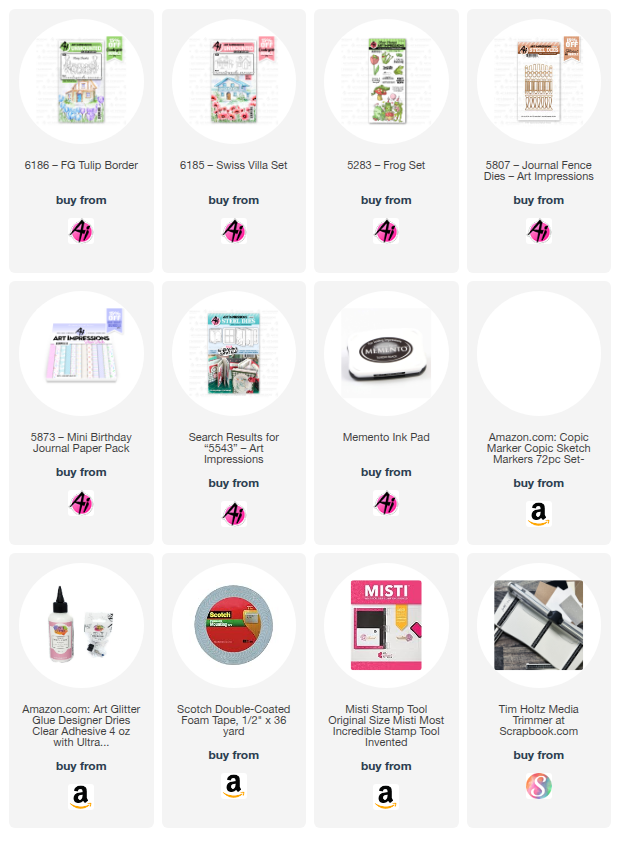
Today I’m sharing a 3D tunnel card featuring two of the newest Countryside series stamp sets: #6186 – FG Tulip Border and #6185 – Swiss Villa.  This beautiful release includes four cottages and three floral borders, all designed to mix and match for creating layered scenic cards.  Each of these images also works wonderfully on its own, making it easy to craft a simple yet striking card with just a single image.  Be sure to check out the sample projects posted on the website under each set.

To create this tunnel card, cut two 2 1/4" x 5" pieces of heavy cardstock.  Score and burnish along short side at 1/2", 1", 1 1/2", and 2".  Fold to create a tube and adhere the 1/4" tab to the inside of the tube. See pic below.  

Cut two 1 1/2" x 8 1/4" pieces of heavy cardstock and score along the long side at 1", 4", 5" and 8".  Fold (all valley) and burnish.  Adhere the 1/4" tab to the inside of the 1" tab.  Glue the two tubes inside one of these tower panels, centering within the 1" sides.  See pic below.  Flatten the card back and forth to adhere the glue in place.  Take the other tower panel and glue the bottom of the two tubes to the inside of this panel.  Make sure to line up so that the card will lay flat, by folding the card back and forth.

Cut pattern paper pieces to fit each of the outer edges and the inside tubes.  Cut arches or ovals using nesting dies to create the tunnel effect.  I also cut a fence using the #5807 - Journal Fence set and layered that between the cottage and the floral border layer.  


I stamped the images onto copic friendly paper with Memento black ink and colored with my copic markers listed below.  I fussy cut both the cottage and the flower border.  I adhered the floral border to the front oval die and the cottage to the back panel made up of the inside oval piece and cloud pattern paper.  I added the sentiment onto a banner die from the #5543 - Journal Template die set.  Lastly, I added some grass die cut pieces, a frog from the #5283 - Frog set, and the sun die from my stash.

This card will fit nicely into an A2 envelope when flat.

I hope you enjoyed my card today and I thank you for joining me.

Have a great day and keep creating!

Copics used:  E51, E53, E55
Y13, Y15, Y17
B21, B24
G20, G21, G24

Thursday, April 16, 2026

Rain or Shine

 Happy Thursday AI Friends!

Have you entered the latest blog challenge - "I See Right Through You"?  Anything that you can "see through" will qualify (ie windows, globes, shakers, etc.).  Make sure to enter for a chance to win a free stamp set.

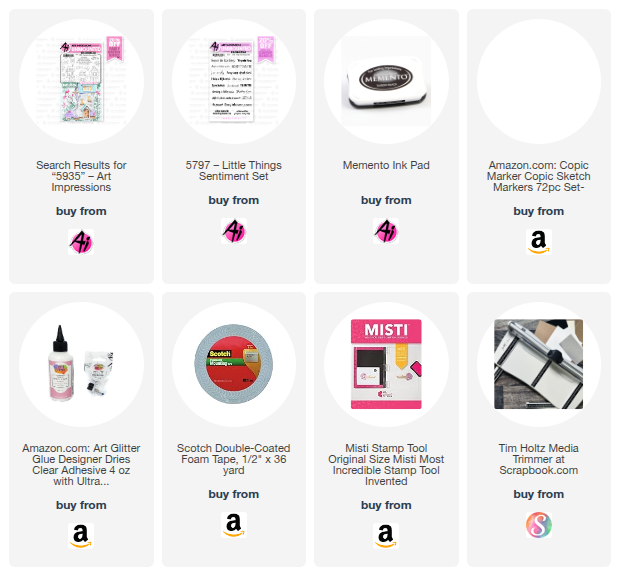
I chose to use two of the freebie bears along with the fence and daisies from the #5935 - Fairytale houses.  I made an acetate window with raindrops for the front with the umbrella freebie bear and then a sunshine scene on the inside with the freebie holding a daisy.


I stamped the bears and daisies with memento black ink and colored with my copic markers listed below.  I then fussy cut the bears and used the coordinating dies with the daisies.
To create the raindrop window, I inked blended two panels the same.  I used the MFT Falling From the Clouds die set.  I then cut a piece of acetate large enough to fit the opening.  I made some score marks diagonally and then dropped some glossy accents onto the acetate along the score marks to resemble rain.  Let the glossy accents dry and then glue to the back side of the opening.  I cut another window frame to cover the acetate edges on the inside. 


I decorated the inside with the daisies, fence, sun and bear.  I shut the front of the card and adhered the rain bear to cover the daisy bear from the front.  I also placed clouds over the front to cover the sun on the inside.  The daisies will be seen through the window.  I added a few little white hearts to the corners and grass to the bottom of the fence posts.  The front sentiment is from the #5797 - Little Things Sentiments and the inside sentiment was just made up to fit the scene.

That's it for me today!  Hope you enjoyed!
Make sure to play along and enter the blog challenge for a chance to win a free stamp set.
Have a great day and keep creating!

Copics used:  E50, E51, E53, E55
B000, B12, B14
R20, R22, R24
Y13, Y15, Y17, Y21
G20, G21

Thursday, March 5, 2026

Friends are Flowers

 Happy Thursday AI Friends!

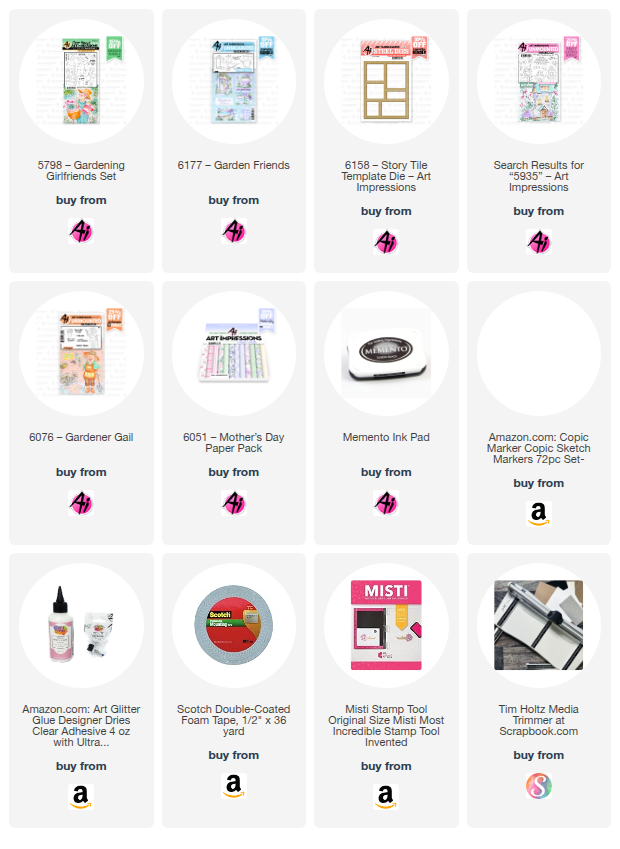
Oh Man, I had such a fun time making this card.  My inspiration came from a combination of the newly released Story Tile sets and die as well as the current blog challenge "The People In Your Neighborhood".  For my card, I used the #5798 - Gardening Girlfriend set, the #6177 - Garden Friends set and the #6158 - Story Tile Template Die as well as a few accessories from some other sets that are listed below.  


I started by stamping all of the images onto copic friendly paper with Memento black ink and colored with my copic markers listed below.  I decorated some of the images with my white marker (you can also use the Dr. PH Martin white paint).  I fussy cut the girl as well as the story tile garden images.  

I cut the story tile window frame from a piece of pink cardstock and a piece of pattern paper from the #6051 - Mother's Day PP.  I layered the pattern paper over the pink cardstock and shifted it slightly to the right and upwards so that the pink showed through the window slightly.  This provided a nice little contrast and helped pop up the images as well as the pattern papers underneath.  Then a die cut some other pattern papers from this paper pack with the story tile die and placed them behind the pink frame.

I stamped the sentiment from the Garden Friends set and adhered behind the narrow window.  I popped up each of the images with foam tape into the other windows and decorated the pots and boots with flowers from the #5935 - Fairytale houses set and the #6076 - Gardener Gail set.  To finish off the card, I colored a few bees from the Fairytale Houses set and placed them near the flowers. 

Make sure to check out the newly released sets and also the bi-weekly blog challenge for a chance to win a free stamp set of your choice.  We love to see your creations!

Thanks for joining me today!  Have a wonderful day and keep creating!

Copics used:  E00, E01, E11, E21, E23, E25
R20, R24,      C1, C3, C5
Y32, Y35, Y38,   YG41, YG45
B91, B93, B95,    RV52, RV55

Thursday, January 15, 2026

Wanna Build a Snowman

 Happy Thursday AI Friends!

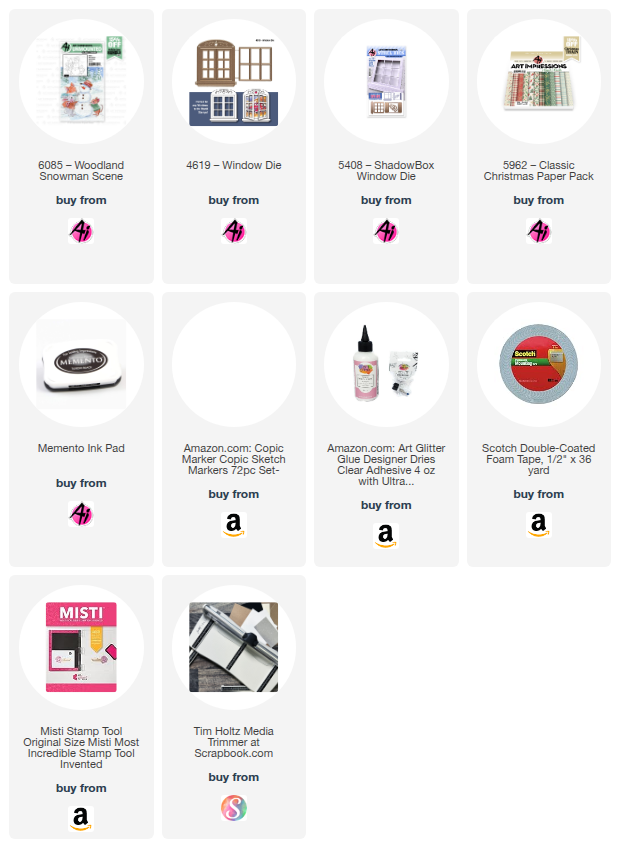
I have a cute little snowman card for you today using the #6085 - Woodland Snowman Scene stamp set.  The stamp sets in this series fit nicely within the #4619 - Window die.  A great way to highlight the scene and add a touch of interactive to your card.


I began by stamping the scene onto copic friendly paper with Memento black and coloring with my copic markers listed below.   I cut the window die from red cardstock using the #4619 - Window die.  I cut the front panel and card base using the #5408 - Shadow box window to position the scene behind the window.  I created the sentiment using my computer and die cut with a tag die from my stash.  I placed a few red hearts onto the card for an extra touch of fun.

Lastly, I added a bit of wink of stella to the hillsides and the snowman.  It isn't noticeable in the above picture so I zoomed in to show below.

Thanks for joining me today!  

Have a great day!  Enjoy and keep creating!

Copics used:  N0, N1, N2, N4, N6, N7
R8, R20, R22, R24
E21, E23, E93, E95, E97
BG70, BG72
B0000, YR16, YR18
YG61, YG63, YG67

Thursday, August 28, 2025

Chicken Coop

Hello AI Friends!

Welcome to my feature for the "When One Door Closes" bi-weekly challenge.
I thought it would be fun to make a chicken coop and create a fun fold door card.  

I used the AICS40 Spring Chicken and the 5731 - MB Chicken set for this interactive card.  How does the saying go "When one door closes, another one opens"?  Who would have thought that it opens to a CHICKEN PARTY!  ๐Ÿ˜ 


I did the usual by stamping the images onto copic friendly paper with Memento black ink and colored with my copic markers listed below.  I used the 5135 - Hexagon Double Stitch largest die to cut the chicken image and then I used the 5063 - Rectangle A2 Double Stitch largest die to cut the straight edge at the bottom.  The images on the front of the card were cut with the matchbook dies that come with the set.  I fussy cut the tabs off for the matchbook.  I also fussy cut the 6003 - Exclusive Coop freebie.  

To make the fun fold coop card - start with a 4 1/2 x 11 piece of colored cardstock.  Score and fold 
at 2 3/4 and 8 1/4".  Fold the card shut to make an A2 size card.  Use the hexagon die to make a template out of scrap cardstock.  Place the point of the template on the inside edges of the front flaps of the card.  Either draw a cut line for the angle cuts at the top of the card or place the card base into your cutter holding the template in place and cut the angle cuts.  

For the inside pattern pieces, middle - cut a gingham piece 4 1/4 x 5 1/4.  Cut the angles at the top using the cut off angle pieces for the template then cut off the bottom edge to fit.  Do the same for the sides but cut two pattern paper pieces at 4 1/4 x 2 1/2.  Adhere the inside pattern pieces.  To cut the windows, use the template for the angles and draw your window.  Cut using an exacto knife.  Glue some screen material to the inside panel just along the window hole.  Take narrow pieces of cardstock to frame the inside of the window (see below).


For the valance at the top of the windows (inside and out), I cut several edges from pattern paper using the scallop edge from the 5543 - Journal Template die set.  For the front of the card, I placed thicker edges along the bottom and popped up the top thinner layer.  I used thinner edges for the inside windows.

The sentiments came with the AICS40 - Spring Chicken stamp set.  I cut two of them with the 6046 - Scallop Oval dies and adhered them to the inside flaps.  The one on the front, I used the 5063 - Rectangle A2 Double Stitch die.  The eggs on the inside are from the 5738 - Easter Egg House set and are fussy cut and placed onto a straw piece cut using a die from my stash.

As for the front of the card, I used the 5731 - Matchbook Chicken set along with the 6003 - Exclusive Coop freebie (available now with a $30 order).  The fence and grass are dies from my stash.  
The latch was created using several layers of cardstock with a wood grain cardstock as the top layer.  I cut three strips of wood grain cardstock at 3/8 x 1 1/4".  I cut one in half and placed a piece of cardstock behind each.  I folded both of these to make the hooks and glued in place.  
I layered several pieces of scrap cardstock behind one of the other wood grain pieces and placed a brad into one end.  I used the heart die cut as the anchor so that the latch would turn.  Punch a small hole into the heart die cut and place the brad prongs through it.  Secure the brad but make sure it is not too tight so that it can rotate.  
I cut about 1/4" off one end of the last wood grain piece and layered with several pieces of scrap cardstock.  I then glued this to the back of the other (scrap to scrap) avoiding the brad.  You want the wood grain to show from both the inside and the front.  Glue down the heart and check that the latch will move up and over.  See video below.


I hope you enjoyed my card today.  Thanks for joining me!
Have a wonderful day and keep creating!

Copics used:  T0, T2, T4
E21, E23, R22, R24, R27
YR16, YR18, YR20, YR21, YR24, YR27
Y11, Y13, Y15, Y17
YG06, YG17, G40
B000, B12, B14

Thursday, July 3, 2025

Hello 4th

 Happy Independence Day AI Friends!

WOW!  Have you seen the newest release of papers at Art Impressions?  Holy cow!  I couldn't stand it, I had to put a card together using the new #6090 - Patriotic paper pack.  Although a lot of the papers are 4th of July themed, there are many that can be used for any occasion.  The patterns are incredible and the colors are vibrant and fantastic.  Make sure to check them out!  I can't wait to design with the rest of the pack!!!

I started out by stamping the images from the #5452 - Swing Window set onto copic friendly paper and coloring them with my copic markers, listed below.  The little puppy has a coordinating die that comes with the set so you can pop him up, if you choose.  


I used the #5408 - Shadowbox Window Die to display the image and then I created an interactive venetian blind which was inspired by a Technique Tuesday die tutorial that I found on YouTube.

To create without the die:  Cut a piece of pattern paper 2 3/4" by 4 7/8".  Score every 3/4" along the longest side.  Before folding, punch a small hole, approx. 1/8" in, between each score line on both sides for the strings.  Try to center punch each of the holes, but it does not have to be perfect.  Fold each of the score lines into peaks and valleys.  The valley end should be at the top, this is the side that adheres to the base.  Thread a string up both sides leaving the loose ends at the top.  Thread a bead or knot the loose ends for the string pulls.  Adhere the valley side of the blinds down to the base by placing glue between the string holes.  Make sure to place glue only between the holes or the mechanism won't work. 
 
Valance:  Cut the valance out of another piece of pattern paper and partial die cut with the #6047 - Scalloped Square third largest die (should measure 3 1/4" wide by 3/4" tall).  Make a slight snip on either side at the bottom scallop to hold the string when pulled up.  Pop the valance up with foam tape and adhere just above the top of the blinds.
The bow and the flag heart are fussy cut from the pattern papers of the same paper pack.  Makes great accents!  The Hello die cut is part of the Shadowbox Window die set.

Thanks for joining me today.  Hope you have a wonderful and safe 4th of July weekend.
Keep creating!!

Copics used:  E000, E01, E11, E21, E23, E25, E50, E51, E53, E55
Y13, R20, R22, R24, R27
G20, G21, G24, G28
B0000, B000, B00, B32, B37

Thursday, June 5, 2025

Hydrangea Window

 Hello AI Friends!

I have a window card for you today inspired by the newest floral set #6062 - Hydrangea Floral.  These flower sets are so pretty!  

I decided to try a new coloring medium for me.  I usually color using copic markers, but this time, I thought I'd try my hand at a little water coloring using the Zig Clean Color Real Brush pens.   Needless to say, I need a lot more practice but it still was fun playing and I feel like this turned well.  I used the water color technique where you color the stamp with the markers and then stamp it onto the paper.   I colored the leaves using the #41 Light Green and the blooms with the #81 Light Violet and stamped the image onto a 3 1/2" (top) x 3" piece of Strathmore Bristol Smooth cardstock.   Using the blender brush, I pulled out some of the color on the leaves and the flower blooms.  
Ta da, that's it!  Fairly simple coloring!  


For the card, I cut a 4 1/4 x 11" piece of heavy cardstock and scored at 4 3/4" along the 11" side.   I turned the cardstock and scored from the other end at 1/2", 1", 1 1/2".   I burnished each of the score lines creating a top fold card with a valley, mountain, valley fold at the bottom.   I also cut a narrow 2" piece of cardstock and created a spring-like piece with the same valley, mountain, valley fold to fit behind the image and onto the back side.  See picture below.
 This spring-like piece is optional, but it helps hold the image slightly back from the window opening.
 

I die cut the window, using #4619 - Window die, from the base card front (the longer side with the scored V, M, V edge).  I adhered a lavender pattern piece of paper from the #5955 - Encouragement PP to the front of the base, over the window opening.  I then took a die from the #5725 - Nested Square die set, that is slightly larger than the window opening, and placed it over the pattern paper where the window opening will be.  Tape down temporarily and run through your die cut machine.  I scored the window panes on the window die cut and folded them open.  I then adhered the window to the pattern paper centering over the square hole.  I then sealed up the card by gluing down the bottom edge to the back panel.  The scored mountain should be in the center.  See above.
On the image panel, I scored a tab 1/4" - 1/2" from the top.  Fold it towards the back and adhere it to the inside back of the card, centering it behind the window.  If needed, take the spring-like piece and  adhere to the back of the image and the other end to the back inside of the card.  
Now, to finish the front, I created the fringe-like grass by cutting a strip of green pattern paper and snipping the long edge every 1/8 of an inch (approx.).   I then slightly curled the fringe edge so that it came over the fence.   I weaved a piece of ribbon through the fence, popped up a sentiment from the #6062 - Hydrangea Floral set and added a few small white hearts for the finishing touch.

Thanks for joining me today!
Have a wonderful day and keep creating!