Showing posts with label Fairy. Show all posts

Thursday, December 5, 2024

Teeny Tiny Card

Hello AI Friends!

I'm so excited to share my "Teeny Tiny" card for the Teeny Tiny challenge.  This could not be any smaller but it made for the cutest little card and you can make any shape card with any die that you own.  It's so easy and you will LOVE it!  I bet you make this style card in bundles once you see how fun they are.

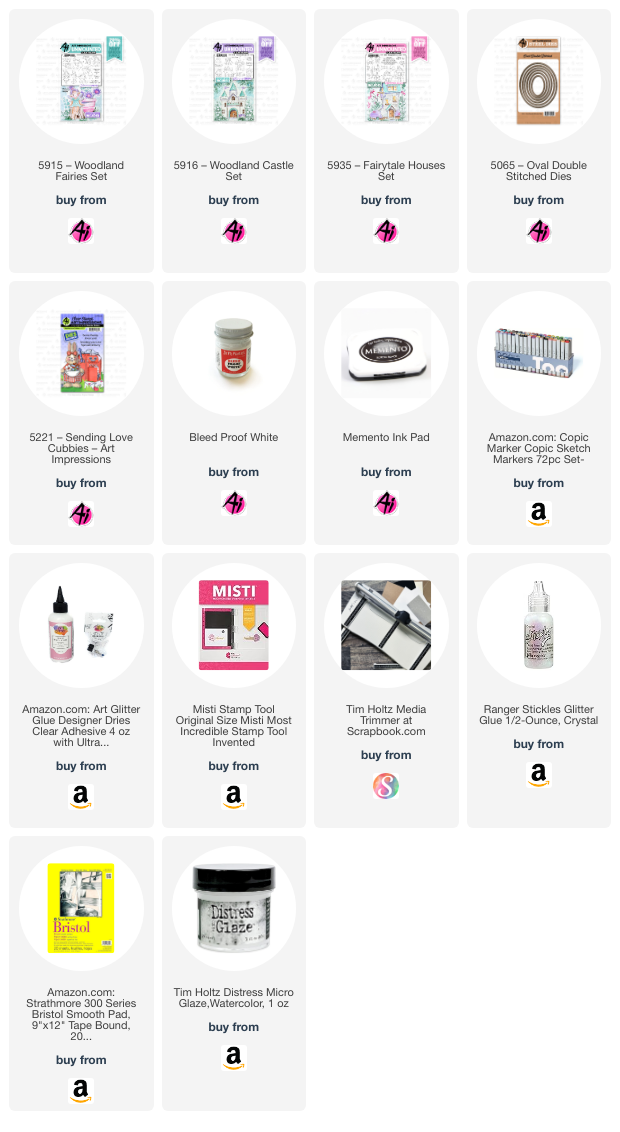
I decided to use the shoe house from the #5935 Fairytale Houses to create my teeny tiny shaped card.  I also used a couple of the fairies from the #5345 Fairy cubbies.


I started out by stamping my images onto copic friendly paper with memento black ink and colored them with my copic markers listed below.  I die cut the images with the coordinating dies that come in each of these sets.  I also cut two extra shoe houses out of plain white heavy cardstock for the card base.  I cut one extra of the fairies and the flowers out of the heavy cardstock to add depth to the image, as well as stability, instead of using foam tape.

To create the card, take the two shoe houses cut from the heavy white cardstock and stamp the sentiment onto one of the houses.  Score, and fold back, at 1/2 inch from the top.  Place glue only on the top edge from the fold and above.  Take the second shoe house and place over the sentiment layer.  This should create the actual card.  Place glue on the top shoe house and adhere your colored image to it.   Decorate with the fairies and the flowers and your teeny tiny card is finished.


I hope you enjoyed my card today and you try this method out with some of your other stamp sets.  You can make the fold on the left side as well, depending where the fold would be better placed.  The top worked best for this image.  
These would make cute little note cards to put in someone's lunch or backpack or on the front of a gift bag.

Enjoy creating!!

Copics used:  B000, B00, Y000, R000
T0, T2, T4
E51, E53, E55, E57
Y13, Y15, Y35
R22, R24, R27, R81, R83, R85
G40, G432
BV11, BV13

Thursday, August 1, 2024

Fairytale Shaker

 Happy Thursday AI Friends!

Today I have a fun little shaker card for you using the new Fairytale Houses #5935 stamp and die set along with the Woodland Fairies #5915 stamp set.

       I've been wanting to make a shaker card for the longest time, so I thought this stamp set would make a cute one using the coffee pot from the Fairytale Houses and the little accessories that are included in the set.  I stamped the coffee pot on a 4 x 4 piece of copic friendly paper and colored with my copic markers listed below.  Each of the other images were stamped with memento black ink on a separate piece of copic friendly paper and colored with copic markers as well.  I cut each of the images with the coordinating dies, other than the coffee pot. 

To make the shaker, I used a scalloped edge circle die from my stash to cut the circle from the white cardstock.  I stamped the saying, from the Fairytale Houses set, to the bottom before creating the shaker.  I adhered a piece of 4 x 4 acetate to the backside of the circle to make the window.  I then took a thin strip of foam tape and placed it in a circle form to the backside of the window.  I placed another strip of foam tape over the other to double it up.  I placed some clear sequins into the well of the circle and then adhered the 4 x 4 square coffee pot image onto the foam tape.  


To finish off the card, I glued the bee and the flowers onto the acetate, tucking the stems of the flowers into the scallop edge of the circle.  Then I glued the fairy and the mushrooms onto the outer edge.  I put foam tape all around the backside of this cardstock and adhered to a yellow piece of 4 1/4 x 5 1/2 cardstock and placed onto a side folding A2 card base.

I hope you enjoyed my shaker card and try one for yourself.  They are really quite fun to play with.

Have a great day and enjoy creating!

Copics used:  E000, E01, E11
E50, E51, E53, E55, E57
C1, C2, C5
B0000, B000
R02, R05, R22, R24
Y11, Y15, Y17
G40, G43


Thursday, July 11, 2024

FairyLand PopUp Card

 Happy Thursday Art Impressions Friends!

Today I'm sharing a card that was inspired by the current challenge - Magical Creatures.  I decided to make a popup tunnel card using the new 5915 - Woodland Fairies and 5916 - Woodland Castles.  This type of card provides several layers so that you can display many of the little fairies.  From of this set, I was able to place five, out of the eight, nicely on this card.


I started with the background by inking up three panels of 6 x 6 Strathmore Bristol Smooth cardstock with Ranger Distress Oxide Spray.  I used tumbled glass and prize ribbon for the top portion of the panels and shabby shutters and mowed lawn for the bottom portion.  Once dry, I brushed on a layer of Ranger Distress Glaze over each panel and wiped off the excess.  I placed some Dr. Ph Martin's bleed proof white paint on my glass mat and diluted with some water.  I then dipped a No. 5 paint brush into this mixture and spattered onto each panel by tapping the brush over my finger onto the cardstock.  This will create a magical background.  I determined which panel I wanted for each layer of the tunnel and used the 5065 - Double Stitched Oval dies to cut the top two layers using the largest ovals.  Cut the forefront panel first with the largest die and then place the middle panel under the forefront and place the second largest oval die to cut the middle panel.

To make the popup feature, I used 80 lb. cardstock and cut two pieces of 2 1/2" x 6 ".  Score each piece every 1/2" lengthwise to form the side popups.  You should have four score lines on each piece.  Fold and score each (mountain, valley, mountain, valley).  Refer to picture below for adhering each background panel.  You may need to trim the middle layer down slightly so that it lays flat when popup is pushed down.


I stamped all of the images onto copic friendly paper with Memento black ink and colored with my copic markers listed below.  Using the coordinating dies, cut each of the images.  I used green polka dot paper and die cut with a grass die I had in my stash.  I inked the grass tines with mowed lawn oxide ink so it matched nicely to the background.  I stamped the sentiment, included in the 5915 - Woodland Fairies stamp set, onto a cloud die cut.  Lastly, I used stickles on the fairy wings to give them some sparkle.

This popup card will lay flat in an envelope and pop up when you take it out.

I hope you enjoyed my "magical" card.  Have a wonderful crafty day!  

Remember to join our challenge to win a free stamp set.  Check out the tab "Bi-Weekly Challenge" on the Art Impressions Blog to participate.


Copics used:  B0000, B00, B12, B14
C1, C3, C5, C7
E000, E00, E11, E21, E23, E50, E51, E53
R11, R12, R14, R20
V12, V15
Y21, Y23
BG000
YG41, YG45


Friday, May 28, 2021

Fairy Flutter

 It's a "Birthday" challenge at Art Impressions this week.  Who doesn't love making, giving and especially receiving Birthday cards?  It's a present in and of itself!  I love to see the creativeness of others so I'm looking forward to viewing all the entries in this challenge.  Always inspiring!

  My card this week features the Fairy Flutter stamp set from Art Impressions.  Unfortunately, she is discontinued, but she is a very used stamp set at my house.  I love interactive cards and this one has the wings fly up and down when you pull the tab.  Sooooo darn cute and fun!


  The sentiment is included with this set (as well as the fairy die) and it's perfect especially for those of us who wish to be 29 again.  Such a great age!  I've been 29 for MANY years.  ๐Ÿ˜‰

  Hope you enjoy.  Have a great Memorial Day weekend!