Happy Thursday AI Friends!
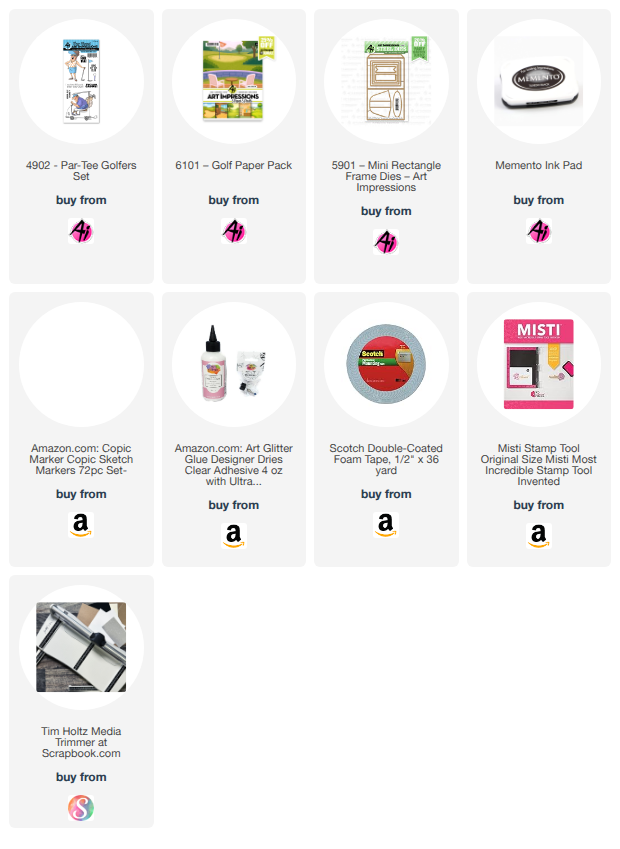
Welcome to the new “Enjoy the Ride” Blog Challenge! There are so many fun stamp sets that feature things you can ride on or ride in, and I couldn’t resist reaching for the Par‑Tee Golfers #4902 for my project. I created a playful Z‑fold style card. This golfer looks like he’s having way more fun driving the cart than actually golfing. My style of golf. LOL!
Here’s the finished card opened up so you can enjoy the full scene.
Here's a picture of the card when shut:
Many of you have probably made many Z fold cards, but for those that have not, here is how you make one. Cut your cardstock to 8 1/2" by 5". Along the 8 1/2" edge, score at 4 1/8 and 6 1/4.
If you want to add the Z fold strip along the bottom (you can also put this strip higher up on the card, if you prefer), cut a strip of cardstock at 8 1/2" x 1 1/8" (or wider, if preferred). Score along the 8 1/2" edge at 4 1/8" x 6 1/4". Flip the main card base so that the score panels are opposite each other. See picture below. The scored panel of the card base is in the front and the scored panel of the strip is toward the back.
I made a yellow and green mat for each panel. Cut the yellow mats to be 1/8" less than the white base for each panel. Cut the green mats to be 1/8" less than the yellow mats so that there is a nice mat layer for each. Using the Golf PP #6101, I cut the two matching pattern papers down to fit on the green mat (approx. 3 3/4 wide by 4 3/4 tall), cutting the bottom portion of the pattern paper off first (you will need for the strip).
Adhere the long edge of the strip to the front scored panel of the base. Adhere the right edge of the strip to the back right edge of the base. Do NOT place glue along the whole strip as two portions do not get adhered down. See the picture above.
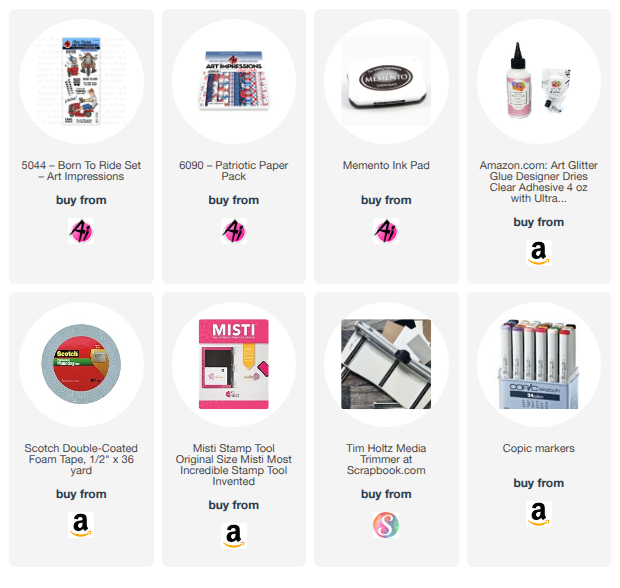
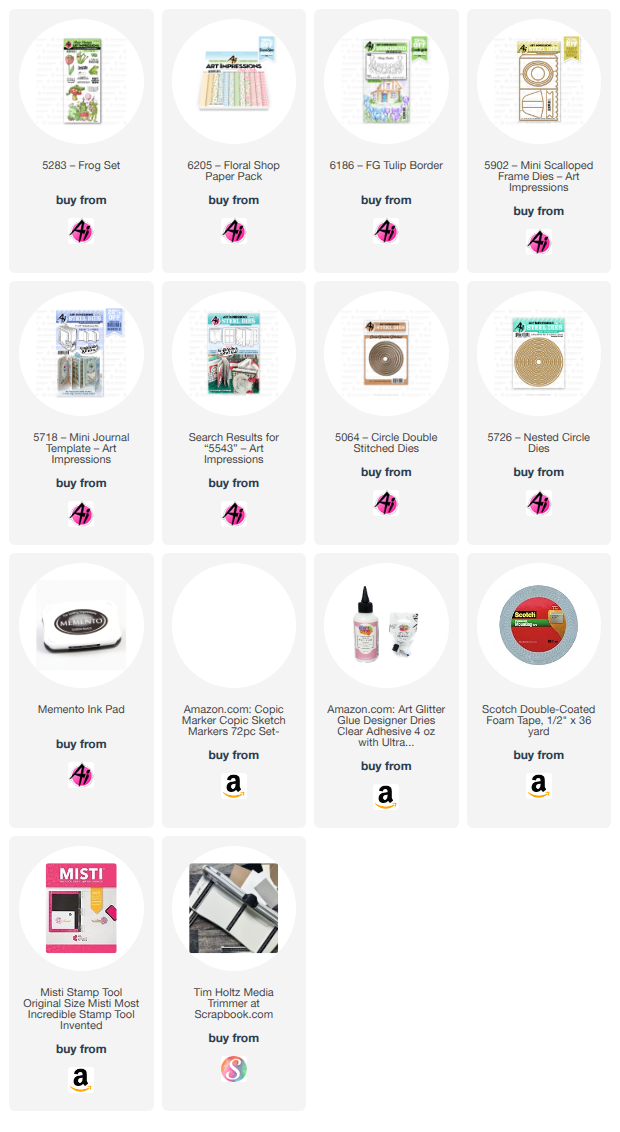
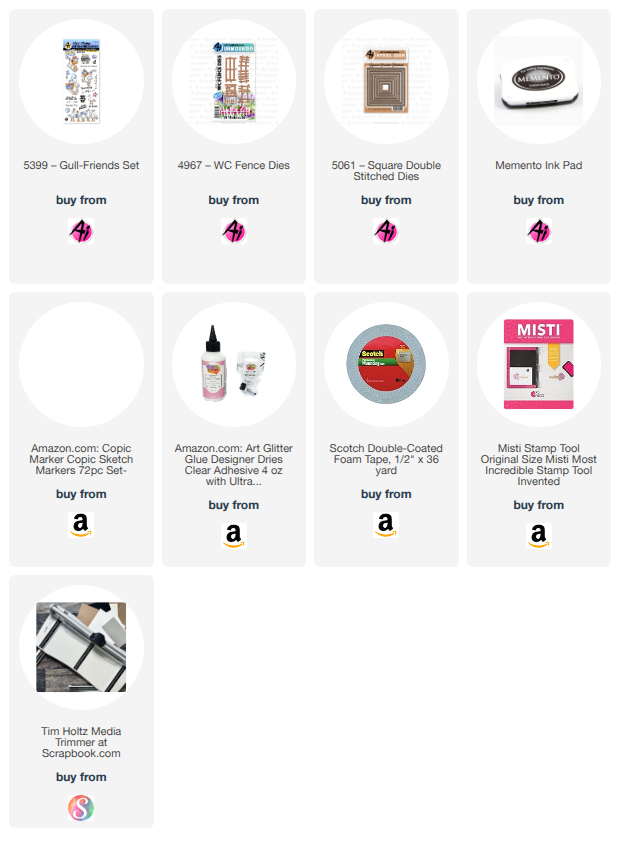
I stamped the images onto copic friendly paper with Memento black ink and colored with my copic markers listed below. This stamp set does not contain dies but these images are fairly simple to fussy cut. For the inside cuts of the cart, I used a craft knife.
I adhered the gal golfer directly onto the pattern paper with the golf club head adhered to the top of the strip. I popped up the flag with foam tape. I also popped up the golf cart, placing foam tape to the wheel base and only the left half of the cart. The right half of the cart will not be adhered down. The sentiment is also popped up, but again, only the left half.
Use the back side of the card for your personal sentiment.
Thanks for joining me today. I hope you have fun making a card/project for the "Enjoy the Ride" challenge. Can't wait to see what you create!
Have a great day and keep crafting!
Copics used: N1, N2, N3, N4
E00, E01, E11, E50, E51, E53, E55, E57
R20, R22 B01, B12, B14
G40, G43 Y21, Y32, Y35, Y38


