Wednesday, August 26, 2026

Gone Fishin'

 Happy Wednesday AI Friends!

Today is the last day of the "Boy, Oh Boy" challenge so I made another masculine card for the occasion.  You can never have too many 'man' cards.  LOL!

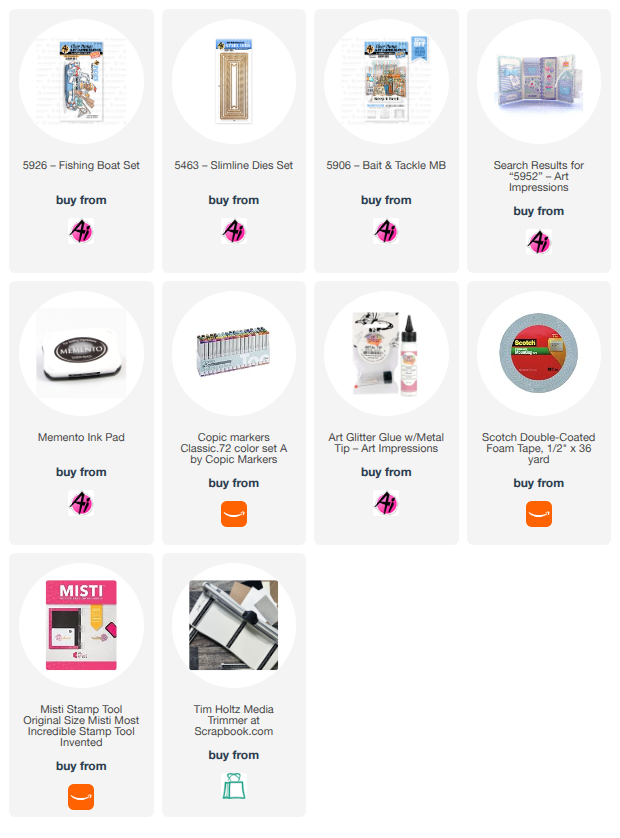
For this one, I used the #5926 - Fishing Boat RIDES set.  I love these sets that have all the fun accessories plus the dies to cut all of the images out.  The other great thing about these, is that the accessories can be used with other sets and vice versa.  Back in June, Sharon used the fishing net on her Pickleball Patty card to have her catching butterflies instead of playing pickleball.  Ingenious!!  

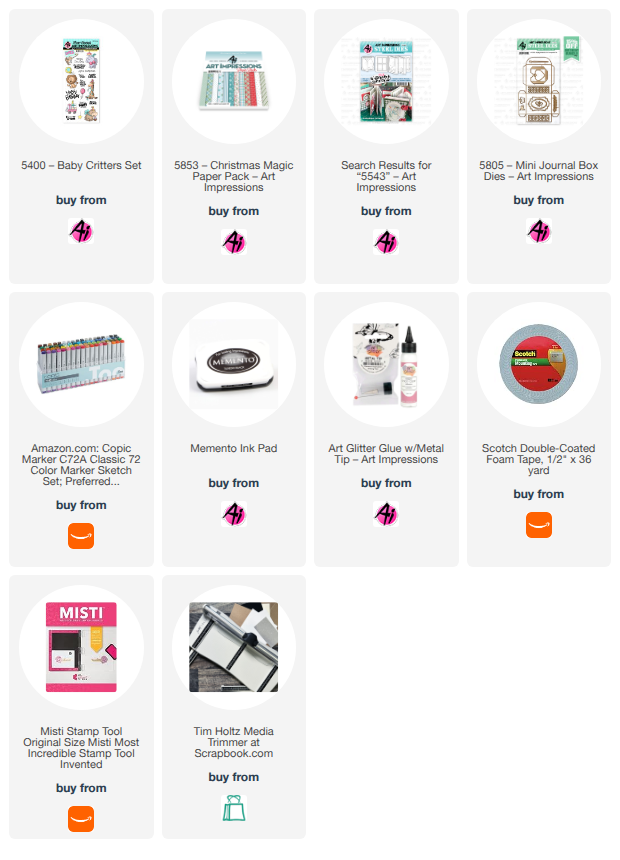
I stamped all of the images onto copic friendly paper with Memento black ink and colored with my copic markers listed below.  I then die cut each with the corresponding dies.

For the wave layers, I cut panels with a cloud die turned upside down.  I then used a stencil brush and stamped white paint (Dr PH Martin's Bleed Proof) across the top to mimic waves.

I cut a slider track out of the darkest wave piece and placed foam tape along the back side bottom, top and left side.  


I also placed a small piece of foam tape on the back of the boat to fit in the slider track. 


 I then created a slider pull tab long enough to fit behind the boat to the right side of the panel.   Place the boat foam through the slider track and attach the pull tab to the foam tape.  Adhere to the card base.


Place foam tape (double stacked) onto the back side bottom and sides of the second wave panel.  Make sure that this foam tape does not hinder the movement of the boat.  Adhere this piece over the darkest wave panel on the card base.  Lastly, add the lightest wave panel over the top.  I did not pop up this layer.

Here is a video of how the boat rides the waves:

That's it for my card today.  Hope this gets you in the mood to enter the challenge for a chance to win a free stamp set.  

Have a great day and keep creating!

Copics used:  C00, C0, C1, C2
E00, E01, E11, E21, E25
Y13, Y15, Y17
YR12, YR14, YR16
YG91, YG93   R22, R24
B000, B12, B14

Wednesday, August 19, 2026

Sweet As Can Be

 Happy Wednesday AI Friends!

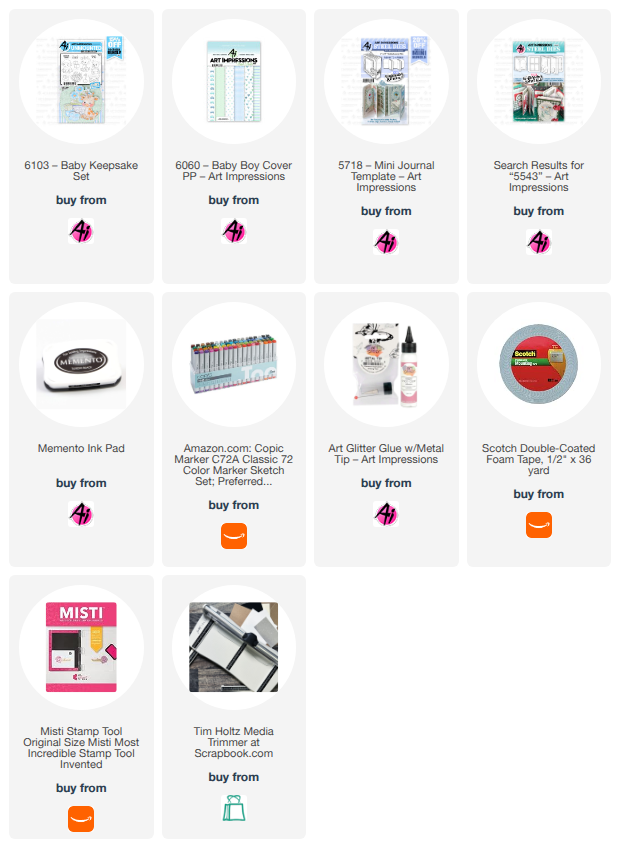
For the current blog challenge "Boy, Oh Boy", I couldn't resist using the #6103 - Baby Keepsake stamp set and the #6060 - Baby Boy Cover PP for my card today.  This stamp set has got to be the most darling set EVER!  Plus, the dies are included!!!  Yay!


I stamped the images onto copic friendly paper with Memento black ink and colored with my copic markers listed below.  I matted baby boy paper onto a blue piece of cardstock and die cut each of the images out.  I popped the images up with foam tape and placed within the windows of this slimline card.  Added the matted sentiments and a little piece of twine and the card is finished.

How fun and easy is that?  

Hope you enjoyed my card and it inspires you to join the blog challenge for a chance to win a free stamp set of your choice.  We love to see your creations!

Have a great day and keep creating!
Copics used:  N0, R20
E000, E21, E23, E25, E50, E51, E53, E55
Y11, Y13, Y19
G20, G21, G24, G40, G43, G46
B12, B14

Wednesday, August 12, 2026

Poppy Belly Band Box & Bookmarks

Happy Wednesday AI Friends!

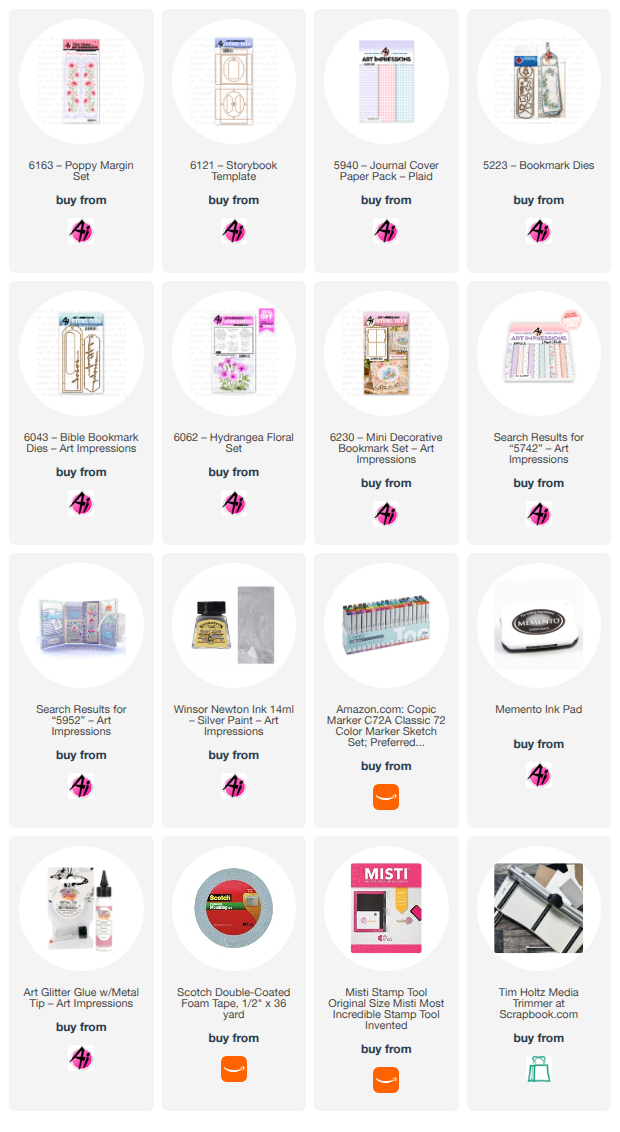
I have two projects for you today that feature the same stamp set #6163 - Poppy Margin set.  One is a belly band using the #6043 - Bible Bookmark and the other is a set of bookmarks using the #6230 - Mini Decorative Bookmark set.

The poppy margin was stamped with Memento black ink onto copic friendly paper and colored with my copic markers listed below.  I painted the scroll frame as well as the floral centers with the Winsor & Newton gold paint.  

The belly band fits nicely over the #6121 - Storybook box.  I created this box without cutting the oval center so that it was a solid closed box.  Wrap the belly band around the box to form the folds.  I then cut two small holes at each end, added the ribbon and sentiment and tied the bow.

Bookmark before matting and forming as a belly band:

Backside of the box with belly band:


Project 2:  The bookmarks below use several fussy cut florals from the poppy margin stamp set and placed on the sentiments.  The first bookmark is magnetic and the second one I used a covered paper clip.  
Paper Clip BM:  Take a lightweight piece of cardstock 3" x 2 1/2" (approx. the size of the bookmark) and fold in half.  Place the paper clip over the folded edge.  Cut a slit at the center fold of the bookmark cardstock and slip the top of the paper clip cardstock through the slit.  Glue the top layers together.  Do the same for the bottom layers.  The paper clip will then hold the pages together of the book.  


Hope you enjoy my projects today!

Have a great week and have fun creating!

Copics used:  G40, G43, G46
V20, V22, V25
Y32, Y35     B000

Wednesday, August 5, 2026

Friends Gnome Matter What

 Happy Wednesday AI Friends!

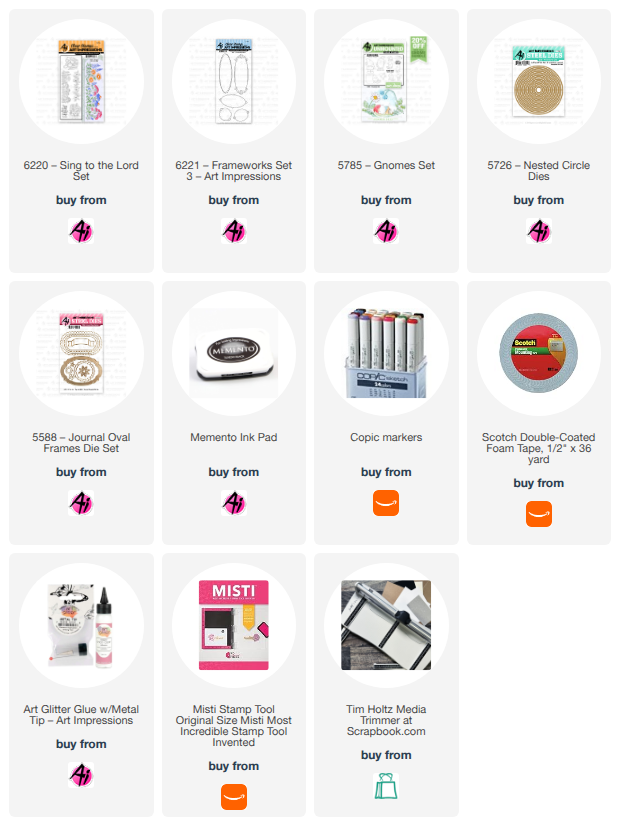
My card today fits the new blog challenge - Floral Frenzy and features two new stamp sets - #6220 - Sing to the Lord and #6221 - Frameworks Set 3 along with the cute little gnomes from the #5785 - Gnomes set.  I personally think you can put gnomes on anything and it just creates cuteness overload!  Wouldn't you agree?

I stamped the images onto copic friendly paper with Memento black ink and colored with copic markers listed below.  I used the corresponding dies to cut the gnomes.  The florals are one stamp from the stamp set.  I colored the full stamp image and then cut it into thirds using a small circle die.  I stamped the frameworks image onto a 4" square piece of white cardstock.  I adhered a colored floral image into each of the frameworks.

To make the "Book Cradle" card style:  There are several tutorials showing how to make this fun fold but I watched the one from Dawn's Stamping Thoughts and made a slight change to it.

Start with a base white cardstock measuring 4 x 8.  Score on the long side at 1/2, 4 and 7 1/2.  Fold and burnish each score as a mountain fold.

For the cradle base: Cut a 4 x 5 inch white cardstock piece.  Score at 1/2, 1 1/2, 2 1/2, 3 1/2, 4 1/2 on the long side.  Burnish at 2 1/2" as valley fold.  Glue the second fold (as mountain) up to the 2 1/2" leaving the first 1/2" as a tab.  Do the same on the other side.  You should be left with 1/2" single width of cardstock, then 1" double width on next two folds and then lastly, a 1/2" single width tab.  

Make the support stand that fits at the bottom of the base:  Cut a 4 x 2 1/2" piece of cardstock.  Score along short side at 1/2, 1 1/4 and 2.  Shape into a W.  Glue the 1/2" tabs of this stand to the inside bottom of the base piece.  See below (bottom of card).  

Adhere the card base 1/2" tabs to the cradle base 1/2" tabs.   The card should fold flat and pop up when standing.  Finish decorating with mat layers and pop up the gnomes with foam tape.  Add the sentiment to the bottom using the banner from the #5588 - Journal Oval Frames.


Once you make one of these cards, you will find out how fun and easy it is to make plus so cute when on display.  I'm hooked so you may see more of these in my future posts.  ๐Ÿ˜

Make sure to join our blog challenge for a chance to win a free stamp set of your choice.  It's easy, just check out the tab above.  

Have a wonderful day and keep creating!

Copics used:  W0, W1, W3
E00, E02, E21, E23, E25
B0000, B000, B01
G40, G43, G46
Y13, Y15, Y17
RV10, RV32, RV34