Showing posts with label Animals. Show all posts

Thursday, March 26, 2026

Chick Bookmark Card

 Happy Thursday AI Friends!

We definitely are getting to enjoy the Spring air here and just in time for Easter.  Yay!  However, I'm hearing that it's suppose to change next week.  Let's hope the weathermen are wrong.  Fingers crossed!  

Maybe my card for today will inspire the nice Spring weather to continue.  🀞

I created a comical corner bookmark that slides over the card.  When removed it reveals the "Spring is in the Air" sentiment from the #5867 - Mini Easter Sentiment set.  This bookmark is sure to give someone a chuckle every time they open their book.  I just love him and the funny saying!  I hope I don't offend anyone with that sentiment, but it just fit this image perfectly.  😁

The polka dots on the egg was a Sharon inspiration.  Thank you Sharon for the cute idea!


I used the #5401 - Easter Chicks stamp set for the images and the #6042 - Corner Bookmark die set for the detachable bookmark.  I stamped the images onto copic friendly paper and colored with my copic markers listed below.  The images were then cut using the coordinating dies within the set.


For the pattern papers, I used the #6036 - Easter Bunny PP and the #5892 - Easter S2 PP.  The Art Impressions paper packs coordinate well together.   I cut several circles using the #5064 - Double stitched circle dies and also the #5726 - Nested Circle dies.


I started with a base card panel made with heavy cardstock and cut to an A2 size - 5 1/2 x 4 1/4.  I then created a smaller card (size 4 3/4 x 3 3/8) that will be adhered to the front.  I layered the mats and pattern paper panels to the base and also to the front of the card.  I then layered the circle panels and adhered the images to the top layers.  I popped up the bottom chick but not the one on the bookmark.  I didn't want to add any more bulk to the bookmark.  I placed the bookmark onto the card corner and adhered the egg chick panel to the bookmark.  I then adhered the other chick panel to the card base.  The last circle panel was adhered to the card base, lining it up directly under the circle of the bookmark.

I attached the card to the base, lining up to the bottom edge so that the card will stand up on its own.

That's it for me today!  Thanks for joining me and I hope you have a wonderful day!
Keep creating!

Copics used:  Y13, Y15, Y17    R20
YR61, YR65, YR68
G20, G21, G24
R81, R83, R85

Thursday, February 5, 2026

Lots of Love card pack

 Happy Thursday AI Friends!

I have a fun card gift pack for you today that fits in perfectly for Valentine's day and for the bi-weekly challenge "Love, Love Me Do".  Do you have a friend that loves to give their family members a card for Valentine's day?  What a perfect little gift for you to give them.  My mind instantly goes to our elderly in the senior homes or your cute little elderly neighbor.   I created a fun, quick gift set of six cards all bundled in a sweet pouch.   The cards do not have a sentiment, so they can fit any occasion, if Valentine's day is not your thing.

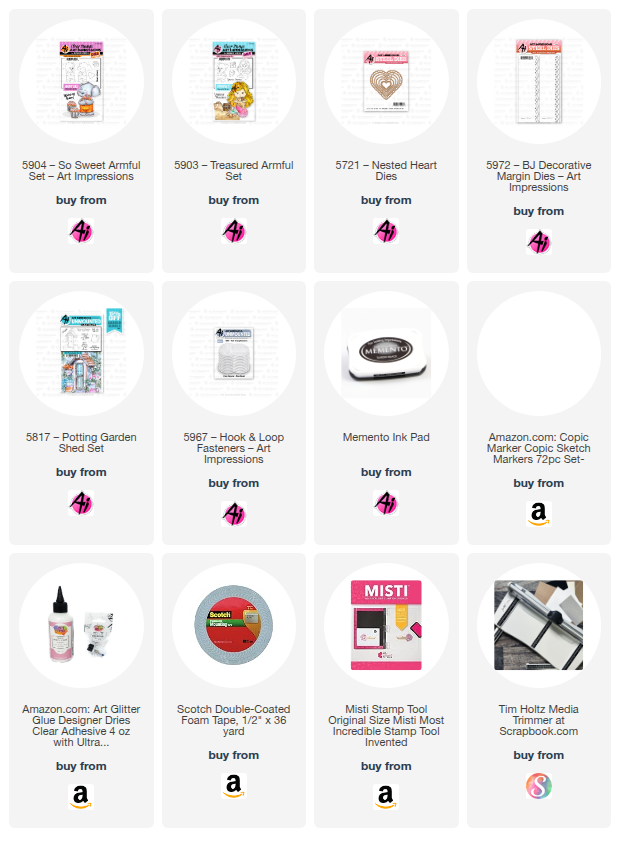
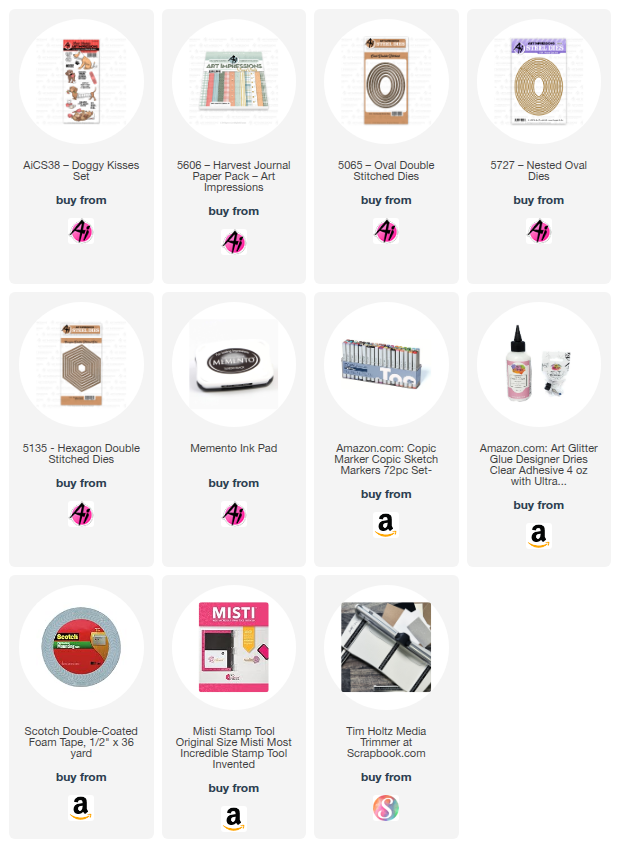
For the images, I used the Armful stamp sets - #5903 Treasured Armful and #5904 - So Sweet Armful.  The arms of each animal have a slit cut to allow you to slip a cute little heart, flower, star, etc.  These sets also include the corresponding dies.


I stamped each of the images twice on copic friendly cardstock with Memento black ink and colored with copic markers listed below.  I also stamped, colored and die cut the heart, that is included in the "So Sweet Armful" set, 6 times - one for each card.  I learned a little copic technique from my fabulous copic teacher and friend, Sharon Caudle, many years ago in a class and I use it whenever I can.  For the little bear image, I color him in the browns leaving the overalls until later.  I then take a little piece of wash cloth and dab some blender solution onto it.  Lightly tap that part of the cloth onto the colored part of the bear and it will make him look fuzzy (see the individual card below for a better visual).  Let it sit for a little bit and then finish coloring the overalls.
It's a great effect!  Many thanks, Sharon!  


Above is the A2 Card Gift pouch that will hold up to 6 cards (with minimal dimension) and 6 envelopes.  I found the template for this on 
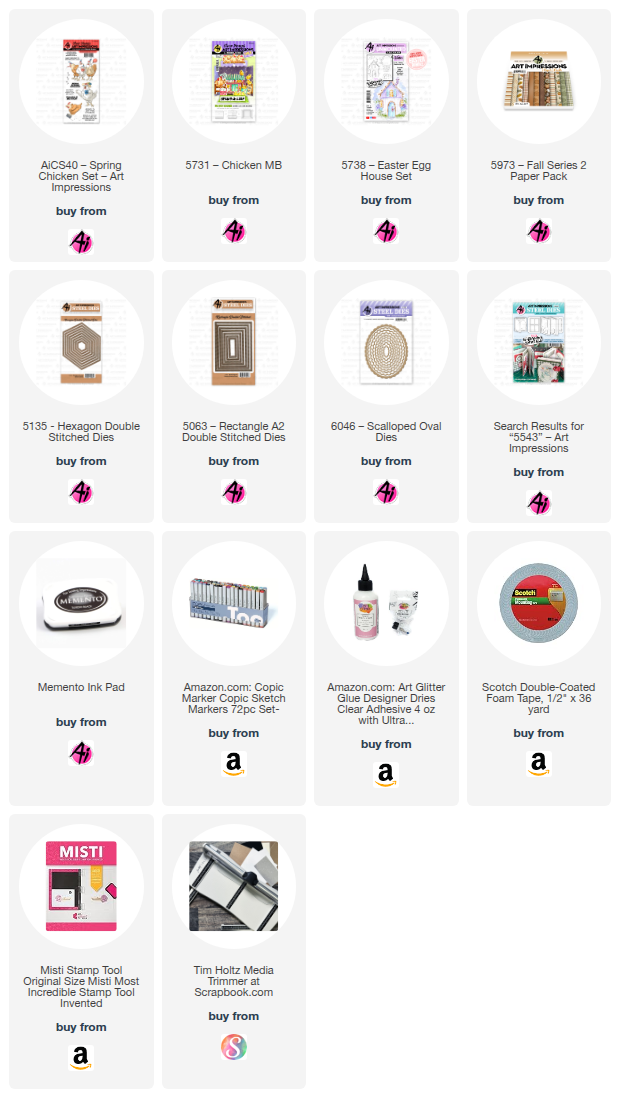
The Paper Pixie or you can youtube A2 card gift pouch.  It uses one 12x12 piece of heavy weight pattern paper.   I then decorated using the #5972 - Bible Journal Decorative Margin dies and #5721 - Nested Heart dies.   The sentiment is from the #5817 - Potting Garden Shed set.  Lastly, I used one of the #5967 - Hook and Loop Fasteners to keep the pouch shut.


Here are the six cards in the pack:


That's it for me today!  Thanks for stopping by and I hope you have a great day!

Make sure to check out the bi-weekly challenge and play along for a chance to win a free stamp set.  
We love to see your creations!

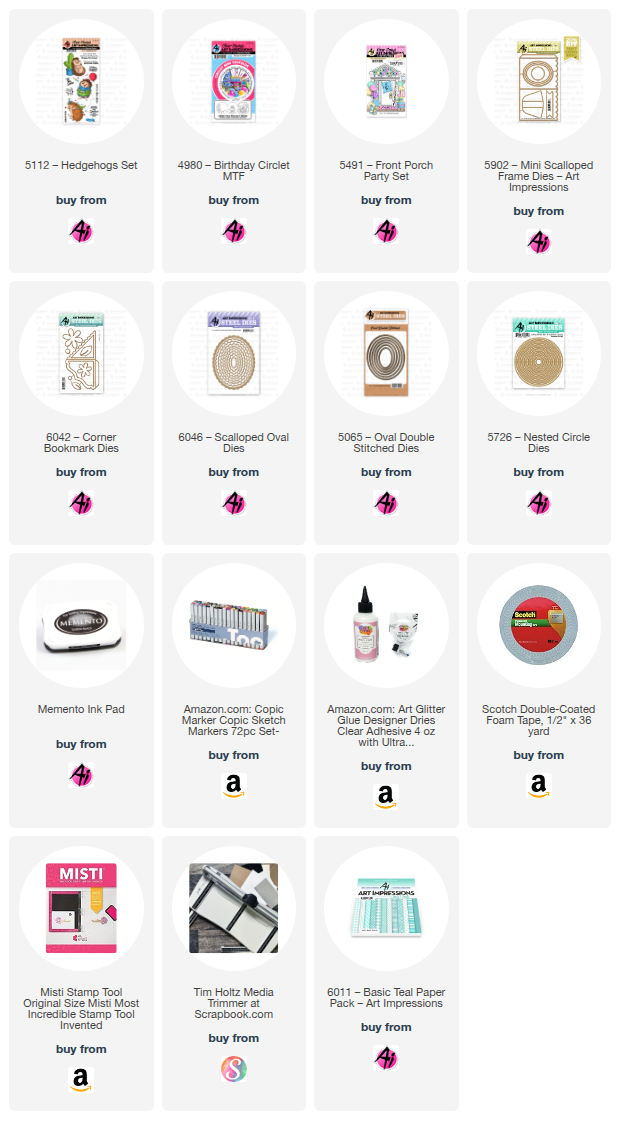
Copics used:  C0, C1, C3
R20, R11, R12, R14
E21, E23, E25, E31, E33, E35

Thursday, January 29, 2026

Hello Sunshine

 Happy Thursday AI Friends!

Have you seen the newest AI release?  This one is fantastic!  I know, I probably say that about every one of them, but let's be real - they ALL are fantastic!  This is definitely a fave of mine!

Two new stamp sets were released - #6103 - Baby Keepsake and #6106 - Spring Keepsake, which is the one I used for my pop out card.


I stamped the images onto copic friendly paper with Memento black ink and colored with my copic markers listed below.  I cut each of them out with the corresponding dies that are included in the set.  Love it when dies are included, don't you?  Adds so much dimension!  Check out this cute little frog!  He is definitely my favorite, however, the bunny and duck are just as adorable.  

I created a pop out card so that I could layer each of these cute little images.  I added a few images from other sets, like the flowers in the water can (#5935 Fairytale Houses), the Easter basket (#5869 - Easter Bunny Puppet) and the bird (#5100 - Woodland Tree cubbies).  The sun was from my stash.

I used the #6009 - Basic Green PP for the grass and the #5873 - Mini Birthday PP for the cloud background.

That's it for me today!  Make sure to check out the new release!   It includes some beautiful valentine papers and a new scalloped rectangle die set.  Great bundle!

Hope you have a wonderful day!  Keep creating!

Copics used:  N0, N1, N2, B000
G20, G21, G24      V12, V15
R02, R05, R08, R20
B12, B14           YR12, YR16
Y11, Y13, Y17, Y19, Y32, Y35, Y38

Thursday, January 8, 2026

Button Baby Panda card

 Happy Thursday AI Friends!

Today I have a cute little baby card for the "Button Up" challenge.  Check out the "Bi-weekly Challenge" tab on the Art Impressions blog for the simple requirements to qualify for a chance to win a free stamp set of your choice.  

I created this fun shaped card using the 6017 - Baby Panda set with the 6057 - Baby Girl PP.

I stamped the image onto copic friendly paper with Memento black ink and colored with my copic markers listed below.  I die cut the image using the coordinating die that is included with the stamp set.  As per my usual, I die cut a second image out of basic white cardstock and adhered it to the back of the colored image to give it more strength.  I like to do this because it adds a little extra "pop up" as well.

To create the card front, I die cut a scalloped circle using the largest die from the 6045 - Scalloped Circle die set.  I then die cut two circles (one pink cardstock and one patterned paper) that fit nicely over the other giving it a slight border.   I then die cut the heart scallop from the 5721 - Nested Heart dies and a 1" piece of white cardstock with a slightly smaller strip of patterned paper to fit over the white cardstock.  I layered these all onto the white scalloped circle as shown above.

For the card base, I folded a piece of cardstock in half (approx. 4 x 4 inches) and die cut the second largest circle from the 5726 - Nested Circle die set placing the die over the fold so that approx. 1/2" of the top does not cut.  This will create the fold for the opening of the card.  Glue one side to the back of the scalloped circle card front.  Pop up the image with foam tape.  Add two small black buttons for the wheels (I threaded white string through the button holes for added detail).  Tie a three loop string and adhere to the button bow with glue dots or liquid glue and then adhere just below the sentiment.

After I put this together and took my pictures, I realized that I didn't add shading to the buggy base or canopy.  Oops!  LOL!  Simple coloring works just as well, yet we always think we need to add more.  Maybe we don't!  πŸ˜€ 

Thanks for joining me today!  Make sure to check out the current challenge and play along.  We love to see what you create!  

Have a great day and keep creating!

Copics used:  N0, N1, N3
R20, R81, R83, R85

Thursday, November 13, 2025

Fall Placecards

Happy Thurday AI Friends! 

Have you checked out the newest challenge called "Gobble Gobble" on the AI blog?  Super fun and simple to play.  Just anything fall or thanksgiving themed.  I thought placecards would be fun for this challenge especially using the newly released stamp set #6105 - Fall Keepsake set.  Perfect for your thanksgiving table!


I began by stamping the images with Memento black ink onto copic friendly paper and colored with my copic markers listed below.  I then die cut each with the coordinating dies (yep, they're included with this stamp set).  I also cut an extra set of all images with scrap cardstock.  I like to adhere to the back of the colored image for stability plus dimension instead of foam tape.  

The placecard is made by cutting a 5 1/2" x 3 1/2" piece of cardstock.  Score at 2", 4" and 4 3/4" along the 5 1/2" side.  Fold and burnish as mountain, valley, mountain.  Place your images as desired and die cut the letters for each name with the #5562 - Journal Letter die set.  

And there you go, easy peasy, you're ready for your table setting!

Thanks for joining me and I hope you join along with the blog challenge for a chance to win a free stamp set.   We love to see your creations!

Have a wonderful day and keep crafting!
Copics used:  E50, E51, E53, E55, E57, E95, E97
R20    YR02, YR04, YR07, YR20, YR21, YR23

Thursday, October 23, 2025

Full of Surprises Halloween Card

 Happy Thursday AI Friends!

I had soooo much fun creating this card today!  Cute little interactive surprises using the stamp sets #6111 - Spooktacular and #6112 - Pumpkin Parade sets. 

Before I get started, I want to thank design team member, Sharon Caudle, for her great sidewalk idea.    She used this on one of her cards, of late, and I loved it.  What a cute and easy ground panel!  Simple, but effective!  Thanks, Sharon! 

Okay, back to my card.  I created a corner fun fold card.  You can find this fold design on Pinterest but it's pretty simple.  Start with a 5 3/4" x 7" piece of pattern paper.  Front of card design face up, score at 2" along the left edge of the 7" side.  Turn paper to the left and score along the 5 3/4" side at 2".  This will create a square in the bottom left corner.  Turn the paper over, fold and burnish the score lines towards you so that the front side is coming forward.  Make a small mark at 2" from each of the folds of the square.  Score diagonally from mark to mark.  Fold and burnish this score line in opposite direction of the others.  Unfold all and with inside paper face up, bring in the diagonal folds and let the square come up over the top creating a square in the top left corner.  See Pic 3 showing the fold opening.

Pic 1:

Top Panel - create how you choose (mine is 3" x 3 3/4").  Adhere to top square only.  Do not place glue on the full panel as this is how it opens.  See video below.

Pic 2:

The peek a boo ghost is from the #6111 - Spooktacular set.  The die cut will score and cut the ghost so it folds as intended.  The arms fold in similar to the card.  Stamp your sentiment onto the moon.  Adhere the bottom of the ghost to the fold of the moon.  Place glue on the top half of the ghost and shut the moon down to adhere.  Do NOT glue the arms of the ghost.  When you lift the moon, the arms will fold outward.  I placed a magnet under the "lift" cloud and the other one under the inside cloud.  

Pic 3:

The inside panel has a sentiment and another cute surprise image with treats.


Thanks for joining me today!  I hope you enjoyed my card!

Have a wonderful day and keep creating!

Copics used:  T0, T2, T4, R20
Y13, Y15, Y17
YR12, YR14, YR16, YR18
V12, V15, V17
BG32, BG45

Thursday, October 2, 2025

Winter Wonderland

 Happy Thursday AI Friends!

I was having too much fun making cards for the current Blog challenge "In The Navy" so I'm sharing two of the them with you today.   I used the #5953 Woodland Critters and #5954 Woodland Bears.  These would make such a cute gift set for that special someone that has everything.  What's better than giving/receiving handmade gifts?


I started out by stamping the images onto copic friendly paper with Memento black ink and colored with my copic markers listed below.  Each of the images in both sets come with corresponding dies.  As usual, I die cut an extra set from heavy cardstock.   I love the dimension and stability.

Card #1:  I created a fun pull tab interactive card where the critters slide down the hill when pulling the tab.  This is a square 4 3/4 inch card.  To make the stitch border, I partial cut two sides using the largest #5063 Rectangle A2 Double Stitch die and then cut the other sides to make this large square.   I spattered Dr. PH Martin's Bleed Proof White paint onto the navy blue cardstock base to create a snowy background and also glued some of the snow die cuts that were left over from card #2.  The stitch snowy hills were using dies from my stash. 
Card #2:  I created a popped up frame card.  Using the #5782 Snowflake Frame die, I die cut two frames with heavy cardstock and glued them together.  Saved some of the snowflake pieces from the frame die cuts and used on card #1.  This card measures 3 1/4 x 4 1/4 inches.  I spattered Dr. PH Martin's Bleed Proof White paint onto the navy blue cardstock base to create a snowy background.  Again, I used a curvy stitched die from my stash to create the snowy hillside.  I popped the frame and the images up using foam tape onto the hillside.  Added a bow and the card is finished. 
Hope you enjoyed my cards today and you decide to join us in the Blog challenge.  See above tab for details and a chance to win a free stamp set.  We love to see your creations!

Have a great day and keep creating!

Copics used:  E30, E33, D35, E37, E40, E41, E43, E44
E51, E53, E55, E57, E59
N1, N2, N3, N4
Y13, Y17, Y19, 23, Y26, 
R20, R22, R24, R27
BG90, BG93, BG96, BG99
BV20, BV23

Thursday, September 18, 2025

Koala-Ty Time

 Happy Thursday AI Friends!

This week's blog challenge is "Wild About You" showcasing any animal, or animal print, stamp, die, etc.  Many AI stamp sets work with this challenge, but since I found a leafy felt fabric, I thought it would be perfect to use with the #5349 - Koalas set.


I stamped two Koalas from this set, as well as the sentiment, onto copic friendly paper with Memento black ink and colored with my copic markers listed below.   I die cut each of the Koalas using the coordinating dies included with the set.  I also cut another pair of Koalas from heavy cardstock to back the colored image so they would pop up on the card with more stability.  I used the leaf die from the #5805 - Mini Journal box to cut several green leaves.  The sentiment was cut using the #6045 - Scalloped Circle die and popped up in the center of the frame panels.

The background frame, as well as the other leaf, were cut from dies I had in my stash.  To finish off the card, I used some enamel dots and placed them on three of the panels.  

Thanks for joining me today!  I hope you show us your creations by entering in the blog challenge.  See above tab for details and your chance to win a free stamp set of your choice.  
We always love to see what you create!

Have a wonderful day and keep creating!
Copics used:  W0, W1, W3, W5
E21, E23, E24
R20, G43, G46
B12, B14

Thursday, September 11, 2025

Sit, Stay, Heal flip card by Dori Mendiola

 Happy Thursday AI Friends!

Today I have an interactive get well card using the #AICS38 - Doggy Kisses set.  When you open the card, the image flips to the inside. 

 I started by stamping the images with Memento black ink onto copic friendly paper and colored with my copic markers listed below.  I die cut the images using the #5065 Oval Double Stitch and the #5135 Hexagon Double Stitch dies.  I fussy cut and popped up the kleenex and tea cup using foam tape.  I die cut an oval into the front of the card panel and used the blue inner panel for the flip base.


For the mechanism - cut a piece of cardstock 2 3/4" x 3" and score at 3/4, 1 1/2 and 2 1/4 along the 3" side.  Fold and crease the score lines to create a tube.  Place glue on the underside of the first fold area only.  Glue down to the inside fold of the card.  Fold the tube in half and place glue on the upper fold area only.  Bring the top half of the card over and shut on top of the tube piece.  The tube will show through the top of the card, but the image panel will cover when closed. 
 
Now cut a piece of cardstock 3/4" x 2 1/4".  Score in thirds along the long edge (3/4" each piece).  Glue one 3/4" tab to the top of the tube piece in the center.  Fold the other end upwards and lay the tube down flat so that the card is shut.  Place glue on the upwards tab only.  Place the blue image panel into the front oval cutout area and adhere it onto the tab with the glue.  The image panel will pop up thru the oval cutout on the front of the card when shut and it will pop thru to the inside of the card when opened.

Decorate your card with sentiments, ribbon, etc.

Thank you for joining me today!  Hope you have a wonderful day!
Keep creating!

Copics used:  N0, N1, R20
E50, E51, E53, E55
E41, E42, E44
E33, E35
BG70, BG72, BG75

Thursday, August 28, 2025

Chicken Coop

Hello AI Friends!

Welcome to my feature for the "When One Door Closes" bi-weekly challenge.
I thought it would be fun to make a chicken coop and create a fun fold door card.  

I used the AICS40 Spring Chicken and the 5731 - MB Chicken set for this interactive card.  How does the saying go "When one door closes, another one opens"?  Who would have thought that it opens to a CHICKEN PARTY!  😁 


I did the usual by stamping the images onto copic friendly paper with Memento black ink and colored with my copic markers listed below.  I used the 5135 - Hexagon Double Stitch largest die to cut the chicken image and then I used the 5063 - Rectangle A2 Double Stitch largest die to cut the straight edge at the bottom.  The images on the front of the card were cut with the matchbook dies that come with the set.  I fussy cut the tabs off for the matchbook.  I also fussy cut the 6003 - Exclusive Coop freebie.  

To make the fun fold coop card - start with a 4 1/2 x 11 piece of colored cardstock.  Score and fold 
at 2 3/4 and 8 1/4".  Fold the card shut to make an A2 size card.  Use the hexagon die to make a template out of scrap cardstock.  Place the point of the template on the inside edges of the front flaps of the card.  Either draw a cut line for the angle cuts at the top of the card or place the card base into your cutter holding the template in place and cut the angle cuts.  

For the inside pattern pieces, middle - cut a gingham piece 4 1/4 x 5 1/4.  Cut the angles at the top using the cut off angle pieces for the template then cut off the bottom edge to fit.  Do the same for the sides but cut two pattern paper pieces at 4 1/4 x 2 1/2.  Adhere the inside pattern pieces.  To cut the windows, use the template for the angles and draw your window.  Cut using an exacto knife.  Glue some screen material to the inside panel just along the window hole.  Take narrow pieces of cardstock to frame the inside of the window (see below).


For the valance at the top of the windows (inside and out), I cut several edges from pattern paper using the scallop edge from the 5543 - Journal Template die set.  For the front of the card, I placed thicker edges along the bottom and popped up the top thinner layer.  I used thinner edges for the inside windows.

The sentiments came with the AICS40 - Spring Chicken stamp set.  I cut two of them with the 6046 - Scallop Oval dies and adhered them to the inside flaps.  The one on the front, I used the 5063 - Rectangle A2 Double Stitch die.  The eggs on the inside are from the 5738 - Easter Egg House set and are fussy cut and placed onto a straw piece cut using a die from my stash.

As for the front of the card, I used the 5731 - Matchbook Chicken set along with the 6003 - Exclusive Coop freebie (available now with a $30 order).  The fence and grass are dies from my stash.  
The latch was created using several layers of cardstock with a wood grain cardstock as the top layer.  I cut three strips of wood grain cardstock at 3/8 x 1 1/4".  I cut one in half and placed a piece of cardstock behind each.  I folded both of these to make the hooks and glued in place.  
I layered several pieces of scrap cardstock behind one of the other wood grain pieces and placed a brad into one end.  I used the heart die cut as the anchor so that the latch would turn.  Punch a small hole into the heart die cut and place the brad prongs through it.  Secure the brad but make sure it is not too tight so that it can rotate.  
I cut about 1/4" off one end of the last wood grain piece and layered with several pieces of scrap cardstock.  I then glued this to the back of the other (scrap to scrap) avoiding the brad.  You want the wood grain to show from both the inside and the front.  Glue down the heart and check that the latch will move up and over.  See video below.


I hope you enjoyed my card today.  Thanks for joining me!
Have a wonderful day and keep creating!

Copics used:  T0, T2, T4
E21, E23, R22, R24, R27
YR16, YR18, YR20, YR21, YR24, YR27
Y11, Y13, Y15, Y17
YG06, YG17, G40
B000, B12, B14

Thursday, July 31, 2025

Magnetic School Bus

 Happy Thursday AI Friends!

I have a fun little project today using the #5226 - Bus Cubbies.  This stamp set comes will all of the cute little animals, the bus and the treats on the top along with corresponding dies to cut each of them out.  Instead of a card, I decided to make all of the pieces magnetic.  This is cute on the refrigerator or a magnetic board for the little ones to play with.  


I began by stamping all of the images onto copic friendly paper and colored with my copic markers listed below.  I die cut each out with their coordinating dies.  I also cut each out of an adhesive magnetic sheet (sticky side of magnetic sheet against the cutting part of the die) to be placed on the back side of the colored image.  Peel each of the adhesive magnetic backings and adhere to the corresponding colored images.  Each of the pieces should now stick to the refrigerator or magnetic board and let the fun begin.  However, if you choose, you can create a magnetic base.  To do this, I cut a black and a white piece of cardstock using the #5062 - Rounded Rectangle A2 Double Stitch dies.  I also cut two magnetic pieces using the same die.  I adhered the magnetic pieces sticky sides together and then glued the white and black cardstocks to one magnetic side.  The other side will adhere to the refrigerator.

Hope you enjoy this project and have fun making it with other stamp sets, too.  Years ago I made a castle magnet with the #5225 - Castle Cubbies and it turned out sooo cute.  Let your creativity flow!  LOL!

Have a wonderful weekend and keep creating!


Copics used:  R20, R22, R24
E21, E23, E25, E40, E42, E44, E70, E74
W0, W1, W3, W5
YG95, YG93, YG91
Y32, Y35, Y38, YR27
G21, G24
B01, B000

Thursday, July 24, 2025

Hedgehog Tuck Flap Card

 Happy Thursday AI Friends!

We have a new blog challenge currently going on called "Let Them Eat Cake".  Any card, project with cakes or cupcakes, etc.   I decided to make a cute little Hedgehog Tuck Flap card using the #5112 - Hedgehogs set with the cake from the #4980 - Birthday Circlet MTF and the presents from the #5491 - Front Porch Party set as accents. 

I stamped all of the images onto copic friendly paper with Memento black ink and colored with my copic markers listed below.  The hedgehog was stamped onto a 3.5 inch square.  The other images are cut using the dies, so can be stamped onto any size paper.  

I die cut the cake and balloons with the corresponding die (#4980 Birthday Circlet) and then fussy cut the portion that wasn't cut out with the die.  The presents (#5491 - Front Porch Party) were cut with the dies included in that set.  I mounted each of those onto a white circle die cut and then layered onto a blue circle die cut.  I cut two corner bookmarks using the new #6042 - Corner Bookmark dies.  I assembled the bookmarks and adhered the circle die cuts onto each of the fronts of the bookmarks. 

For the card base and fold, I cut a top folding A2 card size 4.25 by 8.25 inches and scored at 5.5 inches.  This will leave a 2.75 inch flap for the front.  Using the #6011 - Basic Teal PP, cut two pieces (front -
2.5 x 4 inch and the inside - 5.25 x 4) to be layered onto blue cardstock.  Place the corner bookmarks over the bottom edges of the inside layer and adhere this layer to the inside of the card base.  This will glue the bookmarks to the inside of the card and leave the back of the card white.  Mount the hedgehog image onto blue cardstock.  Place glue onto the backside of the top half only and adhere to the front flap of the card base.  Add the sentiment from the Hedgehog set and die cut with the #6046 - Scallop Oval dies with a blue layer cut from the #5065 - Nested Oval dies.

Create an easel with the #5902 - Mini Scallop Frame die and glue to the back of the card base.  Tuck the hedgehog image piece inside the bookmark edges and you have a Tuck Flap card that stands on display, thanks to the easel.

Hope you join us in this "Let Them Eat Cake" challenge for a chance to win a free stamp set of your choice.  We LOVE to see your creations!

Hope you have a wonderful weekend and keep creating!

Copics used:  E01, E02, E11, E21, E23, E25
R20, N0, N1, N2
B000, B00, B01, B02
Y13, Y15, Y17, Y21
YG21, YG23, YG25