Showing posts with label Magnet. Show all posts

Thursday, July 31, 2025

Magnetic School Bus

 Happy Thursday AI Friends!

I have a fun little project today using the #5226 - Bus Cubbies.  This stamp set comes will all of the cute little animals, the bus and the treats on the top along with corresponding dies to cut each of them out.  Instead of a card, I decided to make all of the pieces magnetic.  This is cute on the refrigerator or a magnetic board for the little ones to play with.  


I began by stamping all of the images onto copic friendly paper and colored with my copic markers listed below.  I die cut each out with their coordinating dies.  I also cut each out of an adhesive magnetic sheet (sticky side of magnetic sheet against the cutting part of the die) to be placed on the back side of the colored image.  Peel each of the adhesive magnetic backings and adhere to the corresponding colored images.  Each of the pieces should now stick to the refrigerator or magnetic board and let the fun begin.  However, if you choose, you can create a magnetic base.  To do this, I cut a black and a white piece of cardstock using the #5062 - Rounded Rectangle A2 Double Stitch dies.  I also cut two magnetic pieces using the same die.  I adhered the magnetic pieces sticky sides together and then glued the white and black cardstocks to one magnetic side.  The other side will adhere to the refrigerator.

Hope you enjoy this project and have fun making it with other stamp sets, too.  Years ago I made a castle magnet with the #5225 - Castle Cubbies and it turned out sooo cute.  Let your creativity flow!  LOL!

Have a wonderful weekend and keep creating!


Copics used:  R20, R22, R24
E21, E23, E25, E40, E42, E44, E70, E74
W0, W1, W3, W5
YG95, YG93, YG91
Y32, Y35, Y38, YR27
G21, G24
B01, B000

Thursday, April 25, 2024

Village Puzzle Maze


Happy Thursday AI Friends!

When I saw these a-MAZE-ing Village stamps and coordinating sets, my mind went way back to my childhood.  They reminded me of the fun little maze puzzle games I use to play with when I was a kid.
(I think I just dated myself.  LOL!)  
Hope some of you remember those puzzle games, but if not, hope you get inspired to create one of these for your kids/grandkids (or even yourself).  


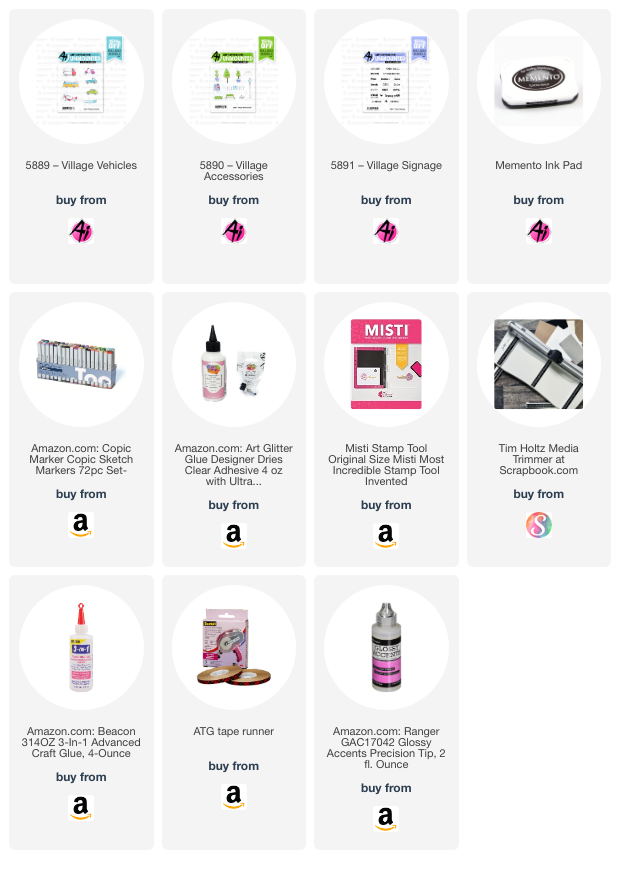
I began by stamping many images from the #5889 - Village Vehicles and #5890 - Village Accessories sets, as well as the Exclusive (freebies) buildings (#5877-#5882) with Memento black ink onto cryogen white cardstock and colored with copic markers (listed below).  The Exclusive buildings are available for free each time you make a purchase of $30 or more from Art Impressions.  These are soooo darn cute!!  
After coloring each of the images, I fussy cut each one.  Took me about 20 minutes to cut them all out, so very easy and no time at all.  I lightly ran (from behind) the coordinating color marker along the sides to give a nice finished edge and added glossy accents to the windows of all images.  I die cut 3 black craft foam and one white cardstock with a maze die that I had in my stash.  Hint:  when cutting the craft foam, only run it through your cutting machine once as it tends to stretch if you run it back and forth and will distort the maze.  Adhere a piece of acetate between the white cardstock and one of the black foam pieces and then glue the other two black foam pieces to stack upon each other.  The layer should be white cardstock, acetate and three black craft foam.  Before glueing all of this base to the black cardstock on the back, make sure to slip a small ball (or BB) into the maze.  At this point, you can decorate the top of the puzzle with the colored images however you wish.

Here is a video with the ball moving within the maze just by turning and tipping the puzzle.


Here is a video using a magnetic wand to move the BB around the puzzle.  I just glued a magnet to the end of a dowel.


Thanks for stopping by and I hope this brings back great memories for you!
Have a great day!! 
Copic markers used:
N1, N3, N4, N7
E21, E23, E25, E27, E55, E57
B0000, B01, B02, B05
R22, R24, R27
G40, G43, G36
YR16, YR61, YR65, YR68
Y13, Y15, Y19

<

Sunday, October 25, 2020

Mini Magnets

 Art Impressions challenge this week is Tiny Treasures.  I used the AI Castle Cubbies for this challenge, which includes a castle, a knight, a damsel, two unicorns and three dragons.  I thought this would make a cute little refrigerator magnet for the little ones to play with.  You know how your grandkids always play with the magnets on the fridge, well here's one for their tiny little fingers.  I made these with magnetic tape and they die cut nicely with the dies that are included with this set.  I cut one and then turned the magnetic tape upside down and cut another one.  Peeled the tape off the backs and stuck them together so that both sides were magnetic.  I used double sided tape to adhere the colored image and, tada, you have a cute little magnet.  Did the same with the castle and popped out the windows and doors.  Each piece is magnetic and movable so the little ones can rearrange and play all day (well, until their attention span wears out ๐Ÿ˜‚)


This would be cute to make with the other cubbies sets.  Can you imagine the little bus or the barn with the animals?  Very fun and easy to do thanks to the dies included with these stamp sets.  One word of warning, these magnets are tiny so beware of your youngest little ones getting ahold of them.  

Have a great day and stay crafty!!