Happy Thursday AI Friends!
We definitely are getting to enjoy the Spring air here and just in time for Easter. Yay! However, I'm hearing that it's suppose to change next week. Let's hope the weathermen are wrong. Fingers crossed!
Maybe my card for today will inspire the nice Spring weather to continue. 🤞
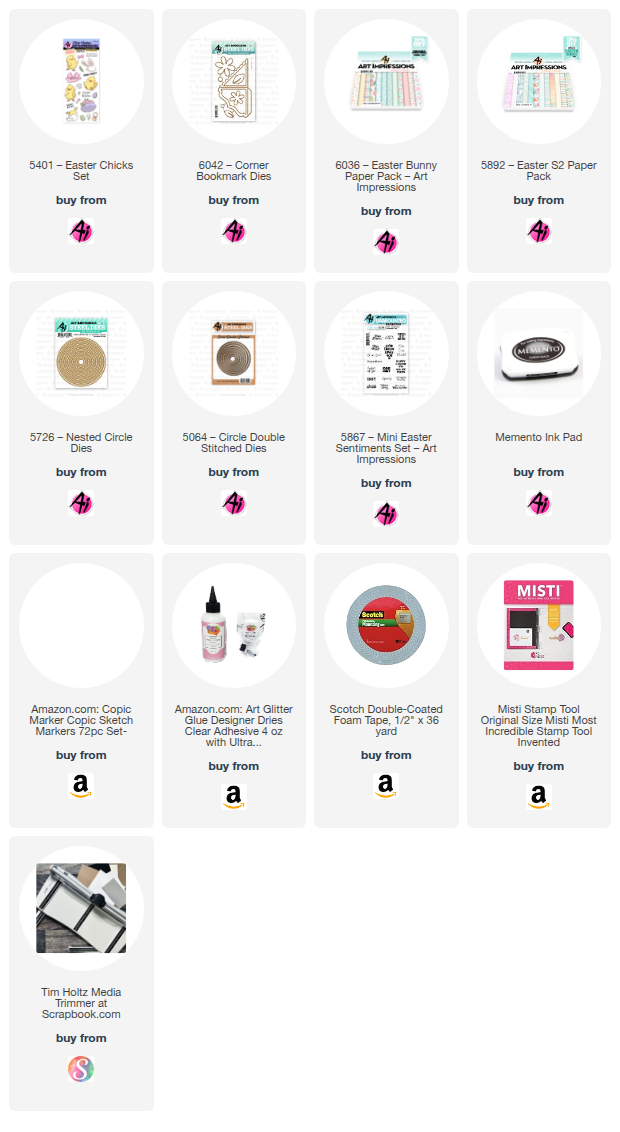
I created a comical corner bookmark that slides over the card. When removed it reveals the "Spring is in the Air" sentiment from the #5867 - Mini Easter Sentiment set. This bookmark is sure to give someone a chuckle every time they open their book. I just love him and the funny saying! I hope I don't offend anyone with that sentiment, but it just fit this image perfectly. 😁
The polka dots on the egg was a Sharon inspiration. Thank you Sharon for the cute idea!
I used the #5401 - Easter Chicks stamp set for the images and the #6042 - Corner Bookmark die set for the detachable bookmark. I stamped the images onto copic friendly paper and colored with my copic markers listed below. The images were then cut using the coordinating dies within the set.
For the pattern papers, I used the #6036 - Easter Bunny PP and the #5892 - Easter S2 PP. The Art Impressions paper packs coordinate well together. I cut several circles using the #5064 - Double stitched circle dies and also the #5726 - Nested Circle dies.
I started with a base card panel made with heavy cardstock and cut to an A2 size - 5 1/2 x 4 1/4. I then created a smaller card (size 4 3/4 x 3 3/8) that will be adhered to the front. I layered the mats and pattern paper panels to the base and also to the front of the card. I then layered the circle panels and adhered the images to the top layers. I popped up the bottom chick but not the one on the bookmark. I didn't want to add any more bulk to the bookmark. I placed the bookmark onto the card corner and adhered the egg chick panel to the bookmark. I then adhered the other chick panel to the card base. The last circle panel was adhered to the card base, lining it up directly under the circle of the bookmark.
I attached the card to the base, lining up to the bottom edge so that the card will stand up on its own.
That's it for me today! Thanks for joining me and I hope you have a wonderful day!
Keep creating!
Copics used: Y13, Y15, Y17 R20
YR61, YR65, YR68
G20, G21, G24
R81, R83, R85


No comments:
Post a Comment