Showing posts with label Surprise. Show all posts

Thursday, October 23, 2025

Full of Surprises Halloween Card

 Happy Thursday AI Friends!

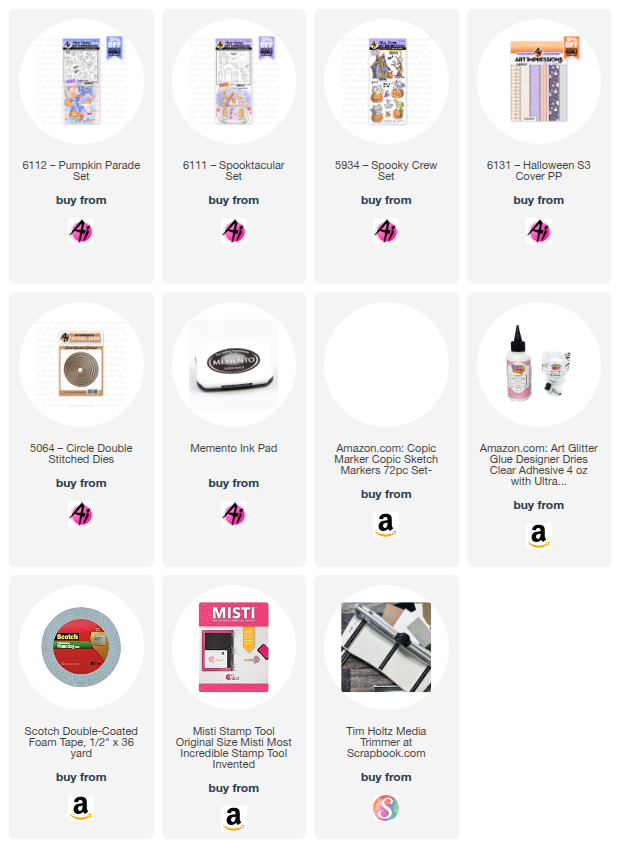
I had soooo much fun creating this card today!  Cute little interactive surprises using the stamp sets #6111 - Spooktacular and #6112 - Pumpkin Parade sets. 

Before I get started, I want to thank design team member, Sharon Caudle, for her great sidewalk idea.    She used this on one of her cards, of late, and I loved it.  What a cute and easy ground panel!  Simple, but effective!  Thanks, Sharon! 

Okay, back to my card.  I created a corner fun fold card.  You can find this fold design on Pinterest but it's pretty simple.  Start with a 5 3/4" x 7" piece of pattern paper.  Front of card design face up, score at 2" along the left edge of the 7" side.  Turn paper to the left and score along the 5 3/4" side at 2".  This will create a square in the bottom left corner.  Turn the paper over, fold and burnish the score lines towards you so that the front side is coming forward.  Make a small mark at 2" from each of the folds of the square.  Score diagonally from mark to mark.  Fold and burnish this score line in opposite direction of the others.  Unfold all and with inside paper face up, bring in the diagonal folds and let the square come up over the top creating a square in the top left corner.  See Pic 3 showing the fold opening.

Pic 1:

Top Panel - create how you choose (mine is 3" x 3 3/4").  Adhere to top square only.  Do not place glue on the full panel as this is how it opens.  See video below.

Pic 2:

The peek a boo ghost is from the #6111 - Spooktacular set.  The die cut will score and cut the ghost so it folds as intended.  The arms fold in similar to the card.  Stamp your sentiment onto the moon.  Adhere the bottom of the ghost to the fold of the moon.  Place glue on the top half of the ghost and shut the moon down to adhere.  Do NOT glue the arms of the ghost.  When you lift the moon, the arms will fold outward.  I placed a magnet under the "lift" cloud and the other one under the inside cloud.  

Pic 3:

The inside panel has a sentiment and another cute surprise image with treats.


Thanks for joining me today!  I hope you enjoyed my card!

Have a wonderful day and keep creating!

Copics used:  T0, T2, T4, R20
Y13, Y15, Y17
YR12, YR14, YR16, YR18
V12, V15, V17
BG32, BG45

Thursday, February 27, 2025

Easter Fun Fold

 Happy Thursday AI Friends!

Today I have a couple Fun Fold Easter cards using the #5274 Easter Bunnies, the #5870 Peeking Bunny, and the #5504 Happy Spring sets.  These Easter sets have the cutest little bunnies.  OMGosh sooooo cute!!  Add these images to this fun fold style card and you'll find yourself addicted.  I could have created all night.  I will definitely be making more.

To create these fun folds, I choose the largest circle from the #5064 Double Stitch circle die set for the card on the left and the 4th largest #5062 Rounded Rectangle A2 Double Stitch die for the smaller card.  The following instructions will be for the circle card.  The rectangle card is basically made the same just a different size and shape.  
I cut four circles from white lightweight (80 lb. or less) cardstock and scored each in half.  I then formed the fun fold by overlapping the circles as shown below (the right half over the previous circle right half).  Continue overlapping the circles until all are together.  Make sure to gather them together and square them up tightly.  Place a dab of glue on the back side where they overlap.  Then flip to the front side and dab glue under these overlaps.  Now your fun fold is formed.   


Cut four circles from pattern paper.  I cut two with the largest circle and two with the next size circle.      Cut each of these four circles in half and cut just a tad off the straight side of the larger circles.  The smaller circles are for the front and will recreate a 2-layer look (see below).  Glue the smaller circles to the front (or top) folds, centering up to leave a nice white border.  Glue the larger circles to the inside folds, leaving no border.  
I stamped my one-layer scene onto copic friendly paper with Memento black ink and colored with my copic markers listed below.  I then cut the scene to fit inside the fun fold card (3 1/2 x 3 1/2 inches). Adhere this image to the inside of the card.  Place a ribbon or belly band around the back side and adhere down to the back.  Wrap around and tie or clasp into place.  I added a basket with the bunny bottom for decoration.  Lastly, I glued a 3 1/2 x 3 1/2 top fold card to the back for your sentiment and also to finish off the back side of the card so that the ribbon or belly band will be covered.  This also adds as a nice stand to display your card.

Hope you enjoyed my cards today and I especially hope you'll give this one a try.  Trust me, you will want to create more with different shapes and sizes.  It's addictive! 

Happy creating!!

Copics used:  N0, N1, E21, E23, R20
YR01, YR02, Y13, Y15, Y17
V12, V15, G40, G43, G46
B000, B00, B12, B14
R81, R83, E51, E53, E55

Tuesday, November 3, 2020

Surprise Party

 This weeks challenge at Art Impressions is to create a Surprise card.   I created a card where the image is hidden inside.  The top panel is tied like a present and when you open it, out pops the pandas having a party.  Such a fun card with a surprise inside.   I used the Pand-tastic set for this challenge along with balloons from the Bus cubbies set.  I also used the AI double stitch rectangle dies to emboss the top panel, which created the fold lines, then cut diagonal slits to make the opening.  


I popped the middle Panda up with foam tape to give it dimension, along with the balloon that he is playing with.  These little pandas are Sooooo cute!  They are just so happy and bring a smile to my face.   

Hope this card brings a smile to your day.