Showing posts with label pouch. Show all posts

Thursday, February 5, 2026

Lots of Love card pack

 Happy Thursday AI Friends!

I have a fun card gift pack for you today that fits in perfectly for Valentine's day and for the bi-weekly challenge "Love, Love Me Do".  Do you have a friend that loves to give their family members a card for Valentine's day?  What a perfect little gift for you to give them.  My mind instantly goes to our elderly in the senior homes or your cute little elderly neighbor.   I created a fun, quick gift set of six cards all bundled in a sweet pouch.   The cards do not have a sentiment, so they can fit any occasion, if Valentine's day is not your thing.

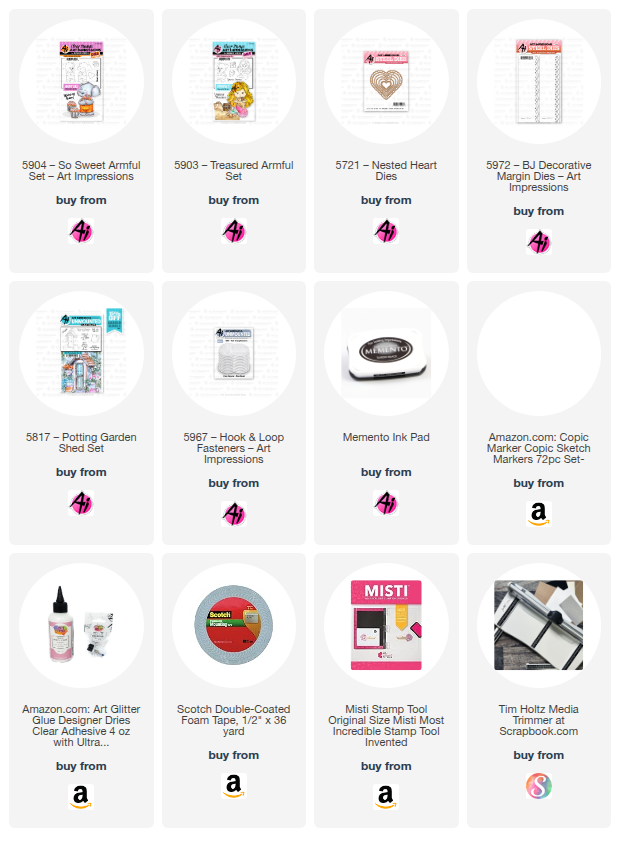
For the images, I used the Armful stamp sets - #5903 Treasured Armful and #5904 - So Sweet Armful.  The arms of each animal have a slit cut to allow you to slip a cute little heart, flower, star, etc.  These sets also include the corresponding dies.


I stamped each of the images twice on copic friendly cardstock with Memento black ink and colored with copic markers listed below.  I also stamped, colored and die cut the heart, that is included in the "So Sweet Armful" set, 6 times - one for each card.  I learned a little copic technique from my fabulous copic teacher and friend, Sharon Caudle, many years ago in a class and I use it whenever I can.  For the little bear image, I color him in the browns leaving the overalls until later.  I then take a little piece of wash cloth and dab some blender solution onto it.  Lightly tap that part of the cloth onto the colored part of the bear and it will make him look fuzzy (see the individual card below for a better visual).  Let it sit for a little bit and then finish coloring the overalls.
It's a great effect!  Many thanks, Sharon!  


Above is the A2 Card Gift pouch that will hold up to 6 cards (with minimal dimension) and 6 envelopes.  I found the template for this on The Paper Pixie or you can youtube A2 card gift pouch.  It uses one 12x12 piece of heavy weight pattern paper.   I then decorated using the #5972 - Bible Journal Decorative Margin dies and #5721 - Nested Heart dies.   The sentiment is from the #5817 - Potting Garden Shed set.  Lastly, I used one of the #5967 - Hook and Loop Fasteners to keep the pouch shut.


Here are the six cards in the pack:


That's it for me today!  Thanks for stopping by and I hope you have a great day!

Make sure to check out the bi-weekly challenge and play along for a chance to win a free stamp set.  
We love to see your creations!

Copics used:  C0, C1, C3
R20, R11, R12, R14
E21, E23, E25, E31, E33, E35
Thursday, January 22, 2026

You are My Sunshine

 Happy Thursday AI Friends!

Well, the current challenge "Pocket Full of Sunshine" just shouts warm and happy to me, so I got carried away!  I apologize, but, how can you not love the color of yellow and the feel of sunshine?  It just makes you smile, doesn't it?

I created several projects today, but I couldn't stop!  I just kind of kept on going.  😊
I started out with a card, then a pouch and finally a box.  As long as I had paper, I kept on playing.


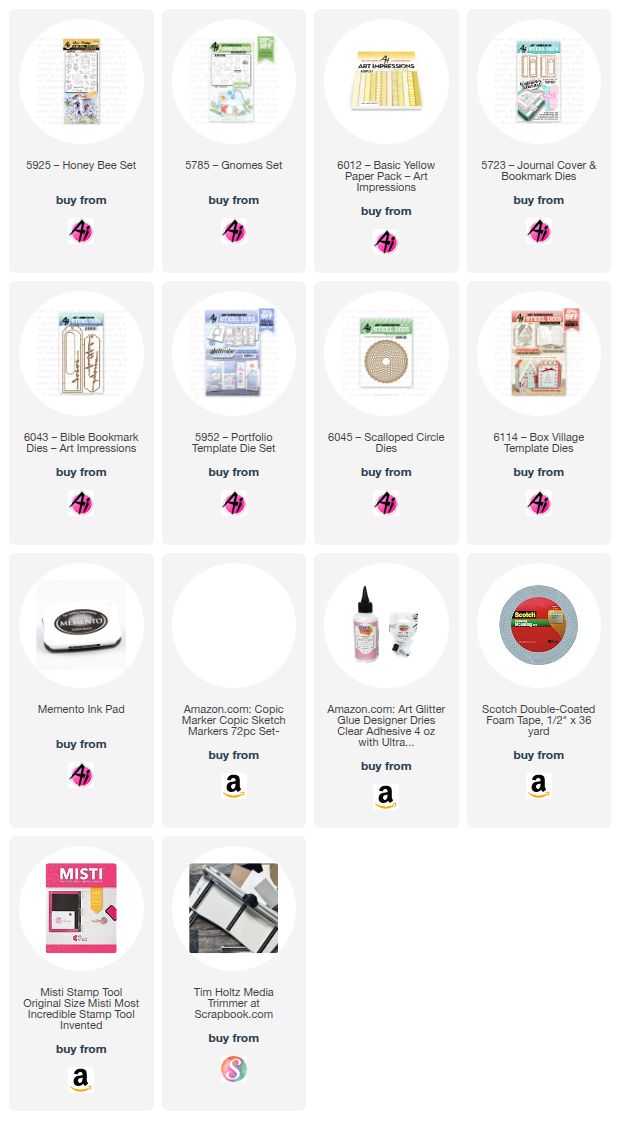
Card:  Stamped the images from #5925 - Honey Bee stamp set onto copic friendly paper with Memento black ink and colored with copic markers listed below.  I created a pocket by cutting a rectangle and scoring 1/2" around three edges.  Fold and burnish each edge.  Snip off a bit of each of the folded corners creating tabs to glue down to the base.  I added a scallop top from the #5952 - Portfolio Template die set for the top of the pocket.  I then created a bookmark using the #5723 - Journal Cover and Bookmark die set as well as the #6043 - Bible Bookmark and Word die set to insert into the pocket.  The sentiment die is from the #6114 - Holiday Lane Village Template.  The sun die is from my stash.  


Treat Pouch:  created from a 6 x 6" piece of cardstock.  Fold and burnish one corner diagonally to the other creating a triangle.  Fold and burnish the front corner down halfway towards you.  Lift that corner back up and fold the left bottom corner up and align with the halfway fold line.  Do the same for the right bottom corner.  Glue those in place.  Fold the top front corner back down towards you and tack into place.  The pouch is now ready to decorate and fill with treats.  


Box:   I saw this video on youtube for The Paper Pixie.  Julie Dimatteo is the host of this youtube and she is fantastic.  Her explanations are soooo well done.  This video is called the Sweet Jar Treat box.  
I thought this was the cutest thing so I had to try it out.  I created the box the same but used the Art Impressions #5785 - Gnomes stamp set as well as the #5925 - Honey Bee set.  It calls for two strips of plain card stock - one at 1 5/8" x 6 1/4" and the other is 1 5/8" x 5 15/16" (see says 5 5/16" but s/b 5 15/16").  The box holds one Ferrero Rocher candy and would be a sweet treat for a teacher, special friend or any other special person in your life.  

Well, that's it for me today. 

Have a great day and keep creating!

Copics used:  N3, N4
R20, E21
G43, G46, B21, B23
Y11, Y13, Y15, Y17

Thursday, May 15, 2025

Tea Box for Mom

 Happy Thursday AI Friends!

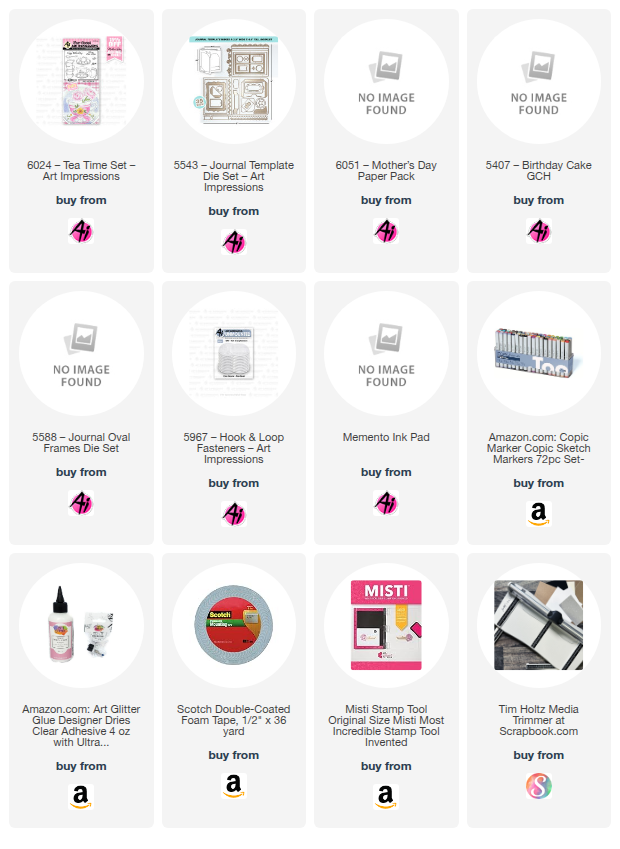
My project for today was inspired by the current blog challenge "Show Mom She's Special".  I decided to use the latest release - #6024 Tea Time stamp set to make my project for any tea lover mom's out there.  This is a cute little tea box that holds 3 tea bags.  I got the idea for this box from The Paper Pixie.  Here is the link to her youtube video - https://www.youtube.com/watch?v=LvgzsJRtjk0

I started out by stamping the images with Memento black ink onto a piece of copic friendly paper
 as well as a few pieces of pattern paper from the #6051 Mothers Day paper pack.   I colored the spoon and also the tea within the cup on the copic paper (see list of copic colors below).  I used the corresponding dies included in this set to cut the full images on the copic paper (spoon and tea cup/saucer).  I used this as my base.   I then fussy cut the tea cup from the floral pattern paper and the saucer from the gingham paper.  I then adhered the tea cup and saucer onto the "base".  I die cut an additional spoon from heavy cardstock and adhered behind the colored spoon for dimension.  
For the steam in the tea, I die cut two pieces of confetti from the #5407 Birthday Cake GCH set.  I used my E21 copic marker around the edges for a little color.  I then popped the tea cup up on the purple scallop circle and then popped that up as well with foam tape.  I stamped the sentiment onto a piece of white cardstock cut with the #5543 Journal Template die set and layered onto the purple decorative frame cut from the same set.


I hope you enjoyed by tea box for mom and it inspires you to make one.  Great little tea box to slip into your purse or travel bag.  Never be without your tea!  πŸ˜€

Have a wonderful day and keep creating!

Copics used:  C00, C01, C02
E21, E23

Thursday, May 8, 2025

Mother's Day Pocket card

 Happy Thursday AI Friends!

My cards today feature the new #6041 - Flower and Bug die.  This is such a fun set and makes the cutest flower when you pair it up with the Art Impressions paper packs.

My daughter became a first time mom and my daughter-in-law had her second baby both this past year.   (I'm a Happy Happy Grandma!!😁)  Since they are new moms, I decided to make them each a Mother's Day pocket card that holds a flower of the month gift certificate as well as a couple of little bookmarks using the #5723 - Journal cover and Bookmark dies.

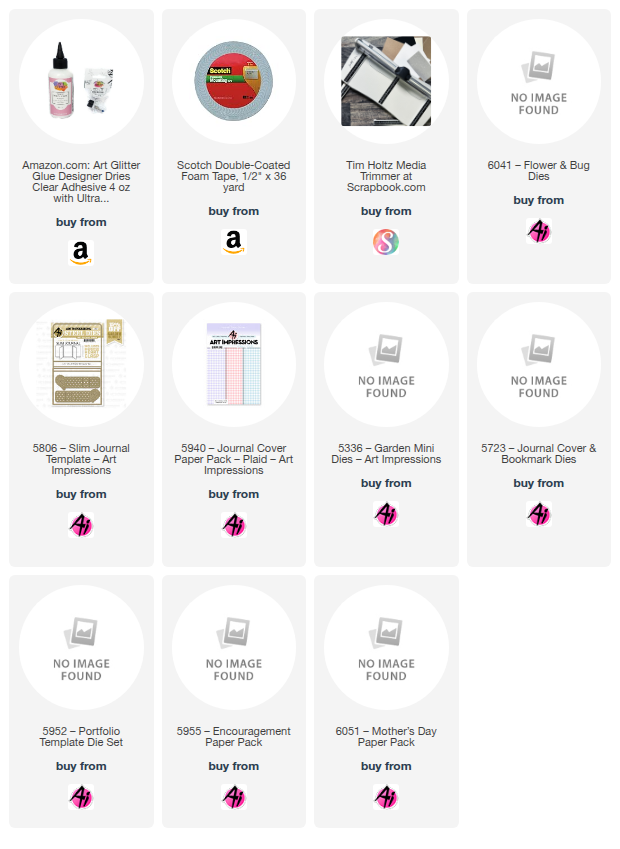
I started by making the pocket using the #5806 - Slim Journal template.  I die cut the journal with the #5940 Journal cover plaid PP and cut it in half between the score lines.  I made another score line at 1/8" in from the original score line on both pieces.  I folded each score line creating a pocket tab on both pieces.  I then placed a slight line of glue on each tab and glued to the flat side of the other piece.  When both sides are glued down, the pocket is created.  I sealed the bottom of mine but it is optional if you have a stopper at the top holding the gift card (such as the bee clothes pin).  The bee and ladybug dies come with the #6041 - Flower and Bug set.  Adorable little embellishments!
I made another pocket on the front to hold the bookmarks.  I used the #5952 - Portfolio die set to create the scallop edge on the pocket.  As for the flower pot, I just free hand cut that and inked with Distress oxide antique linen.  The watering can and the mini flower die cuts came from the #5336 - Garden Mini die set.


I hope you enjoyed my post and you have a wonderful Mother's Day on Sunday!

Thanks for stopping by!  Have a great day and keep creating!

Friday, August 27, 2021

Kangaroo Pouch

 The Art Impression's challenge for this two-week period is "Lion, Tigers, Bears Oh My".  It is a challenge showcasing any animal image.  I chose the Art Impressions Kangaroo Mouthful set.  I love this set!  It comes with a mama kangaroo, baby kangaroo, a bunch of flowers, a present, a cluster of balloons, a blow horn and a birthday hat.  I used them all except for the flowers.  Such a great set!! The dies are also included, which is always a plus.  


I made a shaker gift tag with the Art Impressions double stitch tag die.  I die cut the tag out of pattern paper and then cut two pieces of page protector plastic using the tag die as a template to cut around.  I then sealed three sides of the plastic with the WeR Fuse tool to create the shaker tag.  I glued two sets of the balloons to the inside tag and placed sequins in the pouch to make it a shaker.  I then fused the top of the tag together.  
To finish the tag, I colored all of the images with copic markers.  I made a slit in the mama kangaroo's mouth and pouch to place the blow horn and present within.  I then glued the images to the outside of the tag and tied some ribbons to the top.   
What little one wouldn't have fun playing with this tag?  Probably will enjoy the tag more than the present.  😁