Thursday, August 28, 2025

Loungin' Linda Bday

 Happy Thursday AI Friends!

I know I've said it before, but I'm going to say it again.  These new AI ladies are a HOOT!
I made this card for a friend of mine and, yes, she will always be older than me so I'm going to rub it in when I can.  😁  But, I can say with sadness, she doesn't look older! πŸ˜›

I stamped the images on copic friendly paper with Memento black ink and colored with my copic markers listed below.   I used the 6077 - Loungin' Linda stamp set along with the 5509 - Beach Accessories stamp set (handbag).

I also used the 5873 Mini Birthday PP and the 5132 - Tag Stitched dies.  The sentiment, balloons and scallop stitch edges are from my stash.

Hope you have a wonderful day!  Keep creating!

Copics used:  E000, E00, E01, E11
C0, C1, C3, C5, C7
R20, R22, R24
Y13, Y15, V20, V22, V25
BG10, B0000, B000, B12, B14

Thursday, August 21, 2025

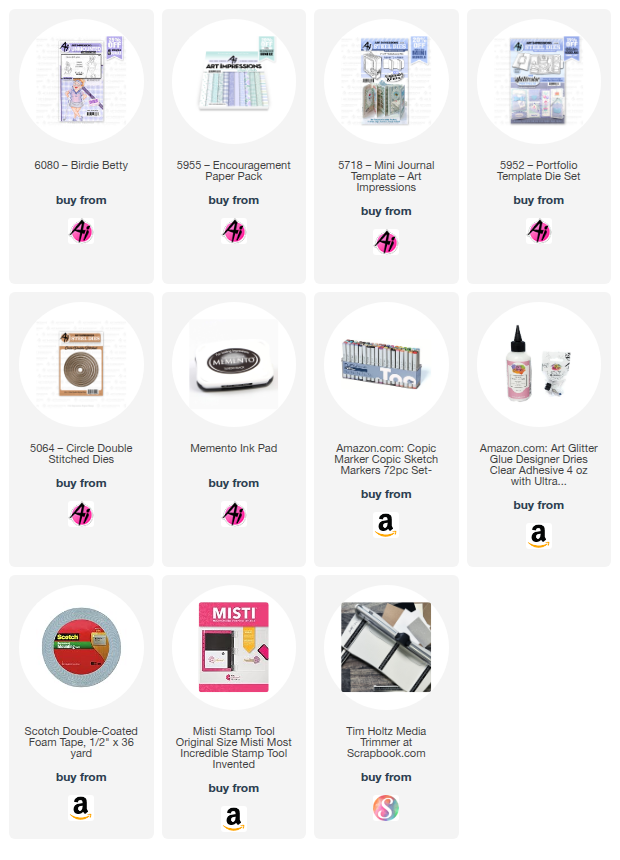
Golfer Gal - Birdie Betty

 Happy Thursday AI Friends!

I have a fun interactive card to share with you today that meets the bi-weekly challenge 
"Sports & Leisure".
By now, I'm sure, you have seen lots of cards using these fun new AI ladies.  They are just so fun, so expect to see more.  My card features #6080 -Birdie Betty.  What a fun cute golfer gal!  The expressions on these ladies are absolutely the best and the glasses add so much to their character.  Gotta love them!!

I started off by stamping the images onto copic friendly paper with Memento black ink and coloring with my copic markers listed below.  I then cut the images out with the coordinating dies that are included with the set.  The sentiments are also included with this set.

This interactive card is fairly simple but adds such a fun element to the card.  I saw this on "Purple Girl Crafts" youtube tutorial called - Diamond Slider card.

I recommend using 80 lb or less cardstock for the slider card.  If you use heavier cardstock, it doesn't seem to fold as nicely and it's too bulky.  I then mounted this to the card base (which can be heavier cardstock).

I hope you try making one of these interactive cards.  They are so fun and easy to make.

Also, make sure to join in on the blog challenge for a chance to win a free stamp set of your choice.  We love to see what you create!

Have a wonderful day and keep creating!!

Copics used:  E000, E01, E11, E51, E53, E55
N0, N1, N3
R20, R24
BV00, BV01, BV04

Thursday, August 14, 2025

Vacation Vibes

Happy Thursday AI Friends!

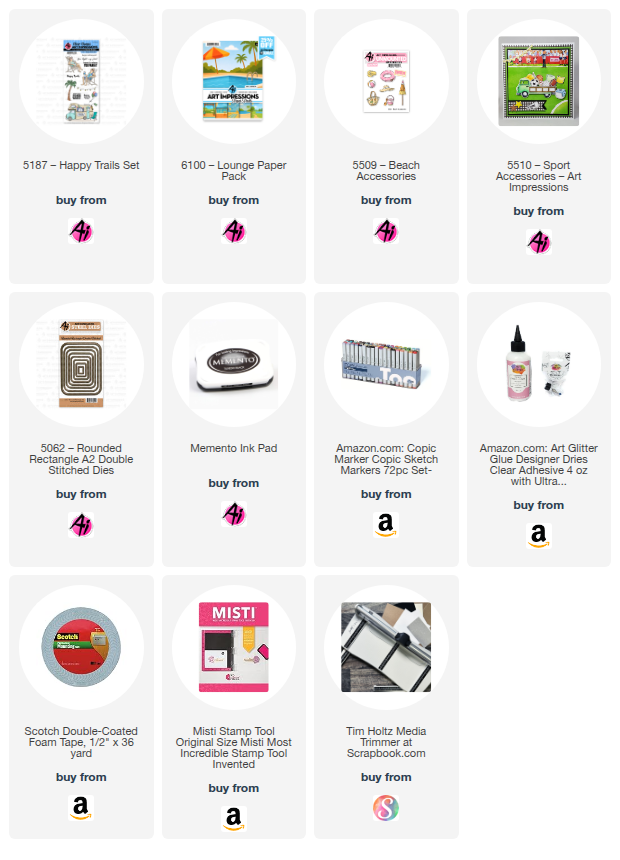
Wondering if you've seen the five new paper packs from Art Impressions yet.  If not, make sure to visit the Art Impressions website.  These paper packs were designed to go with the five new fun AI People stamps sets.  However, I wanted to show you how versatile they are and how you can use them with some other stamp sets.  They make such fun backgrounds.  All you need to do is add some images to them and your card is complete.  I used the #6100 - Lounge PP, #5187 Happy Trails stamp set for the couple on the beach, added a few accessories and the card is full of fun and relaxation.  
Total Vacation Vibes!

I began by stamping the images with Memento black ink onto copic friendly paper and coloring them with my copic markers listed below.  The couple are from the #5187 - Happy Trails set and the accessories (beach ball, hat and cooler) are from the #5509 - Beach Accessories and the #5510 - Sports Accessories.  The sun and the cloud are from my stash.


The accessories come with corresponding dies but the beach chair couple, I had to fussy cut. 
I used the largest #5062 - Rounded Rectangle A2 Double Stitch die to cut the background and then placed a layer of foam underneath to pop it up on the card base.  I also popped up the sentiment cloud, the couple and the accessories for added dimension.

Hope you look through your stamp sets and find other fun images to use with these papers.  Such a great way to add a scene as your background.

Thanks for joining me today.  Have a wonderful day and keep creating!
Copics used:  N0, N1, N2
E000, E01, E11, E21, E23 E25, E51, E53, E55, E57
R20, Y32, G40, G24
B0000, B91, B93, B95

Thursday, August 7, 2025

Gnome Frame

Happy Thursday AI Friends!

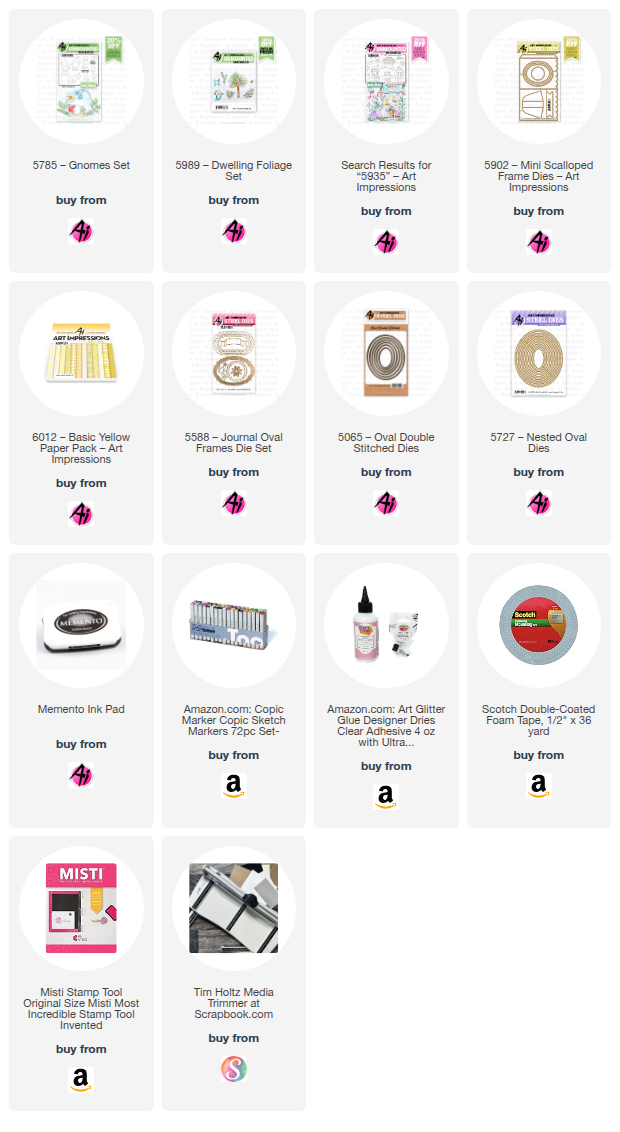
Today I have a cute little frame that fits right in with the current blog challenge called "Stitches and Scallops".  I love this little #5902 - Mini Scallop Frame set.  It makes the cutest little display card for a desk, mantel, shelf or anywhere for that matter.  This one with the gnomes brings a smile to my face.
        

I began by stamping the images onto copic friendly paper with Memento black ink and coloring with my copic markers listed below.  The gnomes (5785 - Gnomes set) and the bees (5935 - Fairytale Houses) were cut using their corresponding dies that are included in these sets.  
The scene was stamped onto a 3 x 2 1/2" piece of copic friendly paper.  The tree stump is from the 2025 freebies part 1.  If you don't have that freebie, you can use the stump from the KH5951 - Foxes set and draw in the door and window.  I colored, free hand, the walkway and the grass.  Don't look too close because they are pretty rough.  😞  The leaves were stamped with Memento black ink using the 5989 - Dwelling Foliage set and colored with my copic markers.

I die cut the frame from a piece of striped paper from the 6012 - Basic Yellow PP using the #5902 - Mini Scallop Frame die.  I also die cut the oval opening using the #5727 Nested Oval die.  I then die cut a stitched oval frame to place on the outside of the oval opening using the #5065 - Oval Double Stitch die with a slightly larger nested oval from the #5727 - Nested Oval dies.

I popped the gnomes up on foam tape and adhered one to the top of the stump and the other to the outer side of the stitched oval frame.  I adhered one bee directly to the image and the other to the outer frame.  Lastly, I cut the sentiment banner from the #5588 - Journal Oval Frame set and stamped the sentiment from the #5785 Gnomes set onto the center of the banner.  

Oops, almost forgot the easel.  Make sure to die cut one from the #5902 - Mini Scallop Frame die and adhere to the backside of the scallop frame so that it stands nicely.


That's it for me today.  Hope you play along and enter the challenge "Stitches and Scallops" to win a free stamp set of your choice.  It's easy and so fun (especially if you win). 😁

Have a great weekend and keep creating but make sure to share because we love inspiration!
Copics used:  E01, E11, E21, E23, E25
W0, W1, W3, W5
Y15, Y17
B32, B34
G40, G43

Thursday, July 31, 2025

Magnetic School Bus

 Happy Thursday AI Friends!

I have a fun little project today using the #5226 - Bus Cubbies.  This stamp set comes will all of the cute little animals, the bus and the treats on the top along with corresponding dies to cut each of them out.  Instead of a card, I decided to make all of the pieces magnetic.  This is cute on the refrigerator or a magnetic board for the little ones to play with.  


I began by stamping all of the images onto copic friendly paper and colored with my copic markers listed below.  I die cut each out with their coordinating dies.  I also cut each out of an adhesive magnetic sheet (sticky side of magnetic sheet against the cutting part of the die) to be placed on the back side of the colored image.  Peel each of the adhesive magnetic backings and adhere to the corresponding colored images.  Each of the pieces should now stick to the refrigerator or magnetic board and let the fun begin.  However, if you choose, you can create a magnetic base.  To do this, I cut a black and a white piece of cardstock using the #5062 - Rounded Rectangle A2 Double Stitch dies.  I also cut two magnetic pieces using the same die.  I adhered the magnetic pieces sticky sides together and then glued the white and black cardstocks to one magnetic side.  The other side will adhere to the refrigerator.

Hope you enjoy this project and have fun making it with other stamp sets, too.  Years ago I made a castle magnet with the #5225 - Castle Cubbies and it turned out sooo cute.  Let your creativity flow!  LOL!

Have a wonderful weekend and keep creating!


Copics used:  R20, R22, R24
E21, E23, E25, E40, E42, E44, E70, E74
W0, W1, W3, W5
YG95, YG93, YG91
Y32, Y35, Y38, YR27
G21, G24
B01, B000

Thursday, July 24, 2025

Hedgehog Tuck Flap Card

 Happy Thursday AI Friends!

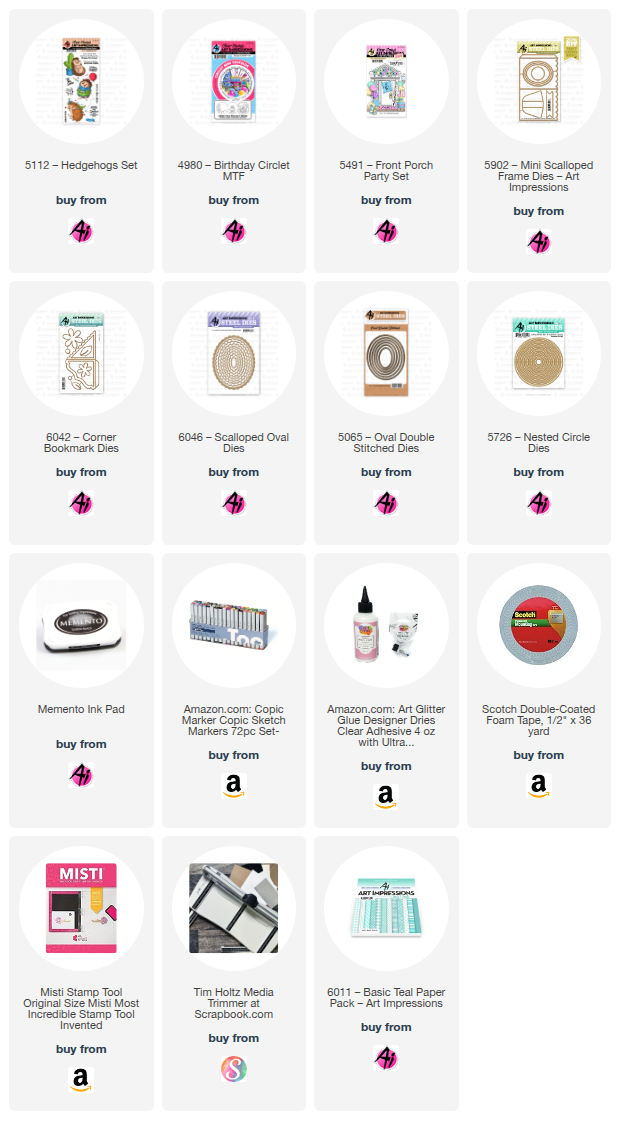
We have a new blog challenge currently going on called "Let Them Eat Cake".  Any card, project with cakes or cupcakes, etc.   I decided to make a cute little Hedgehog Tuck Flap card using the #5112 - Hedgehogs set with the cake from the #4980 - Birthday Circlet MTF and the presents from the #5491 - Front Porch Party set as accents. 

I stamped all of the images onto copic friendly paper with Memento black ink and colored with my copic markers listed below.  The hedgehog was stamped onto a 3.5 inch square.  The other images are cut using the dies, so can be stamped onto any size paper.  

I die cut the cake and balloons with the corresponding die (#4980 Birthday Circlet) and then fussy cut the portion that wasn't cut out with the die.  The presents (#5491 - Front Porch Party) were cut with the dies included in that set.  I mounted each of those onto a white circle die cut and then layered onto a blue circle die cut.  I cut two corner bookmarks using the new #6042 - Corner Bookmark dies.  I assembled the bookmarks and adhered the circle die cuts onto each of the fronts of the bookmarks. 

For the card base and fold, I cut a top folding A2 card size 4.25 by 8.25 inches and scored at 5.5 inches.  This will leave a 2.75 inch flap for the front.  Using the #6011 - Basic Teal PP, cut two pieces (front -
2.5 x 4 inch and the inside - 5.25 x 4) to be layered onto blue cardstock.  Place the corner bookmarks over the bottom edges of the inside layer and adhere this layer to the inside of the card base.  This will glue the bookmarks to the inside of the card and leave the back of the card white.  Mount the hedgehog image onto blue cardstock.  Place glue onto the backside of the top half only and adhere to the front flap of the card base.  Add the sentiment from the Hedgehog set and die cut with the #6046 - Scallop Oval dies with a blue layer cut from the #5065 - Nested Oval dies.

Create an easel with the #5902 - Mini Scallop Frame die and glue to the back of the card base.  Tuck the hedgehog image piece inside the bookmark edges and you have a Tuck Flap card that stands on display, thanks to the easel.

Hope you join us in this "Let Them Eat Cake" challenge for a chance to win a free stamp set of your choice.  We LOVE to see your creations!

Hope you have a wonderful weekend and keep creating!

Copics used:  E01, E02, E11, E21, E23, E25
R20, N0, N1, N2
B000, B00, B01, B02
Y13, Y15, Y17, Y21
YG21, YG23, YG25 

Thursday, July 17, 2025

Gardener Gail

 Happy Thursday AI Friends!

WOW! WOW! WOW!  Have you seen the newest Art Impressions release?  OMGosh this release has got to be the best EVER!  I just LOVE the girlfriends line and this is right up that alley.  Add the papers to go with and WOW!  Bonnie and Joel knocked it out of the park with this release!
Picture a happy dance right now!!  Sorry, no video attached.  LOL!

My card for today uses #6076 - Gardener Gail.  These AI People are so fun to color and they are a great size (about 3 1/2 inches tall).  And the best part, they come with corresponding dies!  
I stamped each of the images onto copic friendly paper with Memento black ink and colored with my copic markers (colors listed below).  The bee and flowers come from the #5925 - Honey Bee stamp set and the papers are from two different paper packs - #5742 - Easter PP and #5939 - Fairy Garden PP.  
The watering can with the little flower is from the #5336 - Garden mini dies.  These mini dies make such a cute little addition to any card.  I love them as a simple accent or a charm hanging from a bow.  Adds a perfect extra little touch.

Make sure to check out yesterday's watercolor wednesday video  to see and hear all about the other sets.  Also, make sure to visit this blog daily for other inspirations.  There will be many more posts for these as well as other available sets.

Thanks for joining me today!  Hope you have a wonderful weekend and enjoy creating!

Copics used:  E000, E00, E11, E21, E23, E25
E51, E53, E55
N1, N3, BG32
 R20, R22, R24
Y11, Y13, Y15, YR65, YR68
YG41, YG61, YG63