Showing posts with label square. Show all posts

Thursday, August 21, 2025

Golfer Gal - Birdie Betty

 Happy Thursday AI Friends!

I have a fun interactive card to share with you today that meets the bi-weekly challenge 
"Sports & Leisure".
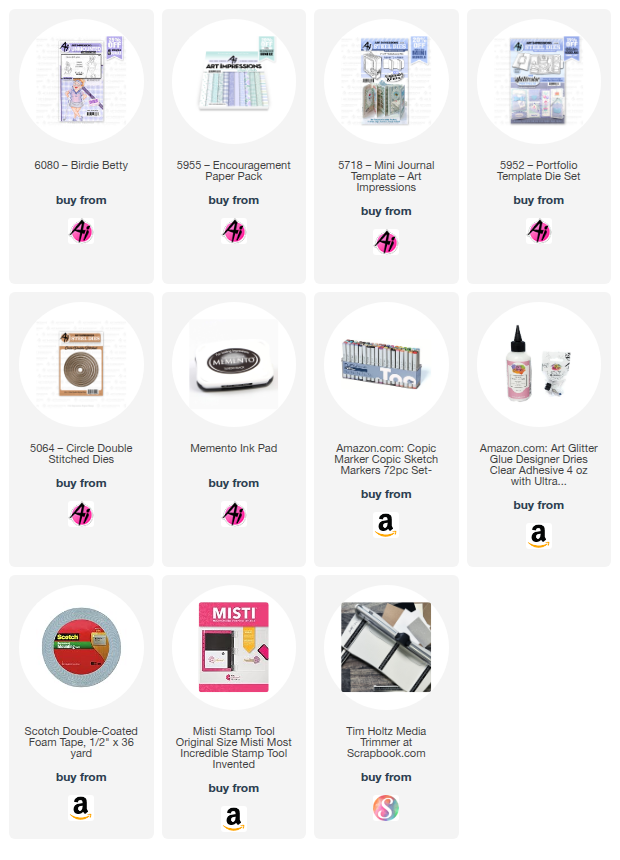
By now, I'm sure, you have seen lots of cards using these fun new AI ladies.  They are just so fun, so expect to see more.  My card features #6080 -Birdie Betty.  What a fun cute golfer gal!  The expressions on these ladies are absolutely the best and the glasses add so much to their character.  Gotta love them!!

I started off by stamping the images onto copic friendly paper with Memento black ink and coloring with my copic markers listed below.  I then cut the images out with the coordinating dies that are included with the set.  The sentiments are also included with this set.

This interactive card is fairly simple but adds such a fun element to the card.  I saw this on "Purple Girl Crafts" youtube tutorial called - Diamond Slider card.

I recommend using 80 lb or less cardstock for the slider card.  If you use heavier cardstock, it doesn't seem to fold as nicely and it's too bulky.  I then mounted this to the card base (which can be heavier cardstock).

I hope you try making one of these interactive cards.  They are so fun and easy to make.

Also, make sure to join in on the blog challenge for a chance to win a free stamp set of your choice.  We love to see what you create!

Have a wonderful day and keep creating!!

Copics used:  E000, E01, E11, E51, E53, E55
N0, N1, N3
R20, R24
BV00, BV01, BV04

Thursday, July 3, 2025

Hello 4th

 Happy Independence Day AI Friends!

WOW!  Have you seen the newest release of papers at Art Impressions?  Holy cow!  I couldn't stand it, I had to put a card together using the new #6090 - Patriotic paper pack.  Although a lot of the papers are 4th of July themed, there are many that can be used for any occasion.  The patterns are incredible and the colors are vibrant and fantastic.  Make sure to check them out!  I can't wait to design with the rest of the pack!!!

I started out by stamping the images from the #5452 - Swing Window set onto copic friendly paper and coloring them with my copic markers, listed below.  The little puppy has a coordinating die that comes with the set so you can pop him up, if you choose.  


I used the #5408 - Shadowbox Window Die to display the image and then I created an interactive venetian blind which was inspired by a Technique Tuesday die tutorial that I found on YouTube.

To create without the die:  Cut a piece of pattern paper 2 3/4" by 4 7/8".  Score every 3/4" along the longest side.  Before folding, punch a small hole, approx. 1/8" in, between each score line on both sides for the strings.  Try to center punch each of the holes, but it does not have to be perfect.  Fold each of the score lines into peaks and valleys.  The valley end should be at the top, this is the side that adheres to the base.  Thread a string up both sides leaving the loose ends at the top.  Thread a bead or knot the loose ends for the string pulls.  Adhere the valley side of the blinds down to the base by placing glue between the string holes.  Make sure to place glue only between the holes or the mechanism won't work. 
 
Valance:  Cut the valance out of another piece of pattern paper and partial die cut with the #6047 - Scalloped Square third largest die (should measure 3 1/4" wide by 3/4" tall).  Make a slight snip on either side at the bottom scallop to hold the string when pulled up.  Pop the valance up with foam tape and adhere just above the top of the blinds.
The bow and the flag heart are fussy cut from the pattern papers of the same paper pack.  Makes great accents!  The Hello die cut is part of the Shadowbox Window die set.

Thanks for joining me today.  Hope you have a wonderful and safe 4th of July weekend.
Keep creating!!

Copics used:  E000, E01, E11, E21, E23, E25, E50, E51, E53, E55
Y13, R20, R22, R24, R27
G20, G21, G24, G28
B0000, B000, B00, B32, B37

Thursday, March 27, 2025

UGH!

 Happy Thursday AI Friends!

A new release came out yesterday and boy, is it a good one!  Okay, let's be honest, they ALL are!!  This one included new alphabets and numbers, a new Easter stamp set and papers as well as a set of belly bands.  Make sure to check out the Art Impressions website.  Lots of fun new items!

My card today features the new #5910 Large Alphabet letters.  Have you ever purchased word dies only to wish you could adjust them by adding another letter, removing one or making up your own word?  Well, these letters are the perfect size to create your own word or spell the way you want to.  Actually, I should have put another couple of G's to emphasize the word "UGGGH".


I started out by stamping the image from the #5518 - Hot Mess Laugh Lines set onto copic friendly paper with Memento black ink.  I then colored with my copic markers listed below.  I stamped the image again on a piece of pattern paper from the #5892 - Easter S2 PP and fussy cut the chair so that I could paper piece onto the image.  I cut the image with a circle die from the #5726 - Nested Circle die set and matted onto a scallop circle die I had in my stash.  I die cut 2 of each of the letters U, G, H and the exclamation mark from yellow cardstock.  I layered each of the letters together for added dimension.  I stamped the sentiment from the #5278 - Dance It Out set and cut with a banner die I had in my stash.  I mounted the banner sentiment onto a piece of yellow cardstock and fussy cut it for a matted banner.  I then took a 5.5" square piece of pattern paper (stripe) and mounted it onto yellow cardstock.  I did the same for the top layer 4.5" square piece of pattern paper.  I then assembled the card together and staggered and overlapped the letters to add more fun to the card.

I hope you enjoyed my card today!  
Have a wonderful day and keep creating!

Copics used:  E000, E01, E11, E51, E53, E55, E57
C00, C01, C03, C05
B00, B01
Y04, Y21, YG61, YG63

Thursday, February 27, 2025

Easter Fun Fold

 Happy Thursday AI Friends!

Today I have a couple Fun Fold Easter cards using the #5274 Easter Bunnies, the #5870 Peeking Bunny, and the #5504 Happy Spring sets.  These Easter sets have the cutest little bunnies.  OMGosh sooooo cute!!  Add these images to this fun fold style card and you'll find yourself addicted.  I could have created all night.  I will definitely be making more.

To create these fun folds, I choose the largest circle from the #5064 Double Stitch circle die set for the card on the left and the 4th largest #5062 Rounded Rectangle A2 Double Stitch die for the smaller card.  The following instructions will be for the circle card.  The rectangle card is basically made the same just a different size and shape.  
I cut four circles from white lightweight (80 lb. or less) cardstock and scored each in half.  I then formed the fun fold by overlapping the circles as shown below (the right half over the previous circle right half).  Continue overlapping the circles until all are together.  Make sure to gather them together and square them up tightly.  Place a dab of glue on the back side where they overlap.  Then flip to the front side and dab glue under these overlaps.  Now your fun fold is formed.   


Cut four circles from pattern paper.  I cut two with the largest circle and two with the next size circle.      Cut each of these four circles in half and cut just a tad off the straight side of the larger circles.  The smaller circles are for the front and will recreate a 2-layer look (see below).  Glue the smaller circles to the front (or top) folds, centering up to leave a nice white border.  Glue the larger circles to the inside folds, leaving no border.  
I stamped my one-layer scene onto copic friendly paper with Memento black ink and colored with my copic markers listed below.  I then cut the scene to fit inside the fun fold card (3 1/2 x 3 1/2 inches). Adhere this image to the inside of the card.  Place a ribbon or belly band around the back side and adhere down to the back.  Wrap around and tie or clasp into place.  I added a basket with the bunny bottom for decoration.  Lastly, I glued a 3 1/2 x 3 1/2 top fold card to the back for your sentiment and also to finish off the back side of the card so that the ribbon or belly band will be covered.  This also adds as a nice stand to display your card.

Hope you enjoyed my cards today and I especially hope you'll give this one a try.  Trust me, you will want to create more with different shapes and sizes.  It's addictive! 

Happy creating!!

Copics used:  N0, N1, E21, E23, R20
YR01, YR02, Y13, Y15, Y17
V12, V15, G40, G43, G46
B000, B00, B12, B14
R81, R83, E51, E53, E55

Sunday, April 4, 2021

All about Squares

Happy Easter!!  This week's Art Impressions challenge is to use a Square shape.  So, I went all out squares.  I made a square card with square frames.    These challenges are great for pulling out some of your supplies that you forget you have.  I used a few different square dies from my stash.  If I use them, I can justify buying more.  ๐Ÿ˜

I recently purchased this Bunny PopUp stamp set from Art Impressions so that I could make my Easter cards.  Decided to make this one without the PopUp feature.  Although the feature is adorable, I like to go outside the box and utilize my supplies in other ways too.  I stamped this image on cryogen white cardstock, colored it with copic markers and fussy cut it out to fit in the square frame. I also used the bow stamp and die that comes with the set to make my bunny a girl.  


I love the bright colors of Spring.  This set isn't just for Easter but it sure screams Spring.

Enjoy and have a wonderful Easter!