Showing posts with label Bees. Show all posts

Thursday, March 5, 2026

Friends are Flowers

 Happy Thursday AI Friends!

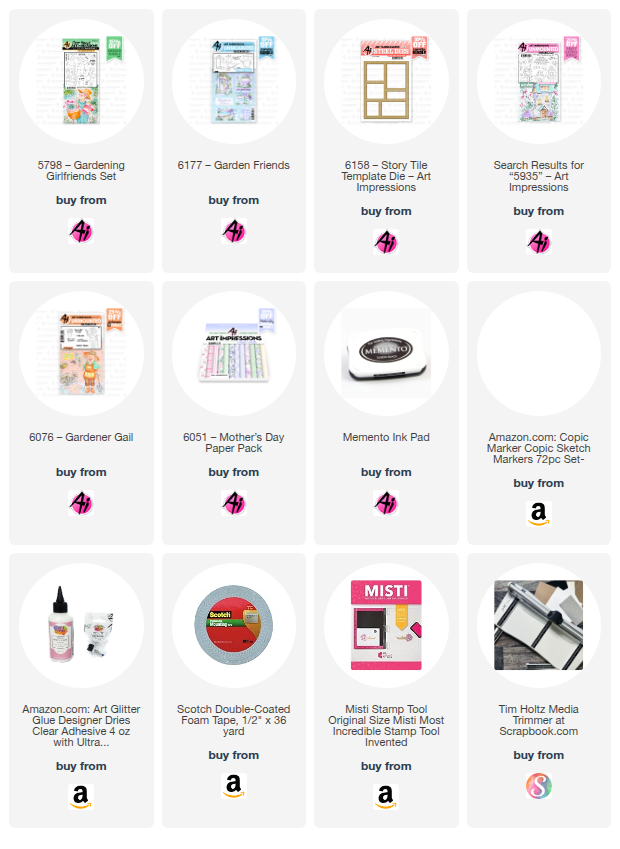
Oh Man, I had such a fun time making this card.  My inspiration came from a combination of the newly released Story Tile sets and die as well as the current blog challenge "The People In Your Neighborhood".  For my card, I used the #5798 - Gardening Girlfriend set, the #6177 - Garden Friends set and the #6158 - Story Tile Template Die as well as a few accessories from some other sets that are listed below.  


I started by stamping all of the images onto copic friendly paper with Memento black ink and colored with my copic markers listed below.  I decorated some of the images with my white marker (you can also use the Dr. PH Martin white paint).  I fussy cut the girl as well as the story tile garden images.  

I cut the story tile window frame from a piece of pink cardstock and a piece of pattern paper from the #6051 - Mother's Day PP.  I layered the pattern paper over the pink cardstock and shifted it slightly to the right and upwards so that the pink showed through the window slightly.  This provided a nice little contrast and helped pop up the images as well as the pattern papers underneath.  Then a die cut some other pattern papers from this paper pack with the story tile die and placed them behind the pink frame.

I stamped the sentiment from the Garden Friends set and adhered behind the narrow window.  I popped up each of the images with foam tape into the other windows and decorated the pots and boots with flowers from the #5935 - Fairytale houses set and the #6076 - Gardener Gail set.  To finish off the card, I colored a few bees from the Fairytale Houses set and placed them near the flowers. 

Make sure to check out the newly released sets and also the bi-weekly blog challenge for a chance to win a free stamp set of your choice.  We love to see your creations!

Thanks for joining me today!  Have a wonderful day and keep creating!

Copics used:  E00, E01, E11, E21, E23, E25
R20, R24,      C1, C3, C5
Y32, Y35, Y38,   YG41, YG45
B91, B93, B95,    RV52, RV55
Thursday, January 22, 2026

You are My Sunshine

 Happy Thursday AI Friends!

Well, the current challenge "Pocket Full of Sunshine" just shouts warm and happy to me, so I got carried away!  I apologize, but, how can you not love the color of yellow and the feel of sunshine?  It just makes you smile, doesn't it?

I created several projects today, but I couldn't stop!  I just kind of kept on going.  😊
I started out with a card, then a pouch and finally a box.  As long as I had paper, I kept on playing.


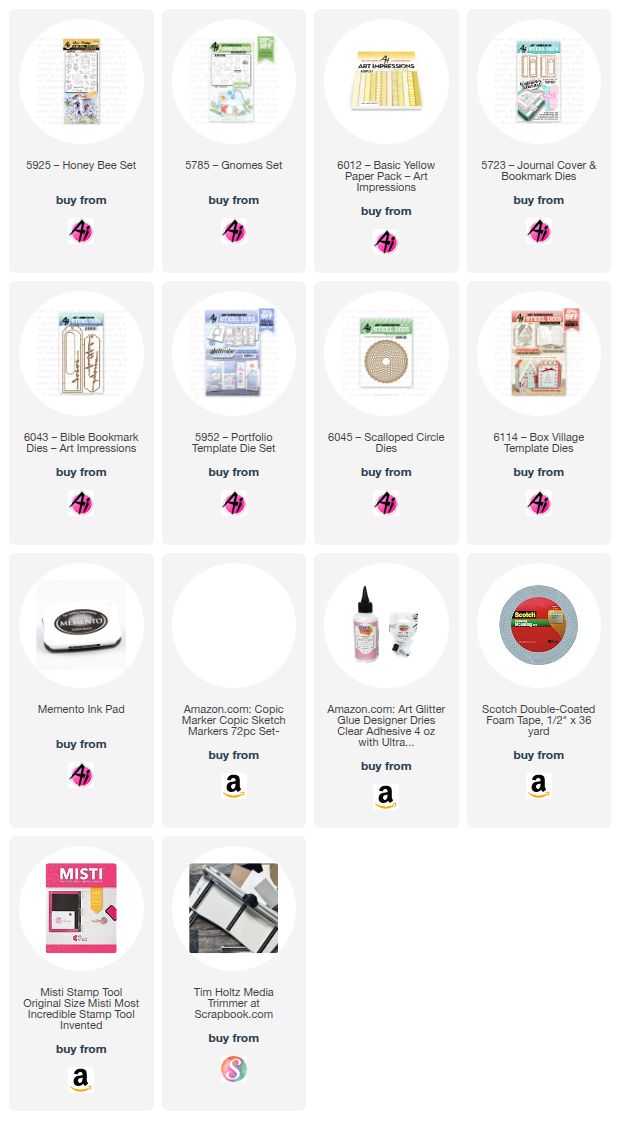
Card:  Stamped the images from #5925 - Honey Bee stamp set onto copic friendly paper with Memento black ink and colored with copic markers listed below.  I created a pocket by cutting a rectangle and scoring 1/2" around three edges.  Fold and burnish each edge.  Snip off a bit of each of the folded corners creating tabs to glue down to the base.  I added a scallop top from the #5952 - Portfolio Template die set for the top of the pocket.  I then created a bookmark using the #5723 - Journal Cover and Bookmark die set as well as the #6043 - Bible Bookmark and Word die set to insert into the pocket.  The sentiment die is from the #6114 - Holiday Lane Village Template.  The sun die is from my stash.  


Treat Pouch:  created from a 6 x 6" piece of cardstock.  Fold and burnish one corner diagonally to the other creating a triangle.  Fold and burnish the front corner down halfway towards you.  Lift that corner back up and fold the left bottom corner up and align with the halfway fold line.  Do the same for the right bottom corner.  Glue those in place.  Fold the top front corner back down towards you and tack into place.  The pouch is now ready to decorate and fill with treats.  


Box:   I saw this video on youtube for The Paper Pixie.  Julie Dimatteo is the host of this youtube and she is fantastic.  Her explanations are soooo well done.  This video is called the Sweet Jar Treat box.  
I thought this was the cutest thing so I had to try it out.  I created the box the same but used the Art Impressions #5785 - Gnomes stamp set as well as the #5925 - Honey Bee set.  It calls for two strips of plain card stock - one at 1 5/8" x 6 1/4" and the other is 1 5/8" x 5 15/16" (see says 5 5/16" but s/b 5 15/16").  The box holds one Ferrero Rocher candy and would be a sweet treat for a teacher, special friend or any other special person in your life.  

Well, that's it for me today. 

Have a great day and keep creating!

Copics used:  N3, N4
R20, E21
G43, G46, B21, B23
Y11, Y13, Y15, Y17

Thursday, September 4, 2025

Teeny Teapot

 Happy Thursday AI Friends!

My card today was inspired by the current challenge "When a Door Closes" utilizing the #5935 Fairytail House set.  This is the cutest set and makes the cutest teeny cards.  Back in December 2024, I created a Teeny Shoe card utilizing this set.   Here is the link to that post.  https://artimpressionsstamps.blogspot.com/search?q=teeny+shoe

For this challenge, I used the Teapot stamp and die and placed it on a teeny tiny hexagon card.  It's approx. 2 1/4 x 2 1/4 inches.  


I created the hexagon card by die cutting two pieces from heavy cardstock.  I scored one of the hexagons about 1/4" from the top and folded towards myself.  I placed glue on the scored fold and adhered the other hexagon to it creating the card base.  I then die cut another hexagon out of pattern paper from the #5742 Easter PP and glued that to the front of the card base.  I created a stitched frame and adhered that to the pattern paper front.

I stamped the teapot and the bee from the #5935 Fairytail Houses set onto copic friendly paper with memento black ink and colored with my copic markers listed below.  I die cut the images and cut a second bee out of heavy cardstock to create a popped up effect.  I adhered the images to the card base and stamped a sentiment in the inside and the card is ready to adhere to a gift, hand deliver or send in the mail.  A fun little card to receive!

I hope you enjoyed my card today and you decide to play along in the blog challenge "When a Door Closes".  Any card/project with a door will qualify you for a chance to win a free stamp set.  

  We love to see your creations!

Hope you have a wonderful day!  

Copics used:  E51, E53, E55
T0, T2, T4
Y00, Y11, Y13, Y15
V12, V15, G40, G43

Thursday, August 7, 2025

Gnome Frame

Happy Thursday AI Friends!

Today I have a cute little frame that fits right in with the current blog challenge called "Stitches and Scallops".  I love this little #5902 - Mini Scallop Frame set.  It makes the cutest little display card for a desk, mantel, shelf or anywhere for that matter.  This one with the gnomes brings a smile to my face.
        

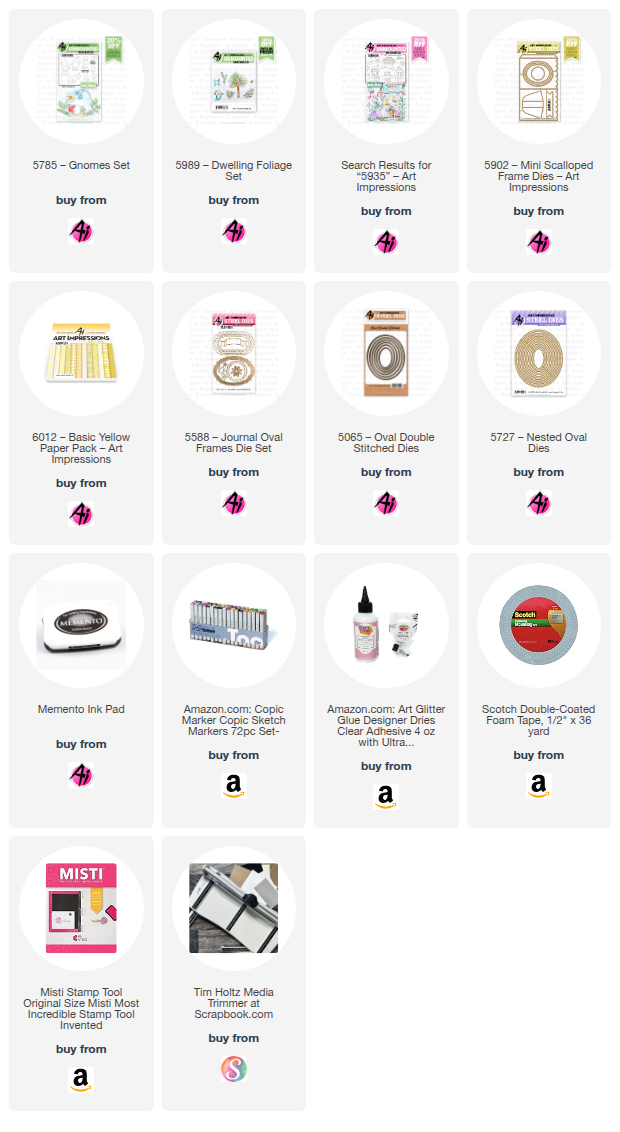
I began by stamping the images onto copic friendly paper with Memento black ink and coloring with my copic markers listed below.  The gnomes (5785 - Gnomes set) and the bees (5935 - Fairytale Houses) were cut using their corresponding dies that are included in these sets.  
The scene was stamped onto a 3 x 2 1/2" piece of copic friendly paper.  The tree stump is from the 2025 freebies part 1.  If you don't have that freebie, you can use the stump from the KH5951 - Foxes set and draw in the door and window.  I colored, free hand, the walkway and the grass.  Don't look too close because they are pretty rough.  😞  The leaves were stamped with Memento black ink using the 5989 - Dwelling Foliage set and colored with my copic markers.

I die cut the frame from a piece of striped paper from the 6012 - Basic Yellow PP using the #5902 - Mini Scallop Frame die.  I also die cut the oval opening using the #5727 Nested Oval die.  I then die cut a stitched oval frame to place on the outside of the oval opening using the #5065 - Oval Double Stitch die with a slightly larger nested oval from the #5727 - Nested Oval dies.

I popped the gnomes up on foam tape and adhered one to the top of the stump and the other to the outer side of the stitched oval frame.  I adhered one bee directly to the image and the other to the outer frame.  Lastly, I cut the sentiment banner from the #5588 - Journal Oval Frame set and stamped the sentiment from the #5785 Gnomes set onto the center of the banner.  

Oops, almost forgot the easel.  Make sure to die cut one from the #5902 - Mini Scallop Frame die and adhere to the backside of the scallop frame so that it stands nicely.


That's it for me today.  Hope you play along and enter the challenge "Stitches and Scallops" to win a free stamp set of your choice.  It's easy and so fun (especially if you win). 😁

Have a great weekend and keep creating but make sure to share because we love inspiration!
Copics used:  E01, E11, E21, E23, E25
W0, W1, W3, W5
Y15, Y17
B32, B34
G40, G43

Thursday, July 17, 2025

Gardener Gail

 Happy Thursday AI Friends!

WOW! WOW! WOW!  Have you seen the newest Art Impressions release?  OMGosh this release has got to be the best EVER!  I just LOVE the girlfriends line and this is right up that alley.  Add the papers to go with and WOW!  Bonnie and Joel knocked it out of the park with this release!
Picture a happy dance right now!!  Sorry, no video attached.  LOL!

My card for today uses #6076 - Gardener Gail.  These AI People are so fun to color and they are a great size (about 3 1/2 inches tall).  And the best part, they come with corresponding dies!  
I stamped each of the images onto copic friendly paper with Memento black ink and colored with my copic markers (colors listed below).  The bee and flowers come from the #5925 - Honey Bee stamp set and the papers are from two different paper packs - #5742 - Easter PP and #5939 - Fairy Garden PP.  
The watering can with the little flower is from the #5336 - Garden mini dies.  These mini dies make such a cute little addition to any card.  I love them as a simple accent or a charm hanging from a bow.  Adds a perfect extra little touch.

Make sure to check out yesterday's watercolor wednesday video  to see and hear all about the other sets.  Also, make sure to visit this blog daily for other inspirations.  There will be many more posts for these as well as other available sets.

Thanks for joining me today!  Hope you have a wonderful weekend and enjoy creating!

Copics used:  E000, E00, E11, E21, E23, E25
E51, E53, E55
N1, N3, BG32
 R20, R22, R24
Y11, Y13, Y15, YR65, YR68
YG41, YG61, YG63

Thursday, May 8, 2025

Mother's Day Pocket card

 Happy Thursday AI Friends!

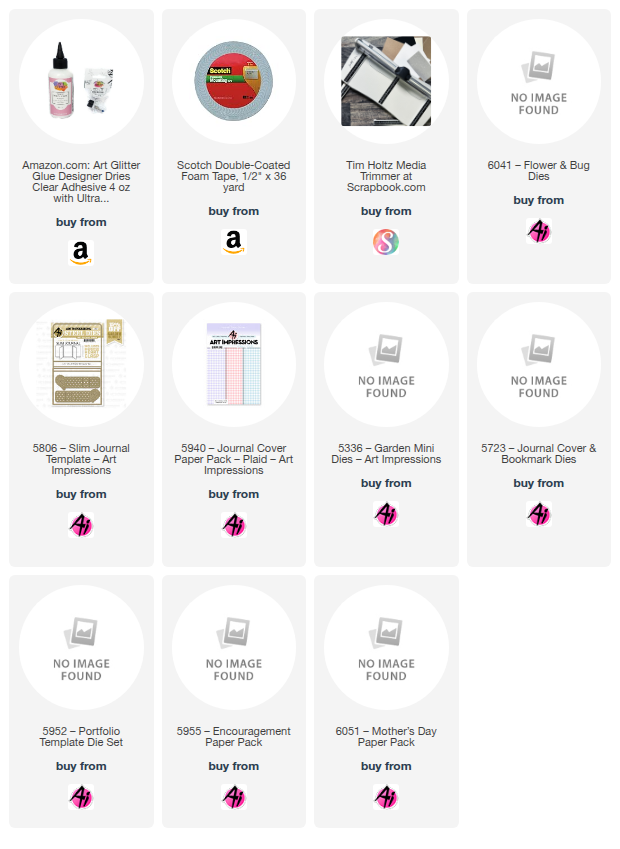
My cards today feature the new #6041 - Flower and Bug die.  This is such a fun set and makes the cutest flower when you pair it up with the Art Impressions paper packs.

My daughter became a first time mom and my daughter-in-law had her second baby both this past year.   (I'm a Happy Happy Grandma!!😁)  Since they are new moms, I decided to make them each a Mother's Day pocket card that holds a flower of the month gift certificate as well as a couple of little bookmarks using the #5723 - Journal cover and Bookmark dies.

I started by making the pocket using the #5806 - Slim Journal template.  I die cut the journal with the #5940 Journal cover plaid PP and cut it in half between the score lines.  I made another score line at 1/8" in from the original score line on both pieces.  I folded each score line creating a pocket tab on both pieces.  I then placed a slight line of glue on each tab and glued to the flat side of the other piece.  When both sides are glued down, the pocket is created.  I sealed the bottom of mine but it is optional if you have a stopper at the top holding the gift card (such as the bee clothes pin).  The bee and ladybug dies come with the #6041 - Flower and Bug set.  Adorable little embellishments!
I made another pocket on the front to hold the bookmarks.  I used the #5952 - Portfolio die set to create the scallop edge on the pocket.  As for the flower pot, I just free hand cut that and inked with Distress oxide antique linen.  The watering can and the mini flower die cuts came from the #5336 - Garden Mini die set.


I hope you enjoyed my post and you have a wonderful Mother's Day on Sunday!

Thanks for stopping by!  Have a great day and keep creating!

Thursday, July 25, 2024

Buzzing By

 Happy Thursday AI Friends!

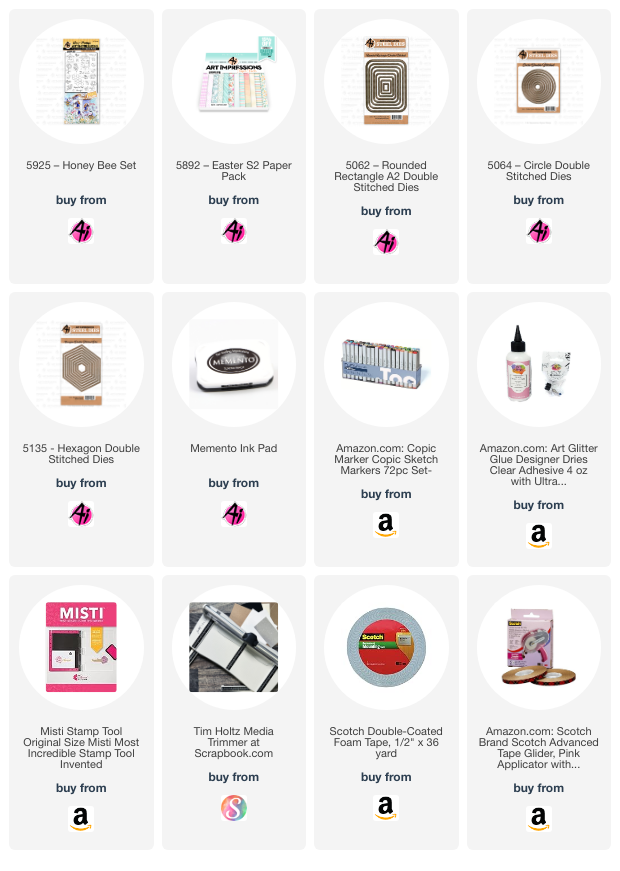
My card for today fits the All A-Buzz Challenge going on this week at Art Impressions Blog.  Check out the "Bi-weekly Challenge" tab for the details and join in on the fun.  Create a card/project using insects.  I used the #5925 - Honey Bee set for my card.  What a great fun set.  It includes flowers, bees, honey jar, bee hive and so much more plus dies to go with each of the images.  

A complete set for creating a beautiful scene.  


I love making interactive cards so this one is no surprise that I made the bees buzz around.  I stamped each of the images onto copic friendly paper and colored with copic markers listed below.  I die cut each of the images with the corresponding dies, included in the set, and placed them aside while I built the base for the card.  
I used the #5892 Easter S2 paper pack and the largest #5062 Rounded Rectangle A2 Double Stitched die to cut the pattern paper.  Then I used two circles from the #5064 Double Stitched Circle dies to cut the round track for the bees to buzz around.  I placed foam tape behind the circle as well as the rectangle, making sure not to place too close to the outside of the circle so the bees can spin, and adhered onto a black cardstock background.  I slipped a dime (or disc, thin button, etc.) under the track and placed a square pop dot, cut in half, on top of the dime.  Then I placed two bees on top of the foam dot.  I used two bees so that I could hide the dime from showing.  

After making the mechanism, I decorated the rest of the card using the images I had colored and die cut.  I created the grass using a die cut and patterned paper from my stash.  I also used the Rounded Rectangle A2 die to cut the bottom portion of the grass so it fit nicely over the striped base. I glued the stem portion of the flowers underneath the grass and popped up the flower portion using foam tape.  Lastly, I stamped the sentiment, from this same set, and die cut using the #5135 Hexagon Double Stitched Die set.

That's my card for today!  Hope you play along with us and enter your creative card/project into the challenge.  You could win a free stamp set and who can say "No" to that.  

Have a great day and enjoy creating!

Copics used:  N2, N4, N7
E21, E23, E25, E27
Y11, Y13, Y15, Y17
YG41, YG45
B0000, B000
R02, R05