Happy Thursday AI Friends!
In celebration of our freedom and this wonderful country we call home, I had to create one more card for this fabulous U.S. holiday. Thank you to all the brave service men and women who have fought for our country. Your courage and sacrifice mean everything.
Happy Independence Day to All!

This Granny is excited to be celebrating! She's a rockin in her chair!
I placed her on a round card base, so she literally rocks. LOL!
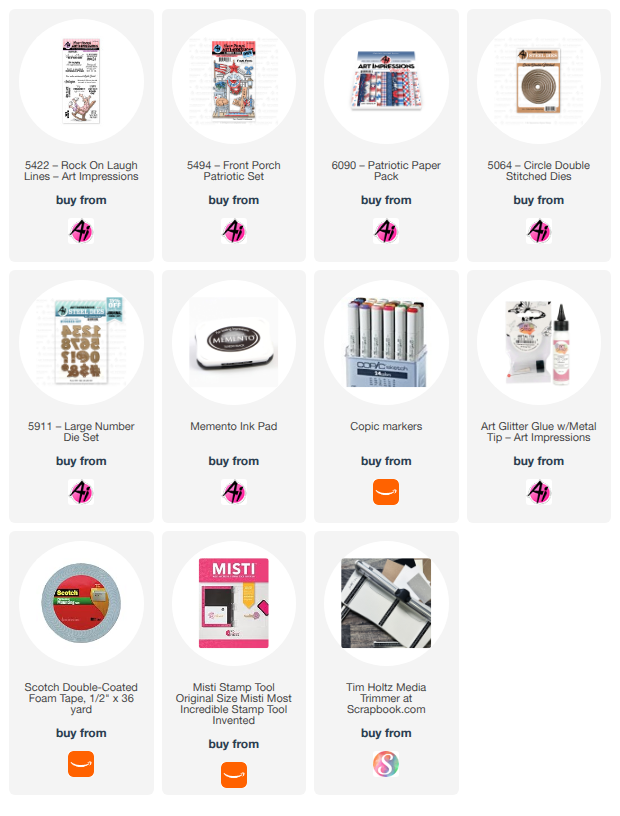
I stamped the images onto copic friendly paper with Memento black ink and colored with my copic markers, listed below. The accessories were die cut with the corresponding dies from the #5494 - Front Porch Patriotic set but the Granny was fussy cut. I also paper pieced her outfit using the #6090 - Patriotic PP. This paper pack is SO full of beautiful papers in the Red, White and Blue.
I placed the flag into her hand and curled her fingers around the pole so that she looked like she was waving it. Just make sure to color the backside of her hand. 😀 I popped her up onto a white circle,
cut with the #5064 - Double Stitched Circle dies. I also popped up several of the accessories.
I die cut the numbers out of red cardstock using the #5911 - Large Numbers dies. The sentiment is from the same set as the Granny (#5422 - Rock on Laugh Lines).
That's it for me today! Hope you all have a safe and fun 4th of July weekend!
Keep creating!

Copics used: E000, E00, E01, E11
E31, E33, E35, E51, E53
R20, R24, R27, R29
N0, N1, N2 B34 Y15, Y17


