Thursday, July 25, 2024

Buzzing By

 Happy Thursday AI Friends!

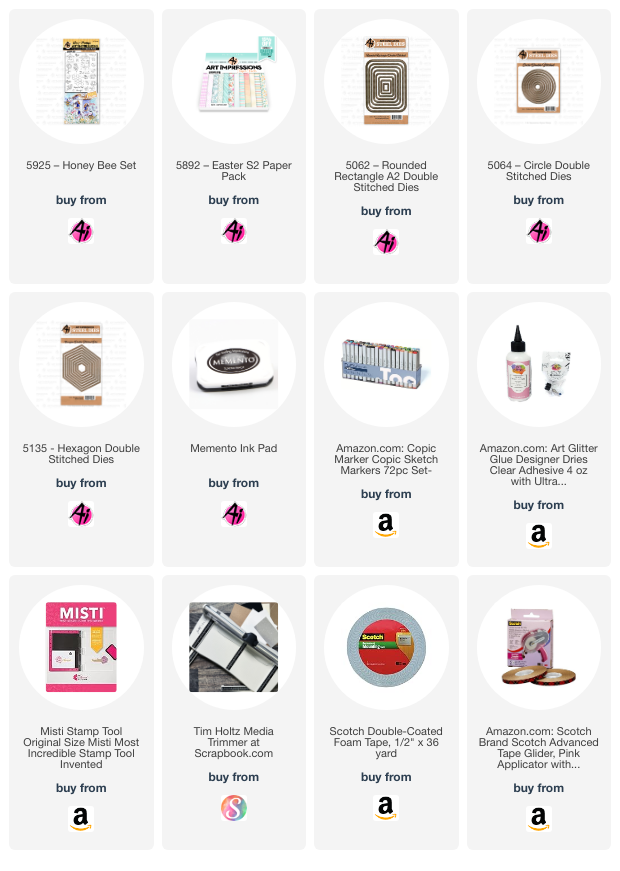
My card for today fits the All A-Buzz Challenge going on this week at Art Impressions Blog.  Check out the "Bi-weekly Challenge" tab for the details and join in on the fun.  Create a card/project using insects.  I used the #5925 - Honey Bee set for my card.  What a great fun set.  It includes flowers, bees, honey jar, bee hive and so much more plus dies to go with each of the images.  

A complete set for creating a beautiful scene.  


I love making interactive cards so this one is no surprise that I made the bees buzz around.  I stamped each of the images onto copic friendly paper and colored with copic markers listed below.  I die cut each of the images with the corresponding dies, included in the set, and placed them aside while I built the base for the card.  
I used the #5892 Easter S2 paper pack and the largest #5062 Rounded Rectangle A2 Double Stitched die to cut the pattern paper.  Then I used two circles from the #5064 Double Stitched Circle dies to cut the round track for the bees to buzz around.  I placed foam tape behind the circle as well as the rectangle, making sure not to place too close to the outside of the circle so the bees can spin, and adhered onto a black cardstock background.  I slipped a dime (or disc, thin button, etc.) under the track and placed a square pop dot, cut in half, on top of the dime.  Then I placed two bees on top of the foam dot.  I used two bees so that I could hide the dime from showing.  

After making the mechanism, I decorated the rest of the card using the images I had colored and die cut.  I created the grass using a die cut and patterned paper from my stash.  I also used the Rounded Rectangle A2 die to cut the bottom portion of the grass so it fit nicely over the striped base. I glued the stem portion of the flowers underneath the grass and popped up the flower portion using foam tape.  Lastly, I stamped the sentiment, from this same set, and die cut using the #5135 Hexagon Double Stitched Die set.

That's my card for today!  Hope you play along with us and enter your creative card/project into the challenge.  You could win a free stamp set and who can say "No" to that.  

Have a great day and enjoy creating!

Copics used:  N2, N4, N7
E21, E23, E25, E27
Y11, Y13, Y15, Y17
YG41, YG45
B0000, B000
R02, R05


Thursday, July 18, 2024

Beautiful Cross and Saying

Happy Thursday AI Friends!

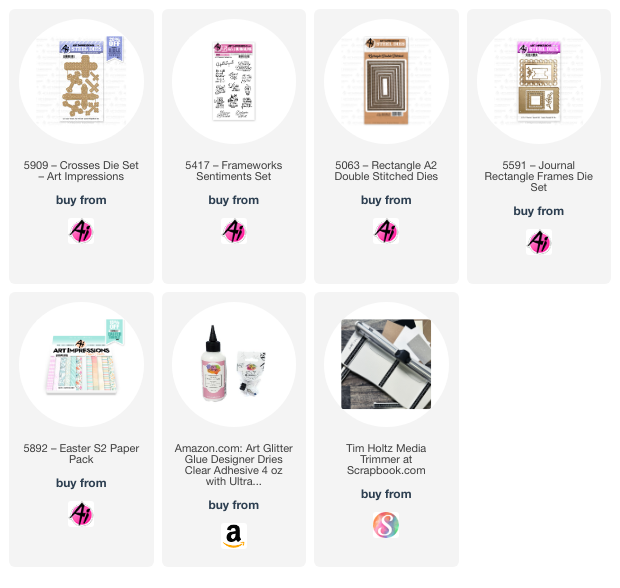
I have a spiritual card for you today using the new #5909 Cross Dies as well as the #5417 Frameworks Sentiment.  These cross dies are so beautiful and elegant.  Seven unique dies come in the set and can be used together, as I did below, or individually.


I created the background using Ranger alcohol inks, but you can also use your Copic marker refills for this technique.  I made this background awhile ago so not positive on the colors but I believe I used Butterscotch and Honeycomb.  I made several different backgrounds using this technique and it was so much fun creating different variations.  

Using a piece of felt and the straight edge of a protractor, any straight edge will work, I wrapped the felt over the straight edge and taped the sides down to hold into place.  I then placed a drop or two of the butterscotch alcohol ink onto half of the felt and honeycomb onto the other half.  For the paper, I used the back side of a piece of photo paper.  Place the straight edge onto the paper and zig zag it across the length of the paper.  This will create the sun-ray look.  You can do this same technique using rainbow colors and run your straight edge in a half circle across the paper.  These are just a few ideas, but there are so many other ways to create amazing backgrounds.  Have fun playing.

I used the largest rectangle die from the #5063 Rectangle A2 Double Stitched dies to cut the background and the #5591 Journal Rectangle Frames die,  using #5892 Easter S2 PP, to cut the scalloped frame for the sentiment.  I die cut the large cross out of white cardstock and the smaller cross out of a piece of yellow cardstock wrapped in packing tape to give it a glossy finish.  This is a nice alternative to using glossy accents and it die cuts wonderfully.  

Hope you enjoy my card today and have fun trying the alcohol ink technique.  


Thursday, July 11, 2024

FairyLand PopUp Card

 Happy Thursday Art Impressions Friends!

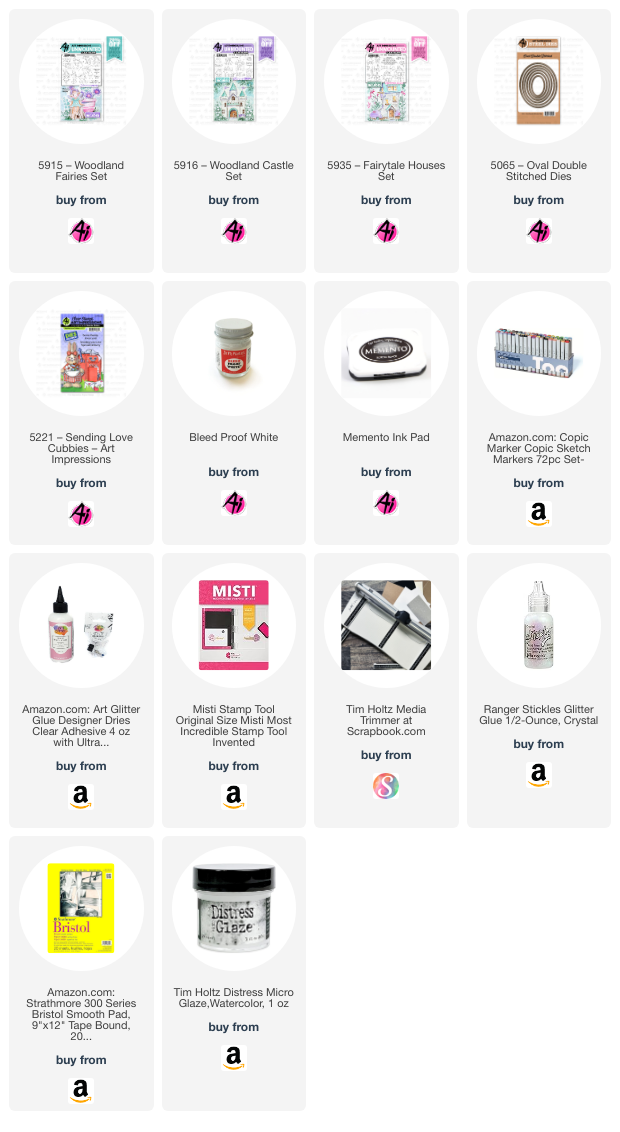
Today I'm sharing a card that was inspired by the current challenge - Magical Creatures.  I decided to make a popup tunnel card using the new 5915 - Woodland Fairies and 5916 - Woodland Castles.  This type of card provides several layers so that you can display many of the little fairies.  From of this set, I was able to place five, out of the eight, nicely on this card.


I started with the background by inking up three panels of 6 x 6 Strathmore Bristol Smooth cardstock with Ranger Distress Oxide Spray.  I used tumbled glass and prize ribbon for the top portion of the panels and shabby shutters and mowed lawn for the bottom portion.  Once dry, I brushed on a layer of Ranger Distress Glaze over each panel and wiped off the excess.  I placed some Dr. Ph Martin's bleed proof white paint on my glass mat and diluted with some water.  I then dipped a No. 5 paint brush into this mixture and spattered onto each panel by tapping the brush over my finger onto the cardstock.  This will create a magical background.  I determined which panel I wanted for each layer of the tunnel and used the 5065 - Double Stitched Oval dies to cut the top two layers using the largest ovals.  Cut the forefront panel first with the largest die and then place the middle panel under the forefront and place the second largest oval die to cut the middle panel.

To make the popup feature, I used 80 lb. cardstock and cut two pieces of 2 1/2" x 6 ".  Score each piece every 1/2" lengthwise to form the side popups.  You should have four score lines on each piece.  Fold and score each (mountain, valley, mountain, valley).  Refer to picture below for adhering each background panel.  You may need to trim the middle layer down slightly so that it lays flat when popup is pushed down.


I stamped all of the images onto copic friendly paper with Memento black ink and colored with my copic markers listed below.  Using the coordinating dies, cut each of the images.  I used green polka dot paper and die cut with a grass die I had in my stash.  I inked the grass tines with mowed lawn oxide ink so it matched nicely to the background.  I stamped the sentiment, included in the 5915 - Woodland Fairies stamp set, onto a cloud die cut.  Lastly, I used stickles on the fairy wings to give them some sparkle.

This popup card will lay flat in an envelope and pop up when you take it out.

I hope you enjoyed my "magical" card.  Have a wonderful crafty day!  

Remember to join our challenge to win a free stamp set.  Check out the tab "Bi-Weekly Challenge" on the Art Impressions Blog to participate.


Copics used:  B0000, B00, B12, B14
C1, C3, C5, C7
E000, E00, E11, E21, E23, E50, E51, E53
R11, R12, R14, R20
V12, V15
Y21, Y23
BG000
YG41, YG45


Thursday, July 4, 2024

Critters Mini Trifold

Happy Thursday Art Impressions Friends!

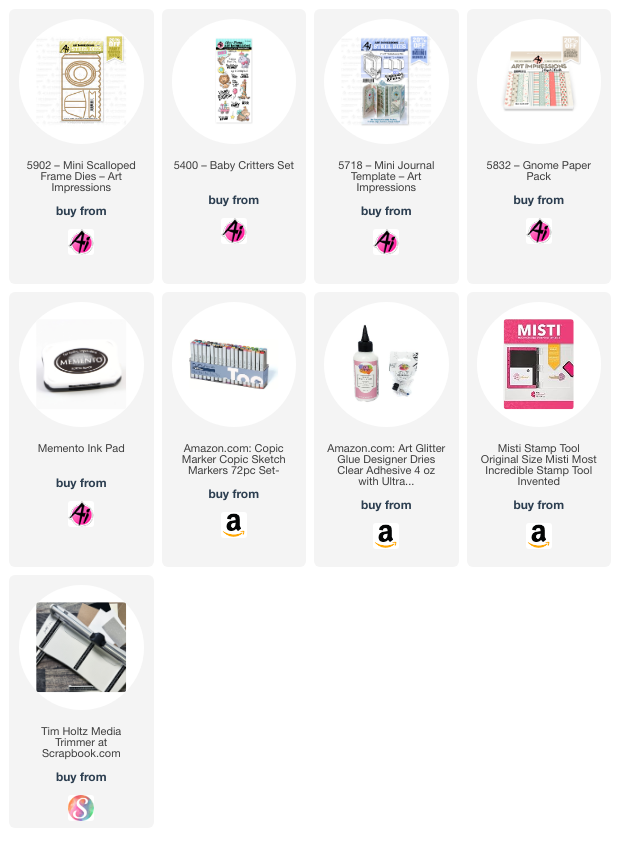
Today I wanted to share my Mini Scallop Frame Trifold.  I had soooo much fun making this and I love the way it turned out.  I used the 5902 Mini Scallop Frame die set along with the 5400 Baby Critters stamp set.  


I die cut the mini scallop frame from cardstock and then partial cut another non-tab side of the die. I matched up this partial cut with the front of the frame and cut off an edge to create the third side.  Instead of gluing the frame together, I glued the buckle from the 5718 Mini Journal Template to the tab and also the partial piece to the tab to make the trifold.  I glued the other half of the buckle to the front over the oval frames.
 
I cut an oval frame using the two larger ovals and placed over an oval die cut of striped paper from the 5832 Gnome paper pack.  I used the blue oval cut from the frame for the inside message trim.  Lastly, I cut rectangle pieces of the heart paper from the same paper pack to fit each of the trifold sides. 

I stamped all of the images from the 5400 Baby Critter stamp set with Memento black ink onto copic friendly paper.  I colored each of the images with copic markers listed below.  To add dimension, I die cut extra images to glue to the back side of the colored images.  I then adhered the images within the trifold as desired.  Lastly, I stamped the sentiment and die cut with the banner die from the Mini Scallop Frame set and adhered onto the front of the card.


 I hope you enjoyed my trifold card today.  Until next time, keep creating!


Copics used:  C00, C01, C03, C05
 B0000, B000, B00, B01, B14
E51, E53, E55, E57
Y13, Y17, YG23, YG25
R20, R22, R24


Thursday, June 27, 2024

Get Well Mini Scallop Frame

 Happy Thursday AI Friends!

Have you seen the latest release at Art Impressions?  Fairies, Castles, papers and dies, oh my!  So much was released last week!  Make sure to check it out on the website.

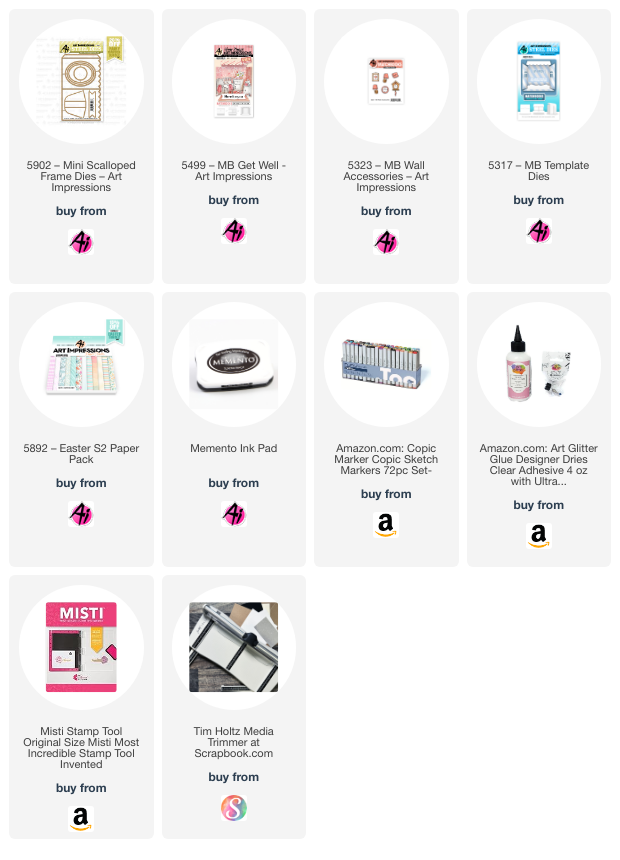
I am a huge fan of dies so I decided to highlight the #5902 Mini Scalloped Frame die set that was released.  This set, plus the #5901 Mini Rectangle Frame die set, are must haves.  These make creating mini cards/frames so fun and are SO cute!


I created a mini get well tunnel card using the #5499 Get Well Matchbook stamp set.  This card measures approx. 3 1/2" by 2 1/2" and props up to sit on your desk, countertop, windowsill, etc. by the use of the easel that comes with the #5902 Mini Scalloped Frame die set. 


To make the tunnel card, I cut the scallop frame out of heavy cardstock using the Mini Scallop Frame die and the largest oval from the same set.  Fold the frame at the score lines and glue the tab to the off-setting side to create the frame.   To create the middle layer of the tunnel frame, I cut a single piece (approx. 3 1/4" x 2 1/4") of heavy cardstock with the middle size oval.  The outside pattern paper, as well as the background pattern paper, are from the #5892 Easter S2 paper pack.  I used the largest oval die to cut the outside pattern paper and adhered it to the outside frame.   Adhere the background pattern piece (approx. 3 1/4" by 2 1/4") to the back of the frame.  Place a strip of glue down one side of the middle layer and adhere to the frame.  Now you are ready to decorate the frame/card.

I stamped the images on copic friendly paper and colored with my copic markers (listed below).  I then die cut each of the images out with the coordinating dies from the matchbook stamp set.  I cut off the tabs from each of the images so that I could layer them within the tunnel card.   Create your scene on each layer as you wish. 

What a fun card to receive, if you know someone who is feeling under the weather!

Make sure to visit the website and check out the new releases.
Have a great day and enjoy creating!


Copic pens used:  C00, C01, C02, C03
B000, BG000, BG53, BG57
E51, E53
R20 and R22


Thursday, June 20, 2024

Celebrate the Red, White & Blue

 Hello Fans!

I'm excited to share my feature post for the new Art Impressions blog challenge - Stars and Stripes Forever.   Any card or project with stars and stripes will work for this challenge so I hope you will play along.  I love all of the July 4th fanfare here in the good ole USA, from parades to barn dances to fireworks displays.   Such a great time for family fun and celebration!

So, with that, I decided to create an interactive card that is sure to get us all in the mood for the festivities.

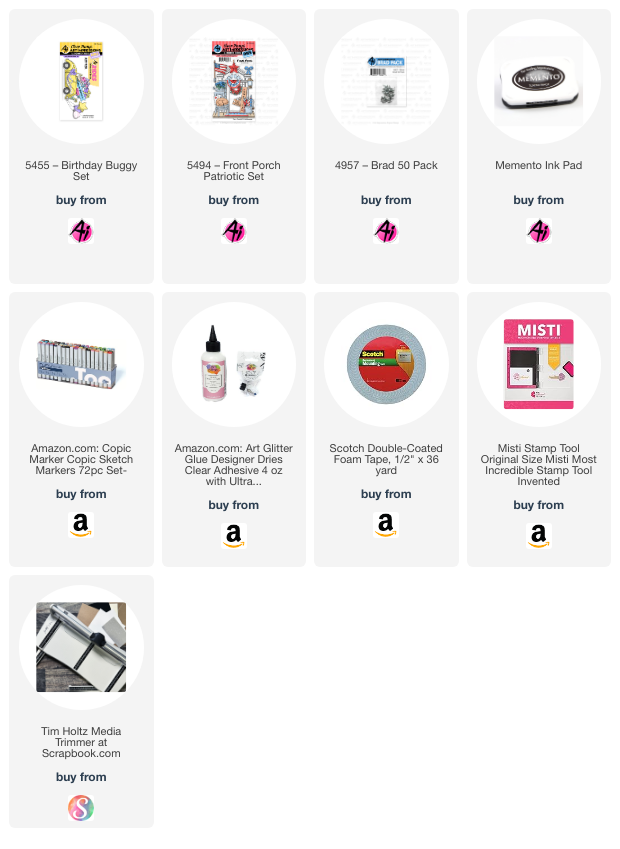
I began with the #5455 Birthday Buggy set and the #5494 Front Porch Patriotic set.  I stamped all of the images onto copic friendly paper and colored each with my copic markers (colors listed below).  If you look at the pictures below, you will notice there is a pull tab and when you pull it to the right, the flags pop up.  So much celebration going on in this little buggy.  LOL!  


This mechanism was inspired by the Lawn Fawn Swish n Pop die set.  The acetate piece (arm) was cut manually so that the flags could hide behind the buggy when down.  Picture 1 shows the shape of the arm and the two small holes cut into the base of the arm.  As you can see, it doesn't have to be pretty or exact because it will be hidden.  There are also 4 small holes in the background paper.  Depending on which hole you use, will determine where your pop up displays.  I used the farthest one to the left for the flags.

Picture 1:

The pull tab is attached with a small brad (#4968 White Brad 50 pack) to the bottom hole of the arm and another brad attaches the arm to the background paper.  (See picture 2)  In order for the pull tab to not flap around, you will want to create a collar to minimize the movement of the pull tab.  Glue the collar to the background paper and slide the pull tab through it.  Test your mechanism to see where the flags will pop up.  Glue the flags to the acetate arm, making sure the buggy will cover them when down and they pop up where you want them to.  Place a small piece of foam tape as a stopper so the flags don't go over too far when up.  Place foam tape to the bottom of the background paper making sure not to hinder the mechanism from moving.

Picture 2:

Lastly, place your bottom panel over the foam tape and test the mechanism by pulling on the pull tab.  If all works well, adhere to the card base.  While the flags are down, mark the pull tab where it matches up to the side of the card.  (See Picture 3)  Pull the tab out and cut along your mark.  Stamp the tab end with the word "Pull" or cover with a piece of colored paper with an arrow so the recipient knows to pull the tab.

Picture 3:

Now you are ready to decorate the card.  I cut a piece of black cardstock (about an inch wide) and used a gold pen to create the yellow lines in the road.  Place the road on the bottom panel and glue down.  Glue the buggy onto the road, making sure that the flags pop up where you want and are hidden when down.  I choose to add a thin strip of silver glittered cardstock to the top of the gray polka dot paper to create a nice transition but also to hide any foam tape (oops).  LOL!  It also accentuates the glittered stars.  I die cut stars and the word "Celebrate" using dies from my stash.


Hope you enjoyed my card today and you are inspired to join the challenge for a chance to win a free stamp set of your choice!

Have a great day!

Copics used:  E21, E23
C00, C0, C02, C03, C05
B24, B26, B28
R35, R43, R46

Golfer Dad

 Happy Thursday Ai Friends!

I realize that Father's Day was last weekend but I wanted to share the card I made for my husband.  He likes to golf.   However, lately he isn't such a fan.  ๐Ÿ˜  I think every golfer has those days, right?

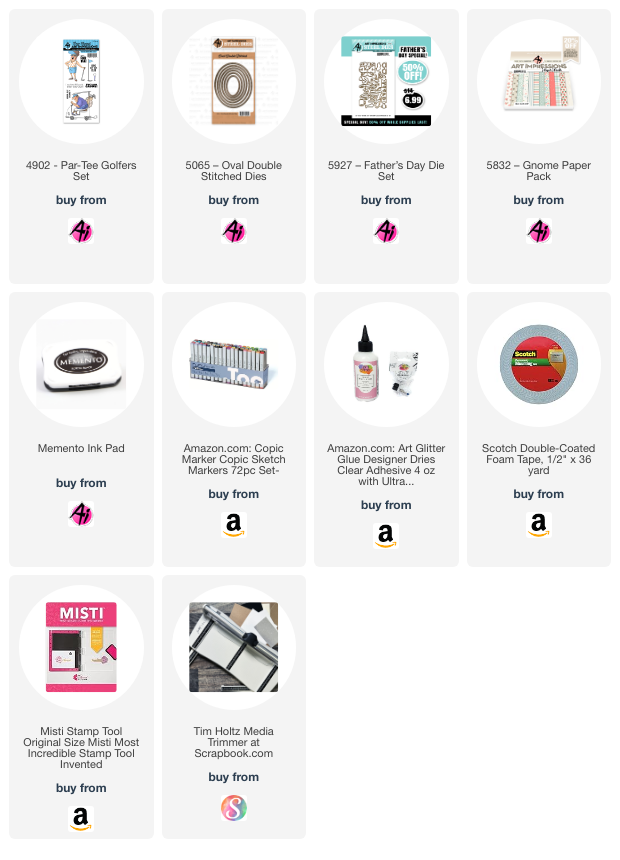
The #4902 Par-Tee Golfers has always been one of my favorite stamp sets.  I just love this golfer guy!  So, to show him off, as well as the #5927 Father's Day die set, I decided to make my card an easel card.  This Father's Day die set is on sale while supplies last, so make sure you visit the website and grab your die set today.  It's a great one and so is the Par-Tee Golfers stamp set!

Opened it looks like this:

And closed, it looks like this:

I stamped the image on copic friendly paper and colored with copic markers.  (Colors listed below) After coloring the golfer, I cut him out using the #5065 Oval Double Stitched Die.  I also cut a piece of kraft cardstock out of the same oval die to adhere to the back of the colored image to hide the copic coloring on the back side and also add strength to the colored image.  I used the #5832 Gnome paper pack for the striped background paper and also used a small piece for his hat.  The easel card is a 5 1/2 x 5 1/2 card with the front side scored at 2 3/4 and folded in half.  I then cut two 2 1/2 x 5 1/4 panels of kraft cardstock and two 2 1/4 x 5 panels of the striped pattern paper for each of the front folds.  I die cut the #1, Super Dad and the Happy Fathers Day out of the kraft cardstock.  I cut the "Dad" out of the Super Dad die cut and made the card say #1 Dad.  Easy Peasy card!

I hope you enjoyed my card today!

Have a great day!

Copics used:  

E000, E01, E11, E21, E23, E42, E43, E44

T0, T2, T4

R20, B000, B32, B34

BG90, BG93, BG96