Hello Fans!
I'm excited to share my feature post for the new Art Impressions blog challenge - Stars and Stripes Forever. Any card or project with stars and stripes will work for this challenge so I hope you will play along. I love all of the July 4th fanfare here in the good ole USA, from parades to barn dances to fireworks displays. Such a great time for family fun and celebration!
So, with that, I decided to create an interactive card that is sure to get us all in the mood for the festivities.
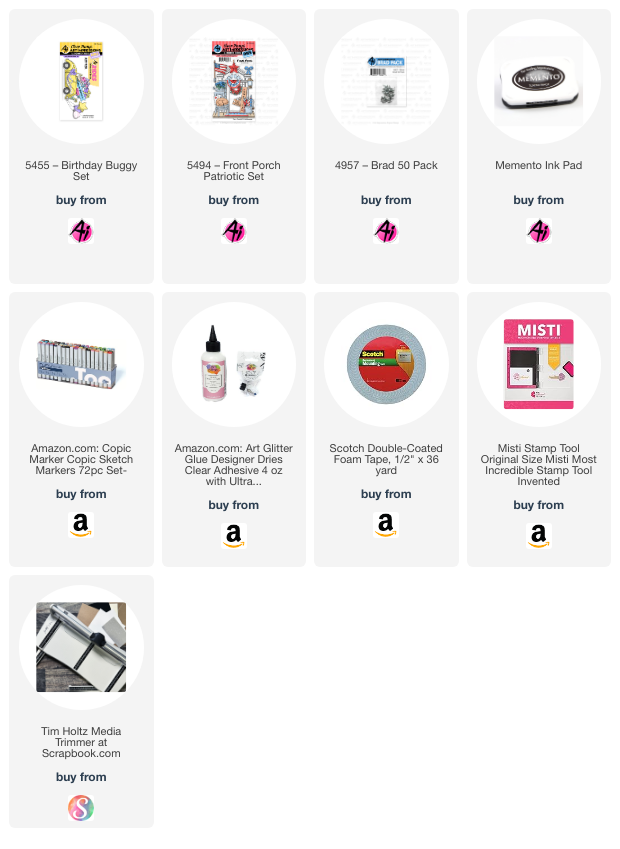
I began with the #5455 Birthday Buggy set and the #5494 Front Porch Patriotic set. I stamped all of the images onto copic friendly paper and colored each with my copic markers (colors listed below). If you look at the pictures below, you will notice there is a pull tab and when you pull it to the right, the flags pop up. So much celebration going on in this little buggy. LOL!
This mechanism was inspired by the Lawn Fawn Swish n Pop die set. The acetate piece (arm) was cut manually so that the flags could hide behind the buggy when down. Picture 1 shows the shape of the arm and the two small holes cut into the base of the arm. As you can see, it doesn't have to be pretty or exact because it will be hidden. There are also 4 small holes in the background paper. Depending on which hole you use, will determine where your pop up displays. I used the farthest one to the left for the flags.
Picture 1:
The pull tab is attached with a small brad (#4968 White Brad 50 pack) to the bottom hole of the arm and another brad attaches the arm to the background paper. (See picture 2) In order for the pull tab to not flap around, you will want to create a collar to minimize the movement of the pull tab. Glue the collar to the background paper and slide the pull tab through it. Test your mechanism to see where the flags will pop up. Glue the flags to the acetate arm, making sure the buggy will cover them when down and they pop up where you want them to. Place a small piece of foam tape as a stopper so the flags don't go over too far when up. Place foam tape to the bottom of the background paper making sure not to hinder the mechanism from moving.
Picture 2:
Lastly, place your bottom panel over the foam tape and test the mechanism by pulling on the pull tab. If all works well, adhere to the card base. While the flags are down, mark the pull tab where it matches up to the side of the card. (See Picture 3) Pull the tab out and cut along your mark. Stamp the tab end with the word "Pull" or cover with a piece of colored paper with an arrow so the recipient knows to pull the tab.
Picture 3:
Now you are ready to decorate the card. I cut a piece of black cardstock (about an inch wide) and used a gold pen to create the yellow lines in the road. Place the road on the bottom panel and glue down. Glue the buggy onto the road, making sure that the flags pop up where you want and are hidden when down. I choose to add a thin strip of silver glittered cardstock to the top of the gray polka dot paper to create a nice transition but also to hide any foam tape (oops). LOL! It also accentuates the glittered stars. I die cut stars and the word "Celebrate" using dies from my stash.
Hope you enjoyed my card today and you are inspired to join the challenge for a chance to win a free stamp set of your choice!
Have a great day!
Copics used: E21, E23
C00, C0, C02, C03, C05
B24, B26, B28
R35, R43, R46


No comments:
Post a Comment