Showing posts with label Panda. Show all posts

Thursday, June 19, 2025

Baby Boy Panda Bear

 Happy Thursday AI Friends!

Today I have a cute little baby boy card for you using the #6017 - Baby Panda set.  This is the absolute cutest little set and makes the cutest baby cards!  


I started out stamping the images on copic friendly paper with Memento black ink and colored with my copic markers listed below.  I cut each out with the corresponding dies that come with the stamp set.  To create the background, I using my cloud stencil and Distress Oxide Broken China ink.  The papers for the frame and the grass are from the #6011 - Basic Teal PP and the #6009 - Basic Green PP.  I paper pieced one of the balloons and the carriage sun cover using the #6036 - Easter Bunny PP.

The upper panda moves as if floating in air (see video).  This is a simple interactive mechanism. 
To provide more stability to the swinging panda, I suggest die cutting a second panda w/balloons out of heavy cardstock and adhere to the backside of the colored image.  Punch a circle in the cloud background, small enough to hide behind the balloon.  Place a foam dot in the center, adhering the bottom side to the card base, and the top side of the foam dot to the back of the top balloon.  The panda will swing back and forth as if he is floating in air.   

I hope you are having a wonderful start to your summer!  Have a great weekend and thanks for joining me today!

Copics used:  C00, C0, C3, C5, C7
B00, B12, B14
Y11, Y13, Y15, Y17
YR12, YR14, YR16
G40, G43
R20, R22

Thursday, May 1, 2025

Little Pink Panda

 Happy Thursday AI Friends!

Wow, if you haven't done this yet, check out the newest release at Art Impressions.  Bonnie created the most adorable little panda baby set.   I couldn't wait to play with this set and the timing is perfect for the current challenge here on the blog called "Un-Bear-Ably-Cute".  Your project just needs to include a bear.  

I used the #6017 Baby Panda set and the #5360 WC Rocking Chair stamp/die set to create my scene.  The pattern papers are from the #5741 Valentines PP.  

I began by stamping all of the images onto copic friendly paper with Memento black ink and colored with my copic markers, listed below.  I die cut a rocking chair from brown cardstock and inked the edges.  I then stamped the back of the chair onto pattern paper and paper pieced it onto the brown cardstock chair above the arm.  I die cut the seat of the chair from a coordinating piece of pattern paper and pieced it onto the seat of the chair to look like a cushion.  I positioned the panda onto the cushion and the presents hugging tight to the chair to hide any piecing imperfections.  ๐Ÿ˜  I popped all of the images up with foam tape.  The heart frame die cut panel is from my stash and the flooring is a piece of peel and stick wallpaper from the dollar tree.  The sentiment was stamped onto a scalloped die cut from the #5344  Envelope GCH.  

                                     I hope you enjoyed my card for today.  Thank for you joining me.  
                                                            Have a great day and keep creating!
Copics used:  C00, C0, C3, C5, C7
Y11, Y13, Y15, Y17
YR12, YR14, YR16
B00, B12, B14
G40, G43, R20, R22, R24

Thursday, August 29, 2024

Panda Frame

 Happy Thursday AI Friends!

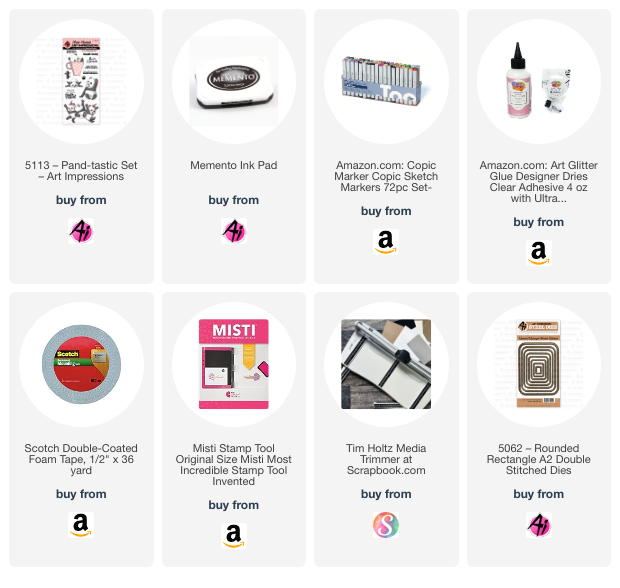
Have you checked out the Art Impressions #5901 - Mini Rectangle and #5902 - Mini Scallop frame die sets, yet?  These frame sets are so fun and easy to put together, plus they make the cutest little display card for any occasion.  Today I'm sharing a Panda wobble card using the #5902 - Mini Scallop frame and the #5113 - Pand-tastic set.


I stamped the pandas on copic friendly paper and colored with my copic markers (only used the C's and R20 and R22).  Simple coloring.  I fussy cut the pandas and placed the one on a wobble and adhered the base side of the wobble to the inside of the frame.  I stamped the sentiment and paw print onto a piece of white cardstock and die cut it out with the smallest #5063 Rectangle A2 Double Stitched die.  I added a few red die cut hearts for accents.

Hope you enjoy my card today.  Keep creating!!


Thursday, June 13, 2024

Twirling Panda

 Happy Thursday AI Friends!

My inspiration for today's card came from the current Art Impressions challenge "Panda-Modium".  This Pand-tastic stamp set is just the cutest and when I saw this interactive-style card, I knew that these pandas would be perfect and I just had to make one.  It looks like this panda will just run across the card, but actually he cartwheels across it.  Check out the video below to see him in action.  


I started off by stamping the pandas with Memento black ink on copic friendly paper.  I colored the images with my copic markers (colors listed below).  After coloring the pandas, I fussy cut them out.  The Pand-tastic stamp set has three pandas together as one image and the one on the right looked like he was prepping to do a cartwheel, so I decided to cut him off of the threesome and use him as the twirling panda.

To make the bottom panel, I cut the green cardstock with the largest Rounded Rectangle A2 Double Stitched die.  I then cut the grass edge and the slider channel with dies I had in my stash.  Stamp the sentiment onto the green panel at this point, before creating the mechanism and attaching the foam tape.  Create the pull tab by cutting a piece of 1/2" x 6" green cardstock to match the grassy panel.  Cut a matching piece out of heavy weight cardstock and adhere to the backside for more stability.  Punch a 1/4" hole into one end of the pull tab and stamp "pull" on the other end.  Cut two discs (about 1/2" diameter) and glue a (1/4"or less) piece of rounded foam dot onto the middle of one of the discs.  Place the foam dot through the pull tab hole and through the slider channel to the front of the panel.  Adhere the other disc to the foam dot.  Attach your twirling image to this disc (front side).


To make the mechanism so that the panda twirls, I first made a sleeve, or collar, for the pull tab so that it wouldn't move around when pulling.  To do this, just take a scrap piece of paper (approx. 1/4" x 1 1/2") and fold into thirds.  Glue the tail down and then place the pull tab within the collar.  Glue the collar to the backside of the grassy panel making sure to hide it so it doesn't show through the slider channel.  Now here is the trick to make it twirl.  Take a piece of fishing line, adhere one end to the foam tape on the right side of the panel.  Make sure the front side of the panel is facing down and the grassy edge is facing up.  Bring the fishing line under the disc and then wrap clockwise three times around the disc.  Pull tightly, leaving no slack, and adhere the other end of the fishing line to the left side over the collar, with foam tape (see above).  Place another piece of foam tape over the fishing line and pull the line back over the new tape.  Place double foam tape around the edges.  Test the mechanism and adhere the green grassy panel to the card base.  Your image should be doing cartwheels across the card.

Add your finishing touches and your interactive card is complete.


Thank you for joining me today and I hope you enjoyed my card!
Have a great day!

Copics used:  C00, C1, C3, C5
R20, R22, R43, R46
BG53, BG57, YG13, YG17


Tuesday, November 3, 2020

Surprise Party

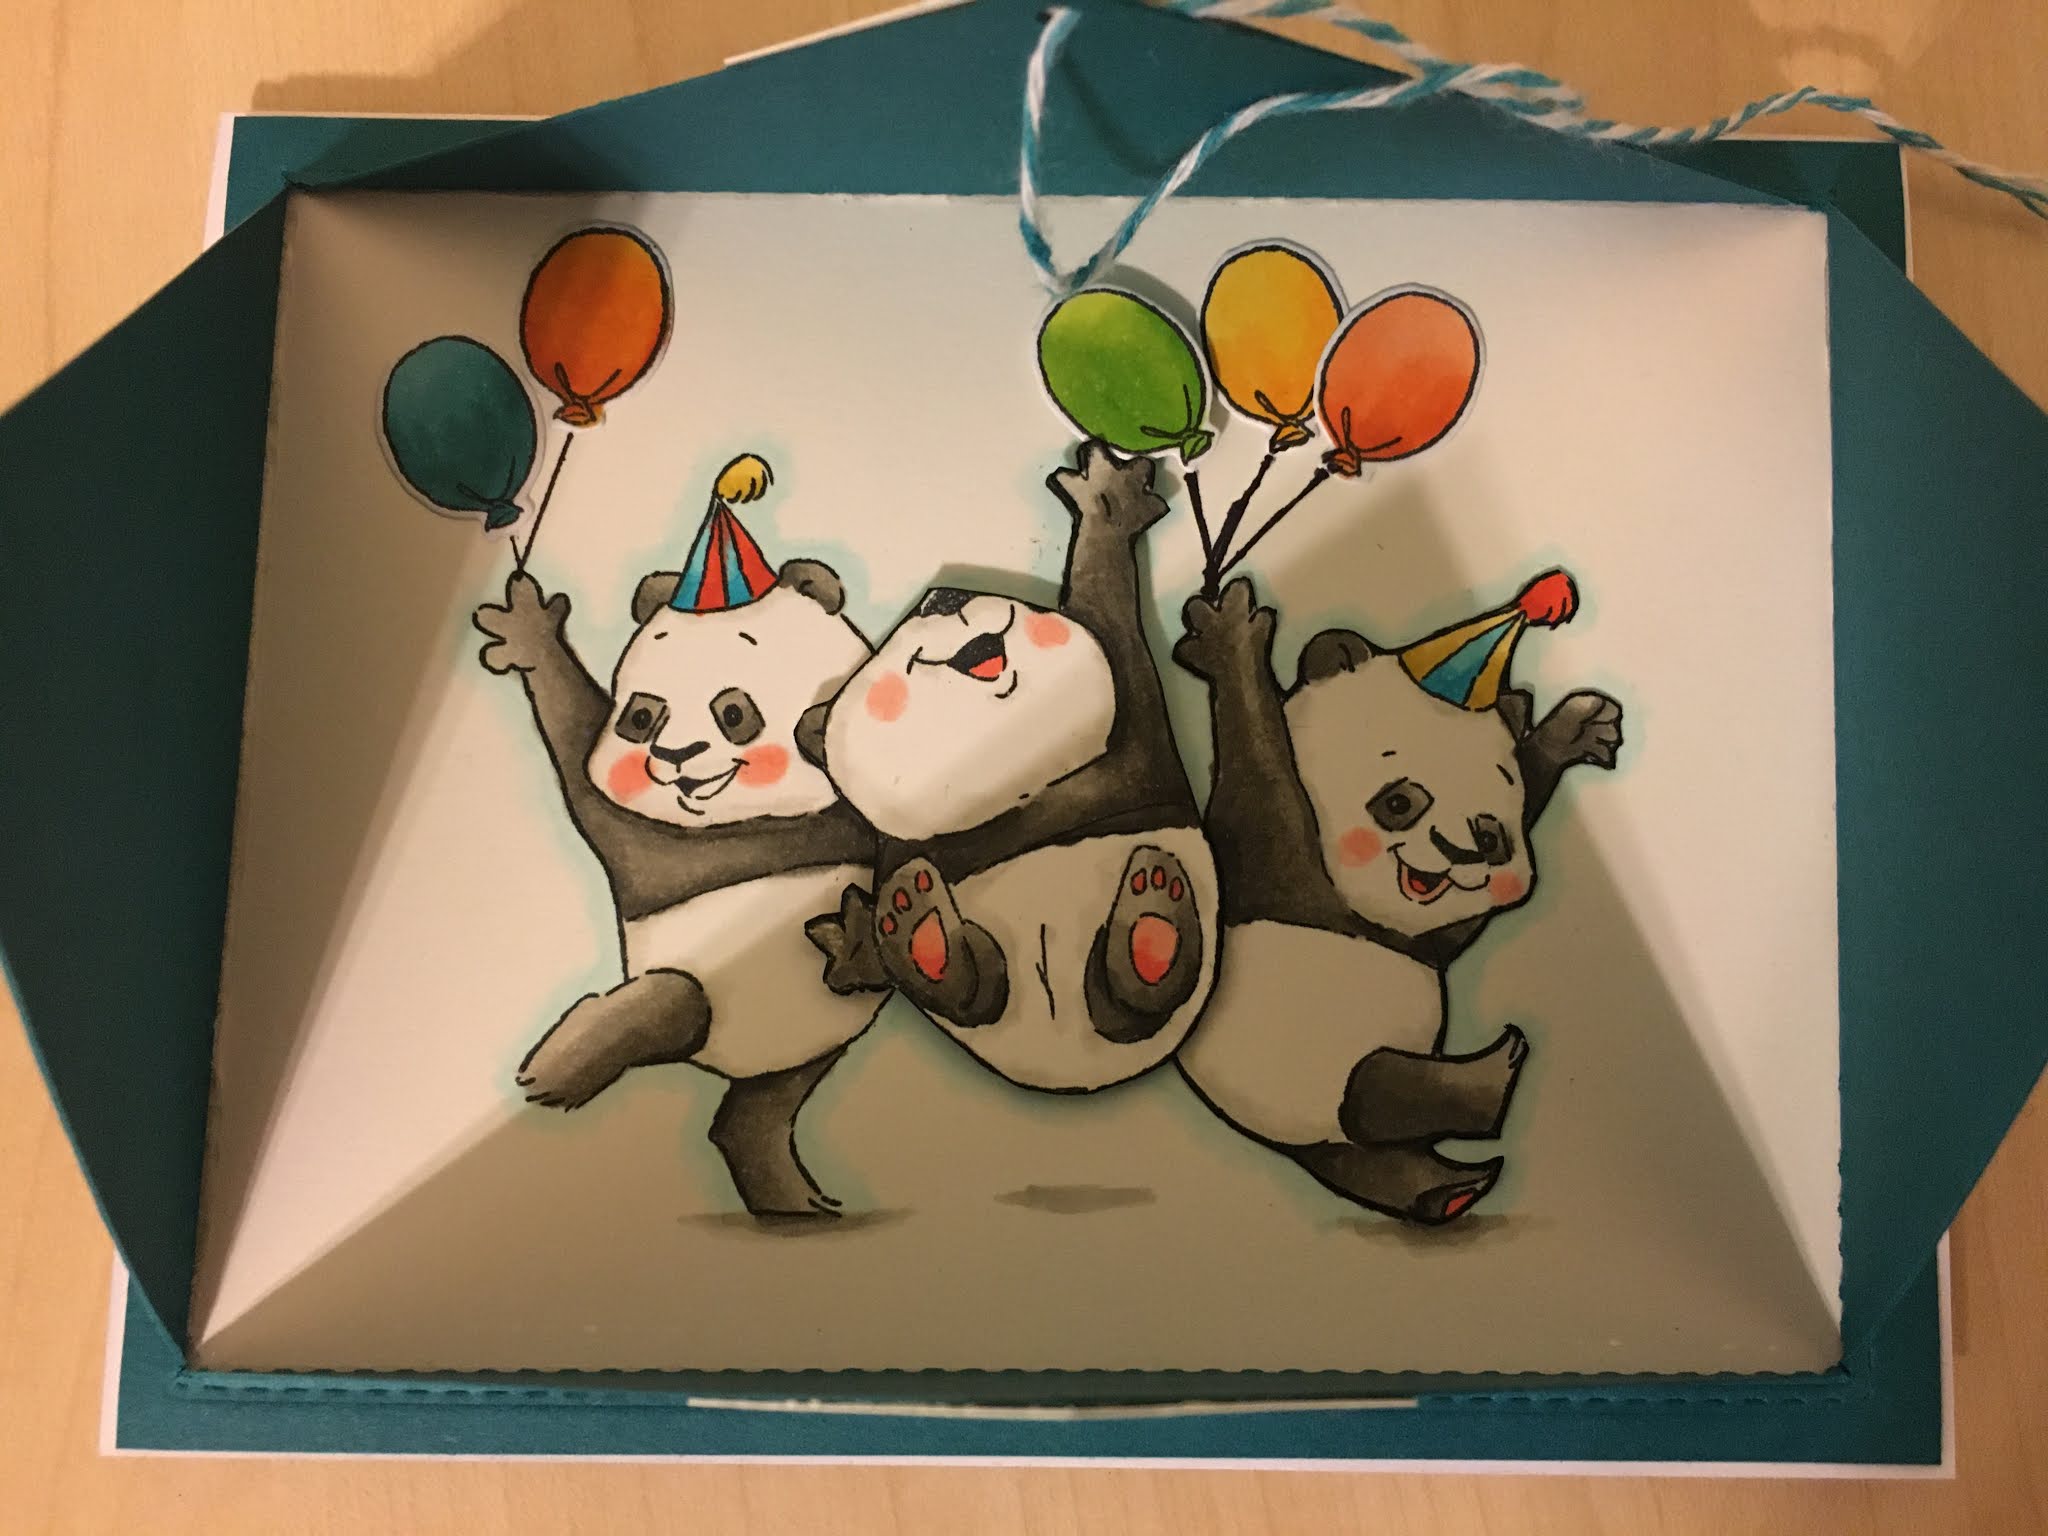
 This weeks challenge at Art Impressions is to create a Surprise card.   I created a card where the image is hidden inside.  The top panel is tied like a present and when you open it, out pops the pandas having a party.  Such a fun card with a surprise inside.   I used the Pand-tastic set for this challenge along with balloons from the Bus cubbies set.  I also used the AI double stitch rectangle dies to emboss the top panel, which created the fold lines, then cut diagonal slits to make the opening.  


I popped the middle Panda up with foam tape to give it dimension, along with the balloon that he is playing with.  These little pandas are Sooooo cute!  They are just so happy and bring a smile to my face.   

Hope this card brings a smile to your day.