Hello AI Friends!
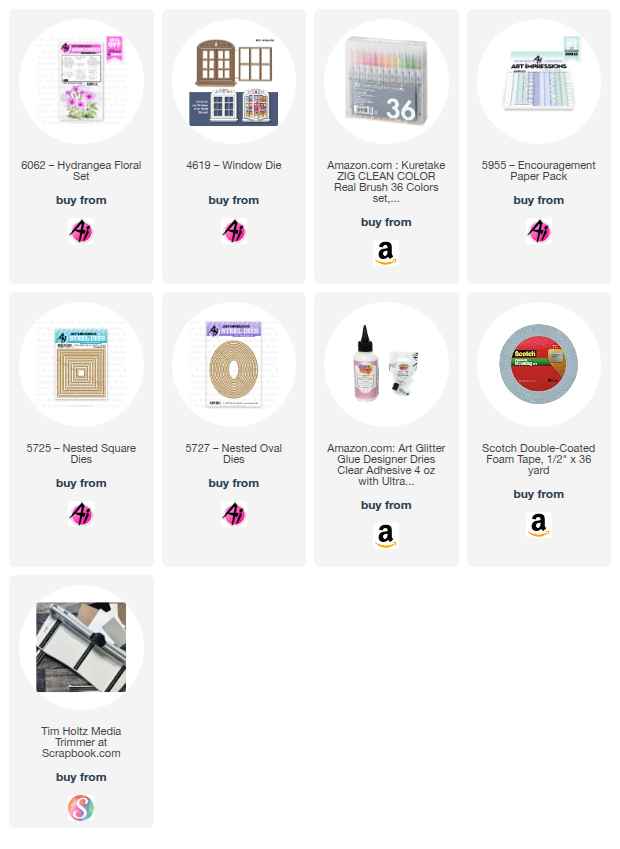
I have a window card for you today inspired by the newest floral set #6062 - Hydrangea Floral. These flower sets are so pretty!

I decided to try a new coloring medium for me. I usually color using copic markers, but this time, I thought I'd try my hand at a little water coloring using the Zig Clean Color Real Brush pens. Needless to say, I need a lot more practice but it still was fun playing and I feel like this turned well. I used the water color technique where you color the stamp with the markers and then stamp it onto the paper. I colored the leaves using the #41 Light Green and the blooms with the #81 Light Violet and stamped the image onto a 3 1/2" (top) x 3" piece of Strathmore Bristol Smooth cardstock. Using the blender brush, I pulled out some of the color on the leaves and the flower blooms.
Ta da, that's it! Fairly simple coloring!

For the card, I cut a 4 1/4 x 11" piece of heavy cardstock and scored at 4 3/4" along the 11" side. I turned the cardstock and scored from the other end at 1/2", 1", 1 1/2". I burnished each of the score lines creating a top fold card with a valley, mountain, valley fold at the bottom. I also cut a narrow 2" piece of cardstock and created a spring-like piece with the same valley, mountain, valley fold to fit behind the image and onto the back side. See picture below.
This spring-like piece is optional, but it helps hold the image slightly back from the window opening.

I die cut the window, using #4619 - Window die, from the base card front (the longer side with the scored V, M, V edge). I adhered a lavender pattern piece of paper from the #5955 - Encouragement PP to the front of the base, over the window opening. I then took a die from the #5725 - Nested Square die set, that is slightly larger than the window opening, and placed it over the pattern paper where the window opening will be. Tape down temporarily and run through your die cut machine. I scored the window panes on the window die cut and folded them open. I then adhered the window to the pattern paper centering over the square hole. I then sealed up the card by gluing down the bottom edge to the back panel. The scored mountain should be in the center. See above.
On the image panel, I scored a tab 1/4" - 1/2" from the top. Fold it towards the back and adhere it to the inside back of the card, centering it behind the window. If needed, take the spring-like piece and adhere to the back of the image and the other end to the back inside of the card.
Now, to finish the front, I created the fringe-like grass by cutting a strip of green pattern paper and snipping the long edge every 1/8 of an inch (approx.). I then slightly curled the fringe edge so that it came over the fence. I weaved a piece of ribbon through the fence, popped up a sentiment from the #6062 - Hydrangea Floral set and added a few small white hearts for the finishing touch.
Thanks for joining me today!
Have a wonderful day and keep creating!

No comments:
Post a Comment