Happy Thursday AI Friends!
Have you seen the newest AI release? This one is fantastic! I know, I probably say that about every one of them, but let's be real - they ALL are fantastic! This is definitely a fave of mine!
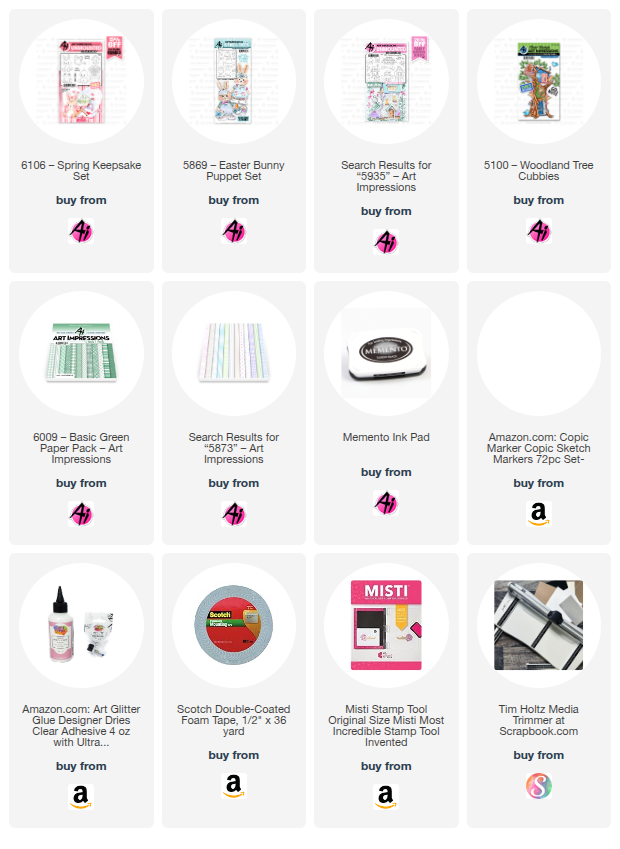
Two new stamp sets were released - #6103 - Baby Keepsake and #6106 - Spring Keepsake, which is the one I used for my pop out card.

I stamped the images onto copic friendly paper with Memento black ink and colored with my copic markers listed below. I cut each of them out with the corresponding dies that are included in the set. Love it when dies are included, don't you? Adds so much dimension! Check out this cute little frog! He is definitely my favorite, however, the bunny and duck are just as adorable.
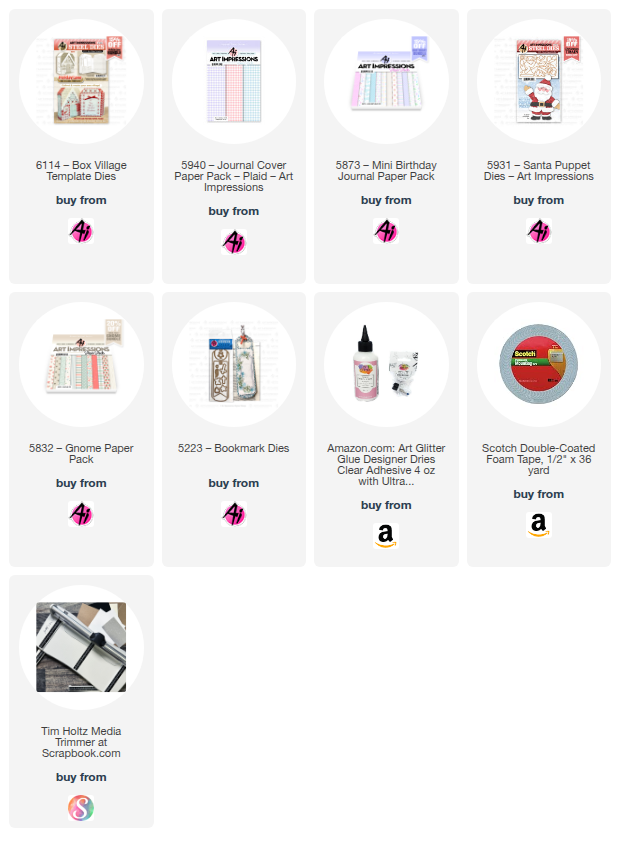
I created a pop out card so that I could layer each of these cute little images. I added a few images from other sets, like the flowers in the water can (#5935 Fairytale Houses), the Easter basket (#5869 - Easter Bunny Puppet) and the bird (#5100 - Woodland Tree cubbies). The sun was from my stash.
I used the #6009 - Basic Green PP for the grass and the #5873 - Mini Birthday PP for the cloud background.

That's it for me today! Make sure to check out the new release! It includes some beautiful valentine papers and a new scalloped rectangle die set. Great bundle!
Hope you have a wonderful day! Keep creating!

Copics used: N0, N1, N2, B000
G20, G21, G24 V12, V15
R02, R05, R08, R20
B12, B14 YR12, YR16
Y11, Y13, Y17, Y19, Y32, Y35, Y38


%20WM.jpg)