Thursday, February 20, 2025

Ultimate Birthday

 Happy Thursday AI Friends!

My card today features the #5405 Mrs. Set.  I thought it represented the "Ultimate Birthday", from the PJs to the glass of wine.  It also fits this week's challenge "Drink Up".  Check out the bi-weekly challenge tab on the Art Impressions blog and join in the fun by entering your card to have a chance at winning a free stamp set of your choice.

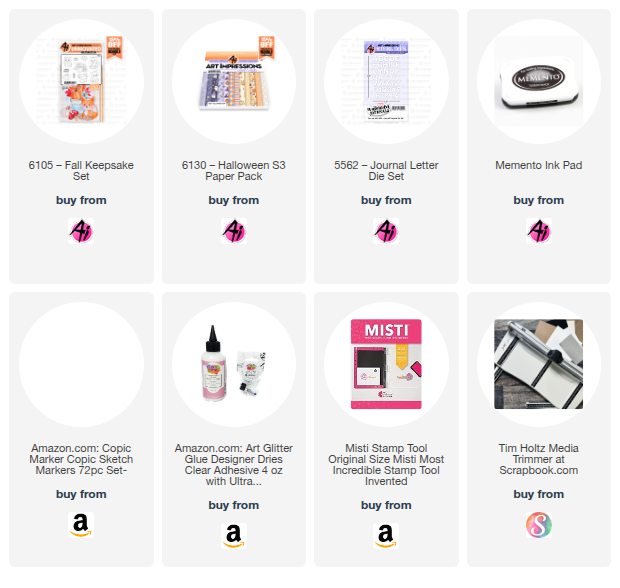
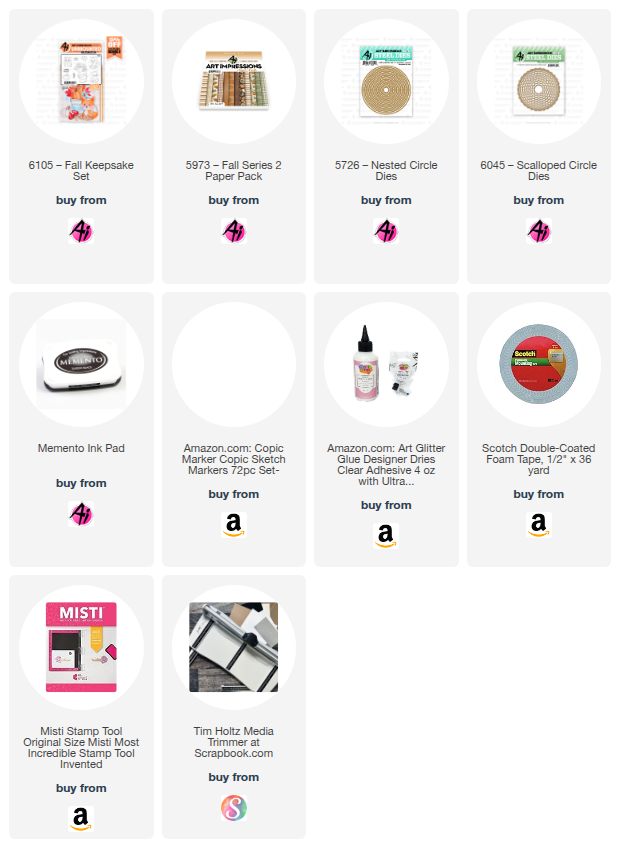
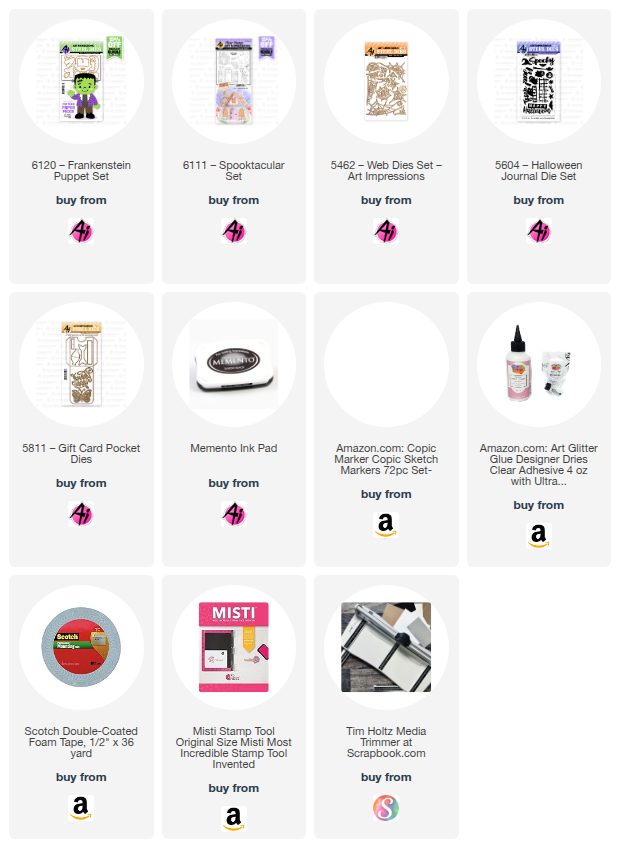
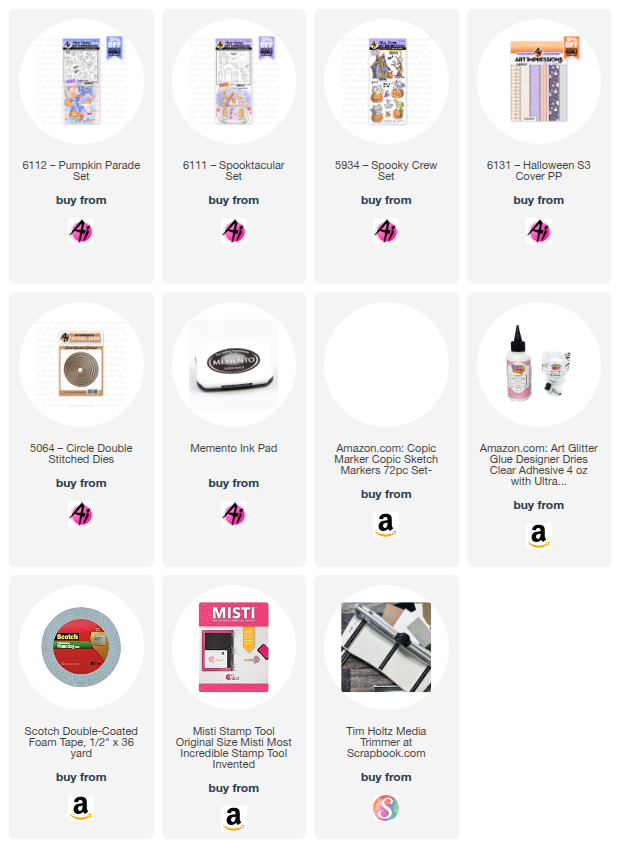
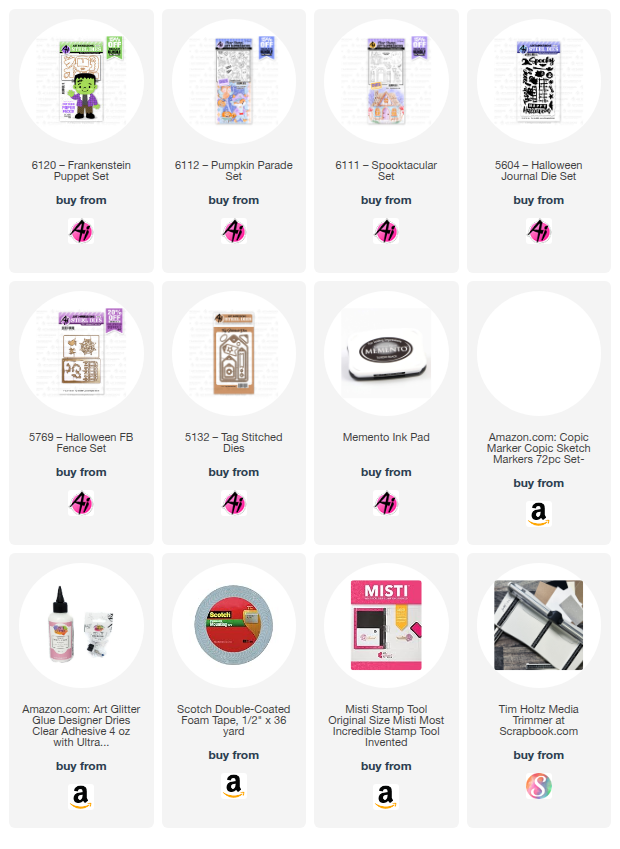
I started by stamping the images onto copic friendly paper with Memento black ink and colored with my copic markers listed below.  I then cut each of the images out with their corresponding dies.  For the wine glass in her hand, I colored an extra wine glass from her hat and fussy cut it out, removing the bow.  I cut a slit in her fingers and adhered the wine glass in between.  


I die cut the white frame from the #5768 Decorative Journal Pg. 1 die set.  I love the beautiful edge on that frame.  I typed the sentiment and printed onto a tag from the #5133 Flag Double Stitched dies.  Lastly, the cupcake came from the #5455 Birthday Buggy set.

Thanks for joining me today.  Hope you have a wonderful day.  Happy creating!
Copics used:  E000, E01, E11, E21, E23
R20, R81, R83, R85, R89
YR32, YR35, YR38
C1, YR14, YG25

Thursday, February 13, 2025

Pull Up Valentine

 Happy Thursday AI Friends!

Valentine's Day is tomorrow.  Are you ready?  If not, I have a fun little pull up valentine for you with a cute little hidden sentiment using the #5902 Mini Scallop Frame die as well as many other sets listed below.  If you have already finished your valentine's, imagine this for other occasions using balloons, stars, etc. instead of hearts.  

To begin, I took the bear image from the #5521 WC Animal Planters set and stamped onto copic friendly paper with Memento black ink.  I also stamped him to create a reverse image so that I could make his back leg and his left arm since the stamp set has a flower pot hiding both.  To do this, I stamped him onto a smooth silicone mat and then took my paper and pressed it onto the stamped image on the mat.  This will create a reverse image.  Using a misti is helpful incase you need stamp again to darken the image.  I colored both images with my copic markers, listed below.  I then used a wash rag and dabbed some alcohol onto it and lightly pressed it against the body parts of the bear to make him look fuzzy.  I fussy cut all the pieces (bear, back leg and left arm) and pieced him together using some foam tape between his legs.  I also placed a heart box of candy (from the #5493 Front Porch Valentine) in his arms.  I just love this cute little bear!  
I cut the #5902 Mini Scallop Frame using the brown hearts paper from the #5832 Gnome Paper Pack.  I cut a heart shape for the window and placed acetate on the inside of the window.  I also stamped the "You're So Sweet" and added a couple little die cut hearts to the inside.  I then placed a thin line of foam tape to the inside bottom scallop edge so the streamer wouldn't fall through.  I glued up the side of the frame and it is ready to decorate.  Don't forget to attach the easel to the back so your frame/card will stand up on display.

To make the pull up heart streamer, I die cut 16 red hearts (front and back) and strung them onto a white thread leaving about 2 inches above the first heart.  I die cut the letters for the sentiment "Love You" from the #5562 - Journal Letter die set and attached each letter to a heart leaving a blank heart between words.  Perfect size letters to make a cute little sentiment.  I cut two fishtail banner pieces in red cardstock.  I then cut a square 2 5/8 inch piece of red gingham paper and glued it to the bottom half of the back side of one of the fishtail banner pieces.  Snip off any paper showing in between the fishtail.  Take the streamer and glue the top thread to the middle of the banner above the gingham paper.   Take the other fishtail banner and glue the top halves of the banners together leaving the bottom half open so it can rest over the top of the frame.  I added the heart banner and bows to the front banner for some cuteness.

  Gather the heart streamer together over the gingham paper and insert into the top slit of the frame.  Some of the letters will show through the window but the message will be a mystery until the recipient pulls from the frame.

I hope you enjoyed my card today and your imagination is running wild with other variations.
Have a great day and keep creating!

Copics used:  E21, E23, E25
R20, R22, R24, R27

Thursday, February 6, 2025

Valentine Pop-Up Card

 Happy Thursday AI Friends!

I have another Valentine card for you today that also fits the current blog challenge - "Highlights".  I used the darling #5005 - Valentine Bears stamp set for my card along with the easel and label dies from the #5902 - Mini Scallop Frame die set.  This is a pop-up card with a lot of dimension but lays flat when put in the envelope.  


I began by stamping the bear and sentiment with memento black ink onto copic friendly paper and colored with my copic markers listed below.  I die cut the sentiment with the label die and fussy cut the bear.  I then added highlights to the bears cheeks, nose, paws and the banner hearts, with a white paint pen.    


I used a set of stitched nesting heart dies that I had in my stash, however you can use any nesting die sets for this pop-up card technique.  I first cut two of the largest hearts with heavy cream colored cardstock.  I took one of those cream hearts and scored at 3/4 inch on the rounded edge of the heart.  Fold on the score and place glue on the top flap.  Adhere to the other cream heart to create the card base.  It should open so that you can add your sentiment to the inside.

I used seven consecutive nesting hearts and cut every other nesting heart from the red cardstock and pattern paper from the other three nesting hearts.  I also die cut several smaller hearts for decoration.  To make the pop-up mechanism, cut three red panels 1" x 2 1/2" and score along the longest side at 1/2", 3/4", 1", 1 1/2", 1 3/4" and 2".  Fold these score lines as MVMMVM (mountain, valley, etc.).  Glue the two ends together by overlapping.  This will create a spring pop-up piece.  Place each of these pieces between the layers.  


Lastly, since the card will not stand on its own due to the point at the bottom of the heart, I die cut an easel using the #5902 - Mini Scallop Frame die set and adhered it to the back of the card, just above the point, where it meets the sides of the heart and then I trimmed off the point just below the easel.

That's it for my card today.  Hope you enjoy it.  Keep creating!

Copics used:  E50, E51, E53, E55
R20, R22, R24, R27
R81, R83, R85

Thursday, January 30, 2025

Valentine Shaker

 Happy Thursday AI Friends!

I've always had an interest in shaker cards but don't find that I make them very often.  I don't know why because I have collected all of the little bits to fill them.  😁 Soooo, I decided to make one for Valentine's Day.  I just love seeing all of the little hearts bouncing around.  They really are fun to make plus fun to shake.

I began by stamping the fox from the #5219 - Loveable Animals set with Memento black ink onto copic friendly paper and coloring with my copic markers listed below.  This set comes with the coordinating dies so no fussy cutting necessary.  Yay!  It also comes with some accessories that each of the animals can hold in their paws.  The heart was appropriate for this card, but the other choices are a flower, present, cupcake, party hat or letter.  I stamped the sentiment from this same set on a tag from the 
#5132 - Tag stitched die set.

To make the shaker, using two nesting heart dies taped together, I cut two hearts from acetate or clear packaging, one from red cardstock and four from white heavy cardstock.  I glued the acetate to the back side of the red heart and then layered (glued) all of the white cardstock hearts to that.  Place the shaker pieces inside the well of the hearts and then glue the last acetate heart to create the shaker pouch.  I find it easier to make a shaker pouch so you can place nicely onto your project and see exactly where you want to adhere it.

That's it for my card today.  Hope you enjoy it!  Keep creating!

Copics used:  R20, E93, E95, E97, E99
 

Thursday, January 23, 2025

Snow Friend

 Happy Thursday AI Friends!

Today my card was inspired by the current Art Impressions blog challenge "Monochromatic".   I've never really done this before, but I found it quite fun!  All you have to do is create a card using one color (or different shades of one color).  I decided to use the 5041 - Snow Friend set.  I've always loved this snowman but since Christmas has passed, I wanted him to reflect the winter season.


I stamped the image with memento black ink onto copic friendly paper and colored with my copic markers listed below.  I then fussy cut him out and cut off the string of Christmas lights that he is holding.  Some of the strings still showed, so I colored over the string pieces with a white paint pen and they are no longer visible.  TaDa!  πŸ˜€

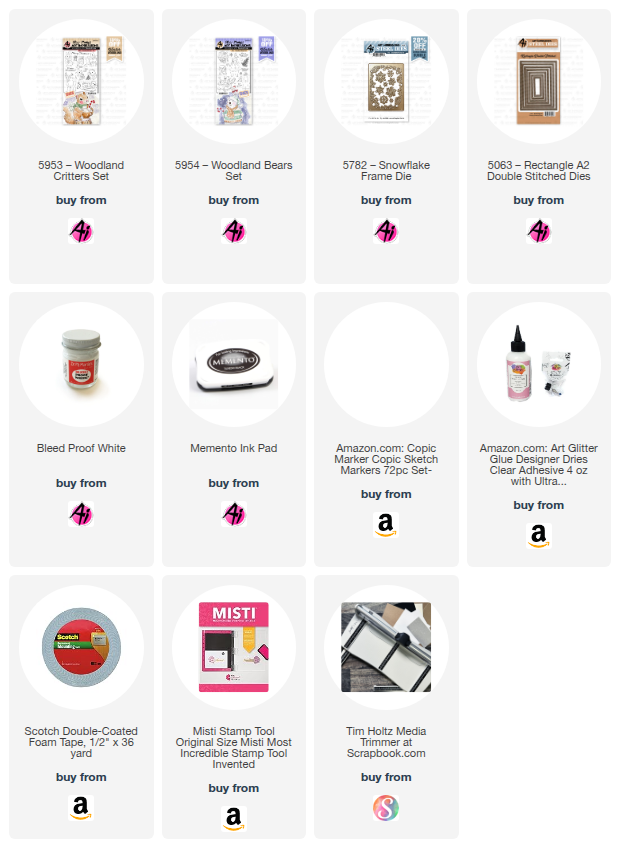
I ink blended a white cardstock panel with Ranger Distress Oxide inks (colors Prize Ribbon and Salty Ocean).  I spattered a little water onto the panel and dabbed it off with a paper towel.  Then I flicked some Dr. Ph Martin's Bleed Proof white paint, mixed with some water, with a small paint brush onto the panel to create a snowy effect.  I cut the panel with the largest 5063 - Rectangle A2 Double Stitch die and I used the 5064 - Double Stitch circle to cut a partial circle out of the top right side.  I created two snow mounds with white cardstock from a panel cut with the rectangle A2 double stitch die.  Lastly, I die cut several snowflakes from the 5353 - Large Snowflake die and the 5782 - Snowflake Frame sets.
 I covered the snowflakes with stickles and created an icy ground to skate on.

That's my card for today!  Hope you enjoy and keep creating!
Make sure to enter the challenge - see Art Impressions blog for details and a chance to win a free stamp set.

Copics used:  C1, C3, E21, E23,
B0000, B00, B12, B14, B16, B21, B23
R20, YR12, YR14

Thursday, January 16, 2025

Unicorn Carousel

 Happy Thursday AI Friends!

Have you ever taken an image or die and put a twist on it?  When I saw the AI gazebo die (#5361 WC Gazebo set), it reminded me of the fair and the horse carousel.  So I decided to make the gazebo a carousel and the horses are now unicorns.  πŸ˜„ 

My card was fun to make but a little challenging due to the interactive mechanism.  This card can be just as adorable without making it move.


I die cut the gazebo with gold foiled cardstock and cut the slits to extend the bars behind the unicorns.  I decorated the gazebo with patterned papers from the #5939 Fairy Garden PP.  For each layer of the background, I cut slits for the mechanism by placing the gazebo die cut over each and marked with a pencil.  Then I roughly cut slits out of each so that the mechanism will work through all layers.
  
                                                        Pic 1

 I then made little tabs for the unicorns to ride along by cutting four 1/2" discs from cardstock and four 1 x 1/4" strips (see Pic 2).   Fold the strips and adhere to the paper discs as shown in Pic 2.  Feed the strip part through the slits to the back layer and adhere a round paper disc.  At this point, you can test to make sure these discs slide nicely up and down.  If they get stuck, just take an X-acto knife and shave a little off the sides of the bars to widen the track.
 I used the My Favorite Things Up and Down interactive dienamic as a template for my card.  Since this die set is for a larger mechanism, I had to make my own "T shaped" mechanism (Pic 3) to make it work for this card.  This was my challenge but I finally got it to work.  I used the MFT plastic spinning discs where the track goes through the disc.  A bead or button may work better and you wouldn't have to feed the track through, but I didn't think of that until later.  

                    Pic 2                                                            Pic 3

  Place double layered foam tape around the edges on the back side, making sure you don't hinder the mechanism.  Place onto the card base.

I stamped the unicorns (#5225 - Castle cubbies) with memento black ink onto copic friendly paper and colored them with my copic markers listed below.  After coloring them, I die cut with the coordinating dies as well as die cut an extra one of each with heavy duty cardstock to layer behind for stability.  Adhere each of the unicorns onto the paper discs showing through the front side of the card.


So, that's my card for today.  Hope you enjoy it!
Remember to put a "twist" on some of your stamp/die sets.  It's fun to see where your imagination might take you.  Make sure to share with us by entering the bi-weekly challenge for your chance to win a free stamp set.

Copics used:  N0, N1, N2
R20, Y11, G40, BG000

Thursday, January 9, 2025

Golden Celebration

 Happy New Year AI Friends!

Hope you all had a wonderful holiday season and are off to a fantastic 2025! 

 My card today was inspired by the current challenge "Craft Time is Golden".  I sort of went "all out" golden.  😁  When I started creating, the gold was minimal, then all of a sudden, it went full on gold! Guess you could say it screams New Year's celebration, but wouldn't it be great for a 50th wedding anniversary card or add a little black and make it a graduation card.  

I used the 5811 - Gift card pocket die set for the bow and the 5722 - Birthday Journal set for the balloons and celebrate word die.  The streamer is from the 5592 - Harvest Journal die set.   I also used the 5063 - Rectangle A2 Double stitched die set for the frame and gift box.  And lastly, I used the 5606 - Harvest Journal PP for the striped pattern paper background.


To make the balloons pop out of the box, I used a slider pull tab and cut a vertical strip in the white frame piece, under the box, for the pull tab to slide.  I adhered a strip of acetate to the bottom of the bow and adhered some balloons on it.  I adhered a pop dot onto the pull tab and placed the pop dot through the vertical slit and onto the bottom of the acetate, so that when you pull the tab the bow rises and the balloons pop up.

Hope you enjoyed my card today.