Hello AI Friends!
I am so excited to feature our newest blog challenge - "Blossoms and Blooms". I definitely drew the lucky straw on this challenge. Who doesn't love florals? Especially with all the beautiful pattern papers and floral stamps/dies from Art Impressions. I have to say it was pretty hard to decide which ones to use but, man, it was fun playing and I have lots left over for future projects.
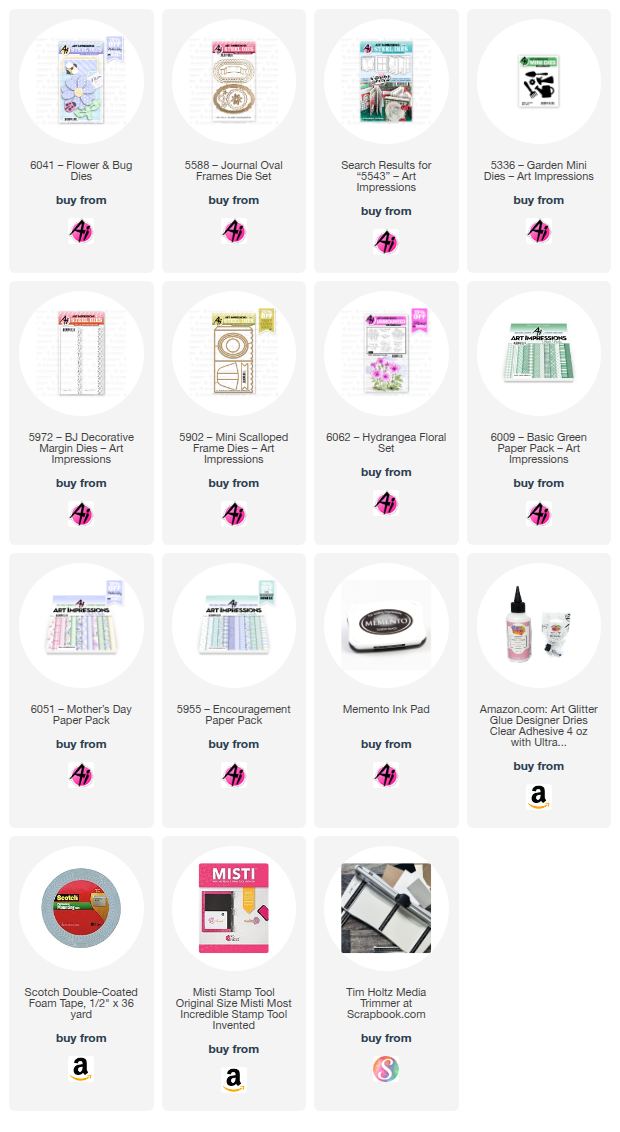
I ended up using the #6041 - Flower & Bug die set as well as the scallop circle dies from the #5588 - Journal Oval Frames and the #5543 - Journal Template die set.


I started off by die cutting a bunch of floral pieces from an assortment of AI pattern papers #6051 - Mother's Day PP and #5955 - Encouragement PP using the scallop dies and the flower die mentioned above. Don't forget to die cut the small floral centers too. These papers all coordinate so nicely so it was fun putting the flowers together.
I added a lot of dimension to my flowers by layering with a shift, curling and crimping. If you don't prefer the dimension, you can layer flat, curl under vs. upward or ink the edges.
Flowers using the #6041 - Flower & Bug die set
Curl the petals upwards using a rounded tip of a paint brush, skewer, etc. (see striped pedal below)
Crimp the petals using the paint brush by placing the brush in the middle of the petal and pinch the sides up. (see floral petal below).
After curling and crimping all pedals, place some glue to the back center of the floral petal and adhere to striped petal at a shift to the right so that the striped petal shows through the floral petal. Adhere the flower center with a pop dot (or glue if no dimension preferred). For the finished flower, see the top center of the final project above.

Flowers using the scallop circles from the #5588 - Journal Oval frames and the #5543 - Journal Template die set.
These are prepared the same as above except it has an extra layer and includes a first step to perform on all of the scallop pieces.
Take the scallop circle and cut towards the center every other scallop (see striped piece below). Be careful not to cut too far so that it doesn't cut into another slit. This does not have to be perfect as it will be covered by the next petal.
Do this for each petal and then curl and crimp each petal as above. See picture below - step 1, 2, 3. Do each step for each petal. Glue each pedal together or pop up for added dimension. Adhere small circle to the center. Finished scallop flower should resemble the bottom left of the project.

Now, for the flower pot.
Cut two 4 x 4 inch pieces of kraft cardstock. Mark, with a pencil, at 1/4" from the left and right of one 4" side. Line up the pencil mark on your trimmer and shift the cardstock so that it cuts at an angle to the opposite corner tip. Do the same for the other side. This will create the angle of the flower pot.
Using the #6009 - Basic Green PP, I cut a piece of green striped paper for the front of the pot, in the same way as the base of the pot, just leaving a slight edge of the base showing. If you want to place a ribbon on the front (like I did), make sure to adhere to this piece before gluing the pattern paper to the flower pot. Tuck the edges of the ribbon around the pattern paper.
Cut two strips of 4 3/8" x 2" using the #5972 - Decorative Margin die. Try to line up the scallop edge to be even on both sides. Determine how much of this you want to be your pot top. I cut mine down to 1 1/4" vs. the 2", but this is up to you. I also rounded the top edges with a corner rounder before adhering with foam tape to the pot. Now that you have a front and back of the pot, let's create the sides to make it stand and hold the card insert.
Sides - Cut two strips of 3 3/4 x 1" and score and fold (M, V, M) at 1/4, 1/2 and 3/4" down the long edge. Glue the mountain sides to the front and back of the pot, just inside the edge so it doesn't show from the front or back. (See picture below.)
I also cut an easel piece from kraft cardstock using #5902 - Mini Scallop Frame die. Adhere it to the back side of the pot. This is to assure that your flower pot will stand firmly.

For the card insert, I cut a 3 1/2" by 5 1/4" piece of kraft cardstock for the mat and a 3 1/4" by 5" piece of white cardstock for the sentiment. Using one of the newest release sets #6062 - Hydrangea Floral set, I stamped the sentiment onto the card insert and another one of the sentiments onto a piece of green striped paper left over from the pot front. I picked up some plastic plant picks from the dollar tree and adhered the sentiment onto it.
Now, for the funnest part, arranging the flowers into the pot. This is your preference and might depend on how tall you want your card to be. My card measures just under 5 x 7. After arranging my flowers, I added some leaf sprigs die cut from a piece of the Green Basic PP, using a die from my stash, and placed them sporadically within the flowers. I then adhered the plant pick to the inside of the flower box with strong glue. Lastly, I added a few extra touches to the front of my flower pot. I tied a piece of twine and added the garden tool charms to a jump ring and knotted onto the twine. I added a pink ribbon bow and a die cut heart to the sentiment and the watering can.

No comments:
Post a Comment