Thursday, April 24, 2025

Group Selfie

 Happy Thursday AI Friends!

Doesn't this image just scream girlfriend fun?  Haven't we all tried reaching our arm out as far as possible to get the perfect group selfie only to see that half of our face is missing?  LOL!  

I used the #4130 Picture Perfect stamp set for a friend's birthday card.  I know she'll get a kick out of it cuz it will bring back fun times.

I stamped the image onto copic friendly paper with Memento black ink and colored with my copic markers, listed below.   I used the middle flag die from the #5133 Flag Double Stitched die set to cut the three colorful flags peering out the side of the image.  I mounted the image on a piece of black cardstock and backed with a larger white piece to imitate a polaroid picture.  I die cut the word "Smile" and the banner die from dies I had in my stash.

That's it for me today.  Hope you enjoyed my card and thanks for joining me.

Have a great day and keep creating!

Copics used:  E000, E00, E01, E11
E30, E31, E33, E35, E50, E51, E53
N0, N1, N2, N4
B000, B41, B45
Y13, Y15, Y17, R20, R22
V12, V15
YR12, YR14, YR16, YR21, YR24

Thursday, April 17, 2025

Sweet Baby Girl and more Easter treats

 Happy Thursday AI Friends!

I have a couple of projects for you today.  The first one was inspired by the current blog challenge - ABC, 123 and then a few more Easter treat containers for the holiday.  I got carried away and was having too much fun so I just had to share!

When I think ABC, 123, I think baby and block letters.  So, guess what I created for this challenge?  Yep, a baby card with block letters on the inside.  ;)

 My card features the #5904 So Sweet Armful Elephant as well as the #5911 Large Numbers and #5912 Large Alphabet dies.  I also used the paper packs - #5742 Easter PP and #5940 Journal Cover Plaid PP.  I started with the inside of the card by cutting an A2 card base, folding in half and placing two 4 1/8" x 5 3/8" pieces of pink cardstock onto each inner side.  Depending on the number of letters, measure an even space between each and allow 3/4" for each letter.  So, for four letters, I marked, on the folded white side, at 1/2", 1 1/4", 1 3/4", 2 1/4", and so on adding 1/2" then 3/4" along the remaining fold.  Cut, away from the fold, 1" on each of the marks.  See diagram below.

Open the card and fold the 3/4" tabs to the inside so that they pop up.  Add the dot pattern paper to the inside right and left sides.  Die cut the letters from heavy cardstock and pattern paper.  Glue together and mount onto the scallop frame and then onto the left and right sides of the 3/4" tabs.  The inside of the card is finished.

For the front of the card, cut a piece of plaid cover paper 5 1/2" x 8 1/2+" (slightly larger to allow for the fold).  Adhere to the outside A2 card base and trim off any excess.  Adhere the corner edges to the plaid paper.  Your card will be thick so to create a nice closure, place a piece of ribbon around the card and adhere under the front frame.  Decorate with the elephant, number and sentiment.

For the Easter Treat envelope and basket:


I used the #5869 Easter Bunny Puppet for both of these Easter projects as well as several of the Easter paper packs.  
The envelope above was created with a piece of 6 x 6 paper.  Fold one corner across to the other creating a triangle.  Take the left point and fold over the front to the middle.  Take the right point and fold to the left point.  Adhere both of these down.  Lastly, take the front piece of the top triangle, leaving the back, and fold down over the front.  Adhere down and glue your bunny over the top.  Fill the pouch with easter goodies.
The basket was also created with a 6 x 6 piece of paper.  This is the same fold as the box from last week's post except you don't bring the sides all the way up creating a basket vs. a box.  Score at 2" and 4", turn and score again at 2" and 4".   On one side, cut the two score lines to the first fold.  On the opposite side, cut the two score lines to that first fold.  You should have three connected squares on the left of the first cut score line and three on the right of the second cut score line.  Fold in the middle pieces and then fold in the sides until the two top points, on each side, come together.  Adhere down.  For strength, I cut three 2" x 2" pieces of heavy cardstock and glued one to the bottom of the basket and one to left and right inside ends.  Using the #5804 Decorative Belly Bands, I die cut a decorative band from pattern paper and also from heavy cardstock.  Layered them together and adhered the ends to the inside of the basket.  I adhered the bunny and filled the basket with treats.


I hope you enjoyed my projects today!  Thanks for joining me!  
Make sure to enter the blog challenge for a chance to win a free stamp set.
Have a wonderful day and a very blessed Easter weekend!

Thursday, April 10, 2025

Easter Card and Treat Containers

 Happy Thursday AI Friends!

Today I have a couple of fun Easter items for you.  I was having too much fun and got carried away which is so easy to do with all of the fun Art impressions Easter stamps sets.

  Let's start with my Easter card using the #5401 - Easter Chicks set.  The images, sentiment and the little Easter accessories come with this set as well as the dies.  The interactive slider was created using the Lawn Fawn Magic Picture Changer die.  The pattern papers are from the #5892 - Easter S2 and the #6012 - Basic Yellow Paper packs.  


 For the other Easter project, I got carried away with the #5872 - Bunny GCH set and the #5742 - Easter Journal Paper Pack.  I decided to make treat containers and this was sooo much fun.  One I made as a box for treats and the other is a shaker, but I used small jelly beans to fill it.  It opens so the candy can be eaten.  However, you could use shaker bits and glue it shut.

For the treat box, I cut a 6" x 6" piece of heavy cardstock.  I scored it at 2" and 4" then turned 1/4 turn and scored again at 2" and 4".  On one side, cut the two score lines to the first fold.  On the opposite side, cut the two score lines to that first fold.  You should have three connected squares on the left of first cut score line and three on the right of the second cut score line.   Fold in the middle pieces and then fold in the sides and glue down each flap.  Your open box is ready.  I then cut a panel of pattern paper to cover the sides as well as a belly band using the #5804 - Decorative Belly Bands die.  For the back side of the bunny, I cut two extra paws for the back feet.  I used the eye die to cut the bottom of the paw and a hole punch for the toes of the paw and glued a solid pink paw to the bottom.  I also used a small white pom pom for the bunny tail.

For the second treat container, I used a round container from the Dollar Tree (or you can use condiment cups).  I cut the bunny face from a nested circle die vs. the square die included in the #5872 - Bunny GCH die set.  I also altered the headband to fit the circle face.  I adhered the top of the container to the back of the bunny face with strong adhesive.  I decorated the bottom of the container with the paws and tail prepared the same as above.  I filled the cup with the desired candies and sealed the lid to close.  The candy cup is complete and ready for your little one.

I hope you enjoyed my projects today.  Have a great day and keep creating!!

Copics used on card:  T0, T2, R30
YR12, YR14, YR18
Y13, Y15, Y17
G40, G43, G46
B000, B00, B01

Thursday, April 3, 2025

Birthday Humor Reveal Wheel

 Happy Thursday AI Friends!

Today I have a humorous birthday card for my 70 year old friend using the #5279 Be Happy Laugh Lines set.  If you haven't checked out these Art Impressions Laugh Lines sets yet, make sure you go to the website and check them out.  Bonnie hit the mark on these.  The sayings are perfect as well as the images!  

I stamped the image on copic friendly paper with Memento black ink and colored with copic markers listed below.  I die cut the image panel with the largest #5062 Rounded Rectangle A2 Double Stitch Die.  I then used a smaller circle die from the #5064 Double Stitched Circles die set to cut out the notch for the reveal wheel.  Measure a circle die over each of the sentiments to make sure that you can read each within the circle.  Once you find the circle die that fits the sentiments, make sure that where you cut the hole on the image panel is low enough for the wheel to fit without popping out on the sides.  Place a brad in the center of the wheel and through the pattern paper border.  Pop the image panel up with foam dots, avoiding the wheel area, and place down over the pattern paper panel.  I then placed a circle frame over the reveal hole to finish it off.


I hope you enjoy my card today and that you will join in the fun with the current challenge - "Milestone Birthdays".  Play along for a chance to win a free stamp set.

Have a wonderful day and keep creating!
Copics used:  E000, E00, E11, B000
R20, R22, R24, R27
C1, C3, C5
G12, G16, G17

Thursday, March 27, 2025

UGH!

 Happy Thursday AI Friends!

A new release came out yesterday and boy, is it a good one!  Okay, let's be honest, they ALL are!!  This one included new alphabets and numbers, a new Easter stamp set and papers as well as a set of belly bands.  Make sure to check out the Art Impressions website.  Lots of fun new items!

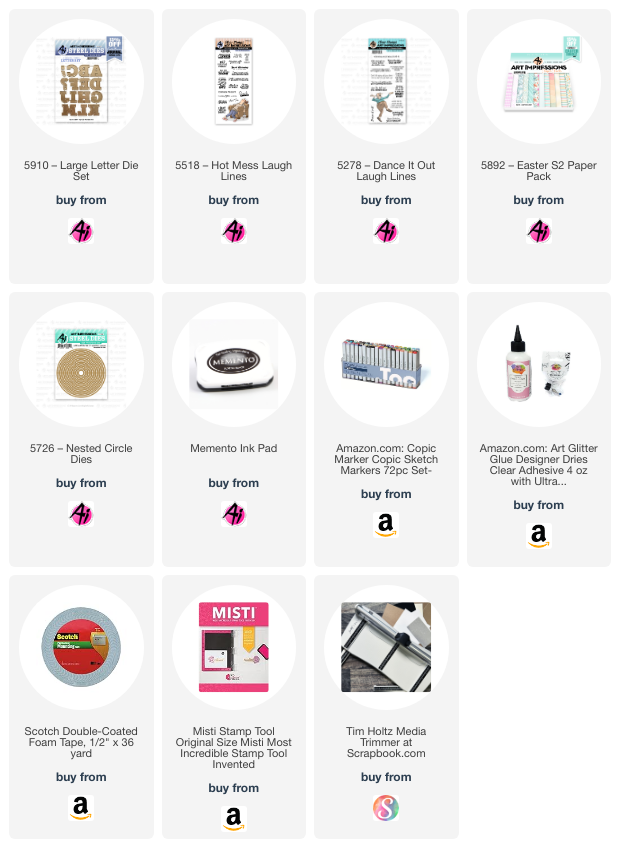
My card today features the new #5910 Large Alphabet letters.  Have you ever purchased word dies only to wish you could adjust them by adding another letter, removing one or making up your own word?  Well, these letters are the perfect size to create your own word or spell the way you want to.  Actually, I should have put another couple of G's to emphasize the word "UGGGH".


I started out by stamping the image from the #5518 - Hot Mess Laugh Lines set onto copic friendly paper with Memento black ink.  I then colored with my copic markers listed below.  I stamped the image again on a piece of pattern paper from the #5892 - Easter S2 PP and fussy cut the chair so that I could paper piece onto the image.  I cut the image with a circle die from the #5726 - Nested Circle die set and matted onto a scallop circle die I had in my stash.  I die cut 2 of each of the letters U, G, H and the exclamation mark from yellow cardstock.  I layered each of the letters together for added dimension.  I stamped the sentiment from the #5278 - Dance It Out set and cut with a banner die I had in my stash.  I mounted the banner sentiment onto a piece of yellow cardstock and fussy cut it for a matted banner.  I then took a 5.5" square piece of pattern paper (stripe) and mounted it onto yellow cardstock.  I did the same for the top layer 4.5" square piece of pattern paper.  I then assembled the card together and staggered and overlapped the letters to add more fun to the card.

I hope you enjoyed my card today!  
Have a wonderful day and keep creating!

Copics used:  E000, E01, E11, E51, E53, E55, E57
C00, C01, C03, C05
B00, B01
Y04, Y21, YG61, YG63

Thursday, March 20, 2025

Crazy Garden Lady

 Happy Thursday AI Friends!

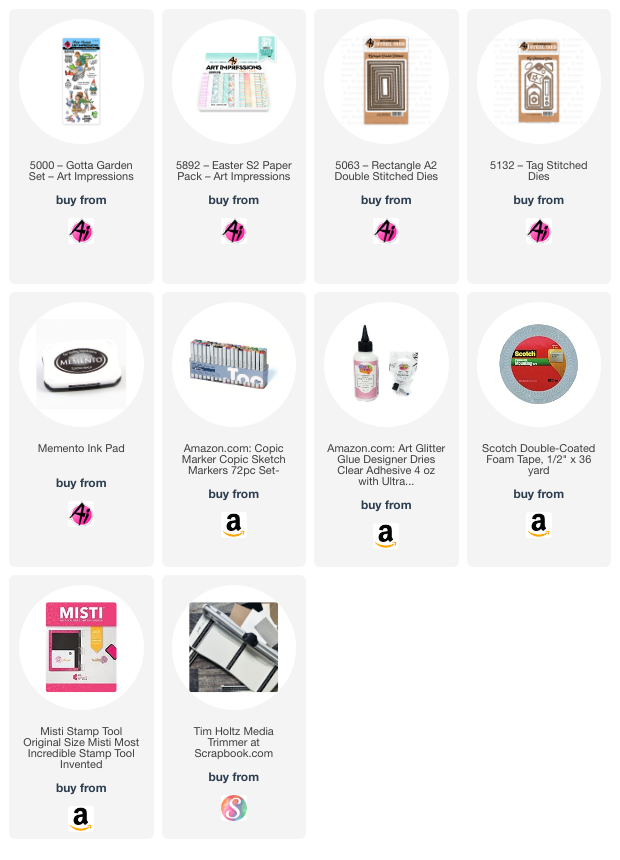
Today I have a fun birthday card featuring the #5000 Gotta Garden set.  A friend of mine loves to garden so this image was just perfect for her birthday card.  I definitely would not call her crazy but she is crazy about gardening.  LOL!

I stamped the image on copic friendly paper with Memento black ink and colored her with my copic markers listed below.  I just love the expressions on all of Bonnie's people stamp sets.  They just exude fun and laughter!  


I die cut the image panel with one of the #5063 Rectangle A2 Double Stitch die and then placed onto a pattern paper panel from the #5892 Easter S2 PP.  I then matted it with orange cardstock.  I die cut each of the sentiments, that also came in this stamp set, with a tag die from the #5132 Tag Stitched die set.  I partial cut the tag and then used the same die to also cut off the flag portion and leave the stitch pattern.
I used a scallop edge die from my stash to cut the narrow strips on each side and placed a long narrow strip of orange cardstock over the seams of the pattern paper and the scallop border.  Placed some enamel dots on the card to finish it off. 

I hope you enjoy my card today.
Have a wonderful day and keep creating!


Copics used:  N1, N3, N4
E000, E01, E11, E21, E23
R20, R24, G43, G46
B000, BG32, BG34
Y21, Y23, Y25, YR12, YR14

Thursday, March 13, 2025

Birthday Wobble

 I am soooo thrilled to be the feature for this challenge - "I Like to Move it, Move it".  I am such a fan of interactive cards, so this is a delight for me.  I had soooo much fun creating this card and I am soooo excited for how it turned out.  

First of all, I stamped all of the images on copic friendly paper with Memento black ink and colored with my copic markers listed below.  Some images were dies so I cut them with copic friendly paper and then colored with copic markers. 
I cut two 4 1/4 x 4 1/4" pieces of heavy white cardstock and scored each piece at 1".  Do NOT adhere together yet as you need to place the acetate pieces in between.
  
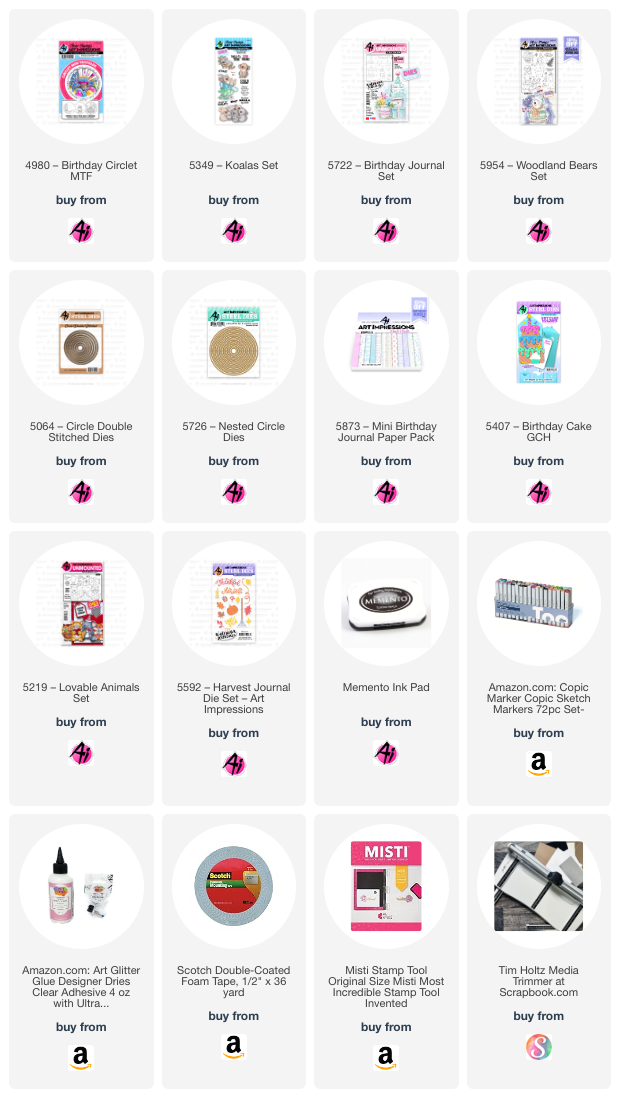
Let's decorate the front of the card first.  I matted a piece of pattern paper onto a piece of purple cardstock allowing for an 1/8" border around all sides.  This is then adhered to one of the white cardstock pieces. The 1" fold should be towards the back at the bottom.  I started by using the front layer (balloons) of the #4980 Birthday Circlet MTF.  I die cut this layer with the coordinating die and then cut the whole circle with one of the #5726 Nested Circle dies.  I used the koala sitting in the teacup from the #5349 Koala set and cut him off of the teacup so that I could place him on the stack of presents from #5954 Woodland Bears set.  I only used the bottom three presents of that stamp so that it fit nicely in the circlet.  I popped the circlet onto foam dots and placed onto a stitched circle die cut from purple cardstock.  I then glued the bottom two presents behind the balloons and popped up the top present as well as the koala so that they sat on top of the circlet.  I colored several confetti pieces from the #5407 Birthday Cake GCH and adhered them to the front of the card.  I saved several colored pieces for the inside of the card.  

Now, for the inside of the card.  I cut several strips of acetate, about 1/2" x 3" for each item.  I arranged the images how I wanted them to pop up over the front flap of the card.  I glued each to the top of a piece of acetate making sure there is enough acetate at the bottom to glue between the 1" folds.  Once the images are glued to a piece of acetate, I then glued the bottom of the acetate to the back of the front flap fold.  When all of the acetate pieces are glued down, I took the back flap and glued the two fold pieces together, making sure the acetate pieces are glued in firmly.  I then finished decorating the inside of the card with pattern paper and purple cardstock over the exposed white cardstock.  Lastly, I added the final pieces of confetti to decorate.  

Below is a video of how the card wobbles.


I hope you enjoyed my card today!
Have a wonderful day and happy creating!!

Copics used:  E21, E50, E51, E53
W5, R20
Y11, Y21, Y23, Y35
RV55, RV63, V12, V15
G40, G43, B41, B45