Thursday, October 16, 2025

Bobble Head Frankenstein Coffin Treat Box

 Happy Thursday AI Friends!

We have a new challenge going on called "Keep It Contained".  What a fun challenge!  Make sure to check out the tab above for details.

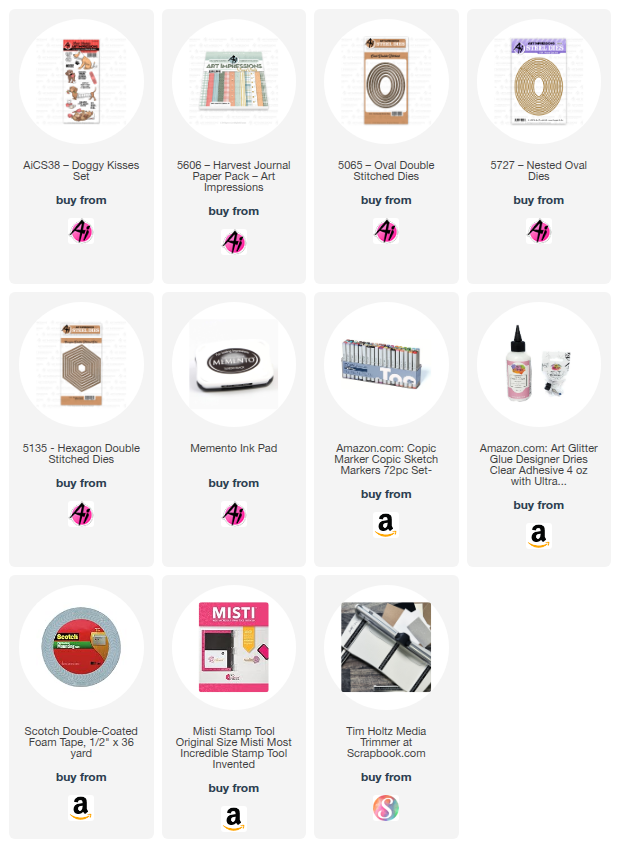
I created a coffin shaped treat box with the new #6120 - Frankenstein Puppet.   His head bobbles so he will entertain the little ones while they enjoy the goodies inside.  πŸ˜€  


I stamped a few images onto copic friendly paper with Memento black ink and colored with my copic markers listed below.  I punched a hole into the top of several of them and linked them onto a chain and created a dangle for the opening of the treat box.  I tied a "webbie" yarn to the top link and attached to the ghost eyelet at the treat box opening.


The Frankenstein puppet is sooo fun to create and decorate with scrap pieces of paper.  I two-tiered the pants by offsetting slightly and created a small patch piece onto his pants for an added touch.  For his face, I die cut the scar several times and glued into a mouth shape and then added some wiggle eyes for movement when his head bobbles.  To create the bobble head, I die cut an extra shirt piece and extended the length to attach the mini wobble base.  Then I attached the head to the top of the wobble. 

To create the coffin box, I followed a youtube tutorial by Positively Papercraft called "Spooky Coffin Treat Box".  I tweaked her measurements a bit but her tutorial works great and is fairly simple.


Wobble head video:


Thanks for checking out the blog today!  Hope you join in the AI Bi-weekly challenge for a chance to win a free stamp set of your choice.  

Have a great day and keep creating!

          Copics used:  T0, T2, T4, T6
G43, G46 
Y13, Y17 
YR12, YR14, YR16, YR18 
Thursday, October 9, 2025

Playing in the Dirt

 Happy Thursday AI Friends!

Summer came and went soooo fast but I still want to play in the dirt.  We are definitely headed into fall here but some of you may still have some great summer weather left so hopefully you feel inspired to go play for those of us that can't.  πŸ˜€

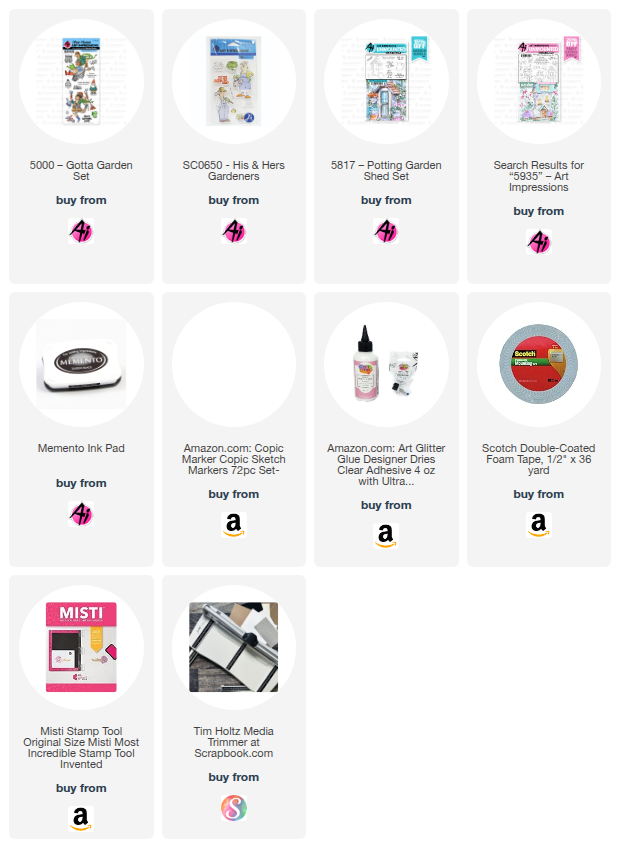
I combined #5000 - Gotta Garden set and #5817 - Potting Garden Shed to create this interactive card.  This is a larger than normal card but it's a fun size - 8 1/5 x 5.

I started out by stamping the images onto copic friendly paper with Memento black ink and colored with copic markers listed below.  I fussy cut the images.  The garden shed is a watercolor stamp set and has a few garden pots at the base, so I just fussy cut them off and popped up the boots and garden hose over the cut area.  I also cut an opening in the door and placed some tools and garden gloves inside.  These accessories are from the #SC0650 - His & Hers Gardeners set.  I also colored and cut some flowers from the #5935 - Fairytale Houses set.  

I die cut a slider track into the dirt panel and placed the playful couple onto a disk that pops through both sides of the track to allow for the movement.  I then popped up the dirt panel, making sure not to place pop dots or foam tape to close to the slider track.  You could use a pull tab, but I chose to move the couple back and forth with my fingers.

Check out the video below to see the interactive movement.


That's it for me today.  Hope you have a wonderful day!
Keep on creating!!
Copics used:  E000, E00, E11
N0, N1, N2, N3, N4
B91, B93, B95
Y11, Y13, Y15, Y17
YR12, YR14, YR16, YR18
G40, G43, G46

Thursday, October 2, 2025

Winter Wonderland

 Happy Thursday AI Friends!

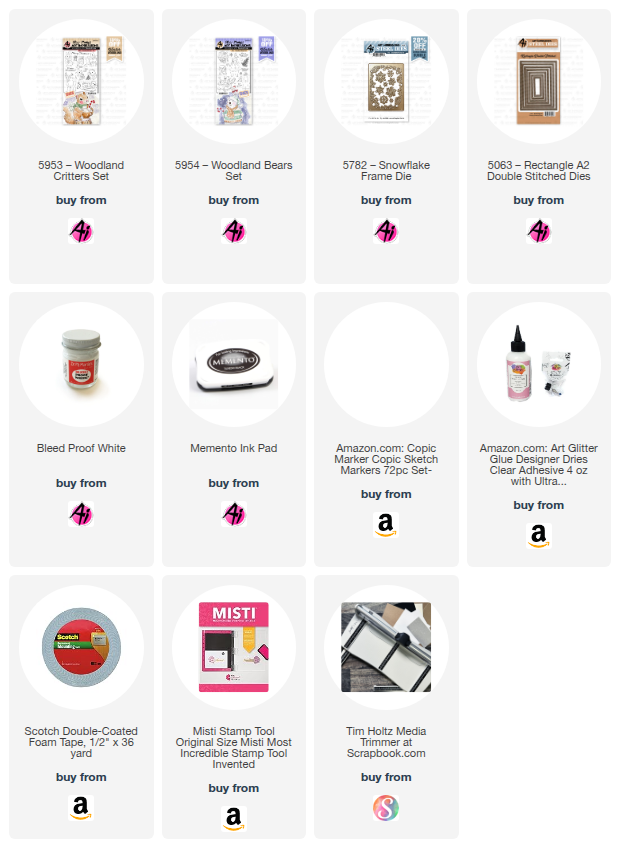
I was having too much fun making cards for the current Blog challenge "In The Navy" so I'm sharing two of the them with you today.   I used the #5953 Woodland Critters and #5954 Woodland Bears.  These would make such a cute gift set for that special someone that has everything.  What's better than giving/receiving handmade gifts?


I started out by stamping the images onto copic friendly paper with Memento black ink and colored with my copic markers listed below.  Each of the images in both sets come with corresponding dies.  As usual, I die cut an extra set from heavy cardstock.   I love the dimension and stability.

Card #1:  I created a fun pull tab interactive card where the critters slide down the hill when pulling the tab.  This is a square 4 3/4 inch card.  To make the stitch border, I partial cut two sides using the largest #5063 Rectangle A2 Double Stitch die and then cut the other sides to make this large square.   I spattered Dr. PH Martin's Bleed Proof White paint onto the navy blue cardstock base to create a snowy background and also glued some of the snow die cuts that were left over from card #2.  The stitch snowy hills were using dies from my stash. 
Card #2:  I created a popped up frame card.  Using the #5782 Snowflake Frame die, I die cut two frames with heavy cardstock and glued them together.  Saved some of the snowflake pieces from the frame die cuts and used on card #1.  This card measures 3 1/4 x 4 1/4 inches.  I spattered Dr. PH Martin's Bleed Proof White paint onto the navy blue cardstock base to create a snowy background.  Again, I used a curvy stitched die from my stash to create the snowy hillside.  I popped the frame and the images up using foam tape onto the hillside.  Added a bow and the card is finished. 
Hope you enjoyed my cards today and you decide to join us in the Blog challenge.  See above tab for details and a chance to win a free stamp set.  We love to see your creations!

Have a great day and keep creating!

Copics used:  E30, E33, D35, E37, E40, E41, E43, E44
E51, E53, E55, E57, E59
N1, N2, N3, N4
Y13, Y17, Y19, 23, Y26, 
R20, R22, R24, R27
BG90, BG93, BG96, BG99
BV20, BV23

Thursday, September 25, 2025

Bakery Matchbook

 Happy Thursday AI Friends!

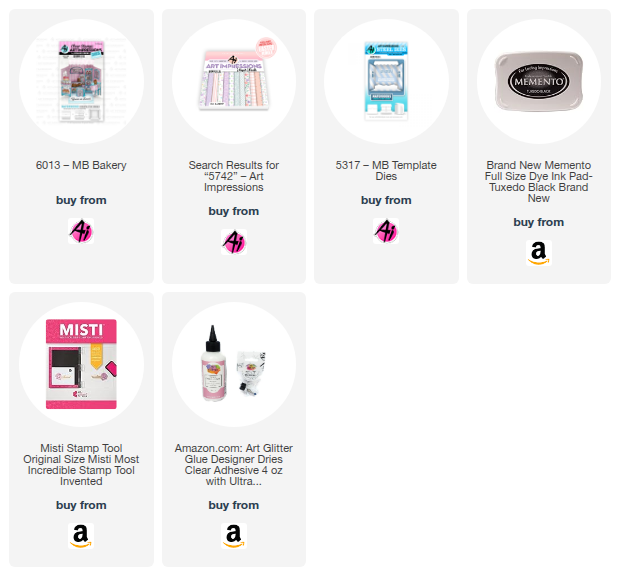
Do you like little tiny cards?  If so, try out these cute little matchbook cards from Art Impressions.  There are approximately 30 to choose from for that special someone in your life.  I think Bonnie has hit every type of recipient with this line from golfer to musician, baby to pet shop and every holiday plus others.  Make sure to check out the website for all of the options.  Art Impressions Matchbook selection 


This matchbook card is perfect for the family member with the biggest sweet tooth.  Makes me ready for my morning coffee and a cinnamon roll.  😁

I stamped the images onto copic friendly paper with Memento black ink and colored with my copic markers listed below.  Each set comes with dies to cut out each section, however, you will need the matchbook template for the main base.  This template works for all of the matchbook stamp sets.  There is also a Matchbook Envelope template.  This template in not required to create this adorable little card but it finishes off the card so nicely.
Check out the YouTube tutorial.  There are many showing how these work but the link below will bring you to the very first introduction of these Art impressions little cards.  

I hope you try one of these tiny cards out, if you haven't already.  They are so each and fun to make plus the recipient will just love the little cuteness.

Hope you have a wonderful day!  Keep creating!

Copics used:  C00, C0, C1, C2
E21, E23, E50, E53, E55, E57
Y11, Y13, Y15, Y17
YR21, YR23
R01, R02, R05, B0000

Thursday, September 18, 2025

Koala-Ty Time

 Happy Thursday AI Friends!

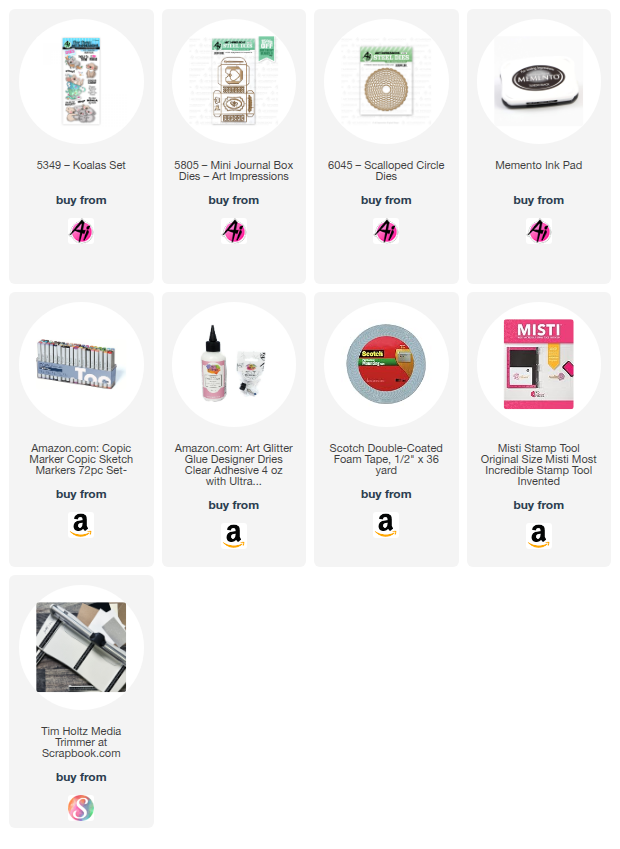
This week's blog challenge is "Wild About You" showcasing any animal, or animal print, stamp, die, etc.  Many AI stamp sets work with this challenge, but since I found a leafy felt fabric, I thought it would be perfect to use with the #5349 - Koalas set.


I stamped two Koalas from this set, as well as the sentiment, onto copic friendly paper with Memento black ink and colored with my copic markers listed below.   I die cut each of the Koalas using the coordinating dies included with the set.  I also cut another pair of Koalas from heavy cardstock to back the colored image so they would pop up on the card with more stability.  I used the leaf die from the #5805 - Mini Journal box to cut several green leaves.  The sentiment was cut using the #6045 - Scalloped Circle die and popped up in the center of the frame panels.

The background frame, as well as the other leaf, were cut from dies I had in my stash.  To finish off the card, I used some enamel dots and placed them on three of the panels.  

Thanks for joining me today!  I hope you show us your creations by entering in the blog challenge.  See above tab for details and your chance to win a free stamp set of your choice.  
We always love to see what you create!

Have a wonderful day and keep creating!
Copics used:  W0, W1, W3, W5
E21, E23, E24
R20, G43, G46
B12, B14

Thursday, September 11, 2025

Sit, Stay, Heal flip card by Dori Mendiola

 Happy Thursday AI Friends!

Today I have an interactive get well card using the #AICS38 - Doggy Kisses set.  When you open the card, the image flips to the inside. 

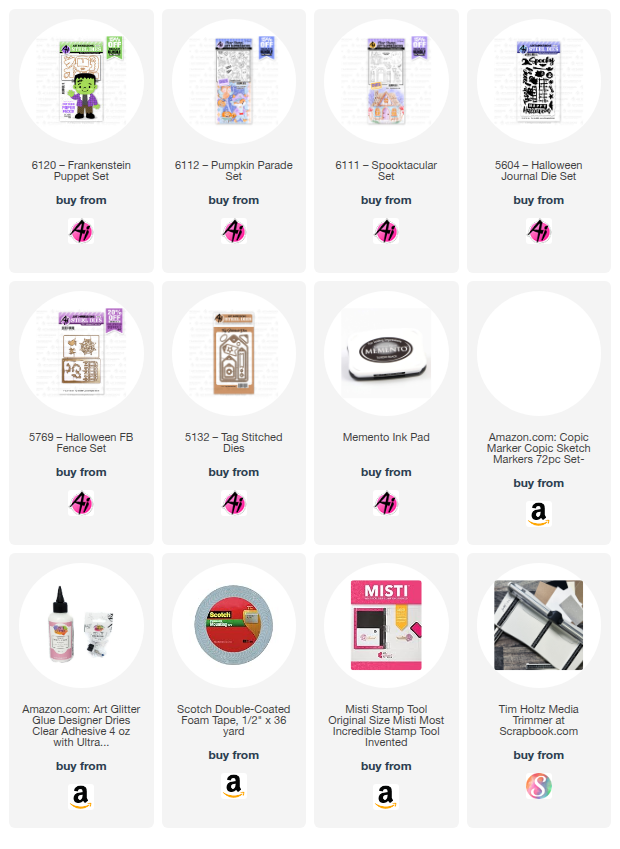
 I started by stamping the images with Memento black ink onto copic friendly paper and colored with my copic markers listed below.  I die cut the images using the #5065 Oval Double Stitch and the #5135 Hexagon Double Stitch dies.  I fussy cut and popped up the kleenex and tea cup using foam tape.  I die cut an oval into the front of the card panel and used the blue inner panel for the flip base.


For the mechanism - cut a piece of cardstock 2 3/4" x 3" and score at 3/4, 1 1/2 and 2 1/4 along the 3" side.  Fold and crease the score lines to create a tube.  Place glue on the underside of the first fold area only.  Glue down to the inside fold of the card.  Fold the tube in half and place glue on the upper fold area only.  Bring the top half of the card over and shut on top of the tube piece.  The tube will show through the top of the card, but the image panel will cover when closed. 
 
Now cut a piece of cardstock 3/4" x 2 1/4".  Score in thirds along the long edge (3/4" each piece).  Glue one 3/4" tab to the top of the tube piece in the center.  Fold the other end upwards and lay the tube down flat so that the card is shut.  Place glue on the upwards tab only.  Place the blue image panel into the front oval cutout area and adhere it onto the tab with the glue.  The image panel will pop up thru the oval cutout on the front of the card when shut and it will pop thru to the inside of the card when opened.

Decorate your card with sentiments, ribbon, etc.

Thank you for joining me today!  Hope you have a wonderful day!
Keep creating!

Copics used:  N0, N1, R20
E50, E51, E53, E55
E41, E42, E44
E33, E35
BG70, BG72, BG75

Thursday, September 4, 2025

Teeny Teapot

 Happy Thursday AI Friends!

My card today was inspired by the current challenge "When a Door Closes" utilizing the #5935 Fairytail House set.  This is the cutest set and makes the cutest teeny cards.  Back in December 2024, I created a Teeny Shoe card utilizing this set.   Here is the link to that post.  https://artimpressionsstamps.blogspot.com/search?q=teeny+shoe

For this challenge, I used the Teapot stamp and die and placed it on a teeny tiny hexagon card.  It's approx. 2 1/4 x 2 1/4 inches.  


I created the hexagon card by die cutting two pieces from heavy cardstock.  I scored one of the hexagons about 1/4" from the top and folded towards myself.  I placed glue on the scored fold and adhered the other hexagon to it creating the card base.  I then die cut another hexagon out of pattern paper from the #5742 Easter PP and glued that to the front of the card base.  I created a stitched frame and adhered that to the pattern paper front.

I stamped the teapot and the bee from the #5935 Fairytail Houses set onto copic friendly paper with memento black ink and colored with my copic markers listed below.  I die cut the images and cut a second bee out of heavy cardstock to create a popped up effect.  I adhered the images to the card base and stamped a sentiment in the inside and the card is ready to adhere to a gift, hand deliver or send in the mail.  A fun little card to receive!

I hope you enjoyed my card today and you decide to play along in the blog challenge "When a Door Closes".  Any card/project with a door will qualify you for a chance to win a free stamp set.  

  We love to see your creations!

Hope you have a wonderful day!  

Copics used:  E51, E53, E55
T0, T2, T4
Y00, Y11, Y13, Y15
V12, V15, G40, G43