Thursday, December 12, 2024

Merry & Bright

 Happy Thursday AI Friends!

Christmas is going to be here before we know it and I wanted to share my Merry & Bright Christmas card.  I used the #5192 Penguin Cheer as well as the #5457 Christmas Truck Rides sets.  These little Penguins bring so much cheer!


I stamped the penguins with Memento black ink onto copic friendly paper.  I then made a mask of the penguins so I could stamp the tree to look like it is behind the penguins.  The tree in the Christmas Truck set was too small compared to the penguins so I had to stretch the tree to make it larger.  To do this, I inked up the tree with the Memento ink and wiped off the trunk before stamping where I wanted it to fall behind the penguins.  Then I inked it up again and wiped off the top two layers of the tree and the trunk and positioned the stamp to fall under and to the right of the original tree.  Lastly, I inked up the trunk and stamped it to fall in the center lined up under the tip of the tree.  Since it fell just perfectly behind the penguins, you can't tell the tree was stretched.  After the image was how I liked it, I then colored it with copic markers (listed below). 
I die cut the presents with the coordinating dies that came in the Christmas Truck set and popped them  up under the tree.  I used stinkles on the star and glossy accents on the ornament and lights.  I stamped the sentiment from the #Mini Christmas Sentiment set.  I then layered the image onto papers from the 
#5962 Classic Christmas PP and tied a red bow to top it off.  The frame was made with dies I had from my stash.

 Thanks for joining me today and I hope you enjoy my card!

Copics used:  C00, C1, C3, C5, C7
E53, E55, E57
R02, R05, R08, R20
YR21, YR23, YR14, YR18
G21, G24, G28
BG70, BG72, BG75

Thursday, December 5, 2024

Teeny Tiny Card

Hello AI Friends!

I'm so excited to share my "Teeny Tiny" card for the Teeny Tiny challenge.  This could not be any smaller but it made for the cutest little card and you can make any shape card with any die that you own.  It's so easy and you will LOVE it!  I bet you make this style card in bundles once you see how fun they are.

I decided to use the shoe house from the #5935 Fairytale Houses to create my teeny tiny shaped card.  I also used a couple of the fairies from the #5345 Fairy cubbies.


I started out by stamping my images onto copic friendly paper with memento black ink and colored them with my copic markers listed below.  I die cut the images with the coordinating dies that come in each of these sets.  I also cut two extra shoe houses out of plain white heavy cardstock for the card base.  I cut one extra of the fairies and the flowers out of the heavy cardstock to add depth to the image, as well as stability, instead of using foam tape.

To create the card, take the two shoe houses cut from the heavy white cardstock and stamp the sentiment onto one of the houses.  Score, and fold back, at 1/2 inch from the top.  Place glue only on the top edge from the fold and above.  Take the second shoe house and place over the sentiment layer.  This should create the actual card.  Place glue on the top shoe house and adhere your colored image to it.   Decorate with the fairies and the flowers and your teeny tiny card is finished.


I hope you enjoyed my card today and you try this method out with some of your other stamp sets.  You can make the fold on the left side as well, depending where the fold would be better placed.  The top worked best for this image.  
These would make cute little note cards to put in someone's lunch or backpack or on the front of a gift bag.

Enjoy creating!!

Copics used:  B000, B00, Y000, R000
T0, T2, T4
E51, E53, E55, E57
Y13, Y15, Y35
R22, R24, R27, R81, R83, R85
G40, G432
BV11, BV13

Sunday, December 1, 2024

Birthday Man Card

 Happy Thursday AI Friends!

I thought I'd share a card that I made for my husband for his birthday.  The image from the #5421 Sit Back Laugh Lines was just perfect for him.  Remote control and all.  😁  This guy is just so cute and funny!


 I stamped the image on copic friendly paper with memento black ink and colored with my copic markers listed below.  I decided to use the pattern paper from the #5606 Harvest Journal PP to paper piece the recliner.  Love the plaid!  I layered pattern pieces with a white strip for the floor board and die cut with the #5062 Rounded Rectangle A2 Double Stitched dies.  I then used the #5724 Nested Rectangle die to cut a center rectangle, creating a frame, to inset the image.  I popped up the "frame" with foam tape.  I also added the wall clock from the #5323 MB Wall Accessories.

This was a simple card but I hope it inspires you to create masculine cards.

Thanks for joining me today!  Have a wonderful day!

Copics used:  E00, E01, E11, E55
B000, T0, T2, T4
Y21, Y23
BG70, BG72, BG75

Thursday, November 21, 2024

Harvest Blessings

Happy Thursday AI Friends!

Today I have a fun fold A2 card for you that provides a great way to display your Fall Blessings, when expanded.  

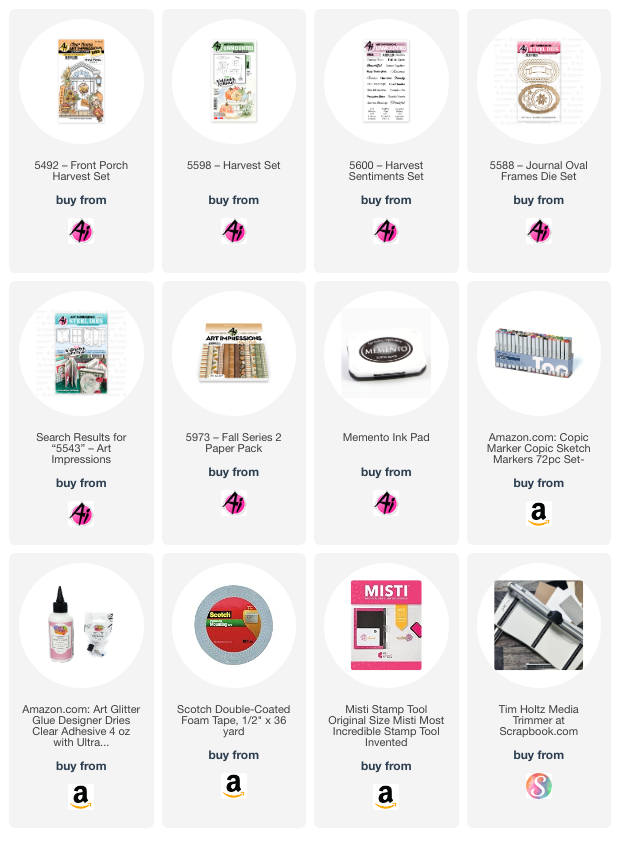
Have you checked out the latest fall paper pack (5973 - Fall S2 PP) from Art Impressions?  OMgosh, this is such a beautiful paper pack!  All of their papers are fantastic but this one has such great fall colors and patterns.  To show them off, I used the stamp sets #5492 Front Porch Harvest and #5598 Harvest Set along with the sentiments from the #5600 Harvest sentiments set.   


I stamped all of the images onto copic friendly paper and colored using my copic markers as listed below.   The hay bale is stamped directly onto the panel.  All other images are die cut using the coordinating dies that come in the stamp set.  

To create the fun fold card:  Cut your base cardstock at 4 1/4 x 11 and score on the long side at 2 3/4, 
5 1/2 and 8 1/4.  Fold and crease as mountain, valley, mountain.  This will create a W when standing upright.  Fold the side tabs backwards so that the card displays a solid A2 card front with the fold in the valley fold in the middle.  Next cut a 2 x 8 piece from the same cardstock and score the long side at 1 1/4, 2 1/2, 4, 5 1/2, 6 3/4.  Fold and crease as mountain, mountain, valley, mountain, mountain.  Should form a square when upright.  Place glue on the front of the left 1 1/4 tab.  Adhere to the left center of the A2 base along the fold.  Do the same to the right side.  Your fun fold card is now created.  Create your layers for each panel by cutting 1/4 inch smaller than the base.  
For the front panel:  You can cut any size or shape that you choose.  Adhere to the middle fold only of the 2 x 8 inch cardstock piece.  If you adhere to the side folds, the card will not pop up when fully opened.

When folded:

     Front side of the A2:                                                      
  

                                             Back side:


I hope you enjoyed my card for today and that you all have a wonderful Thanksgiving holiday. 
May each of you find some time to do what you love! 

Copics used:  E41, E43, E44, E47
YR12, YR16, YR20, YR23, YR27, YR68
R32, R35
YG91, YG93, YG95

Thursday, November 14, 2024

Snow Much Fun Globe

 Happy Thursday AI Friends!

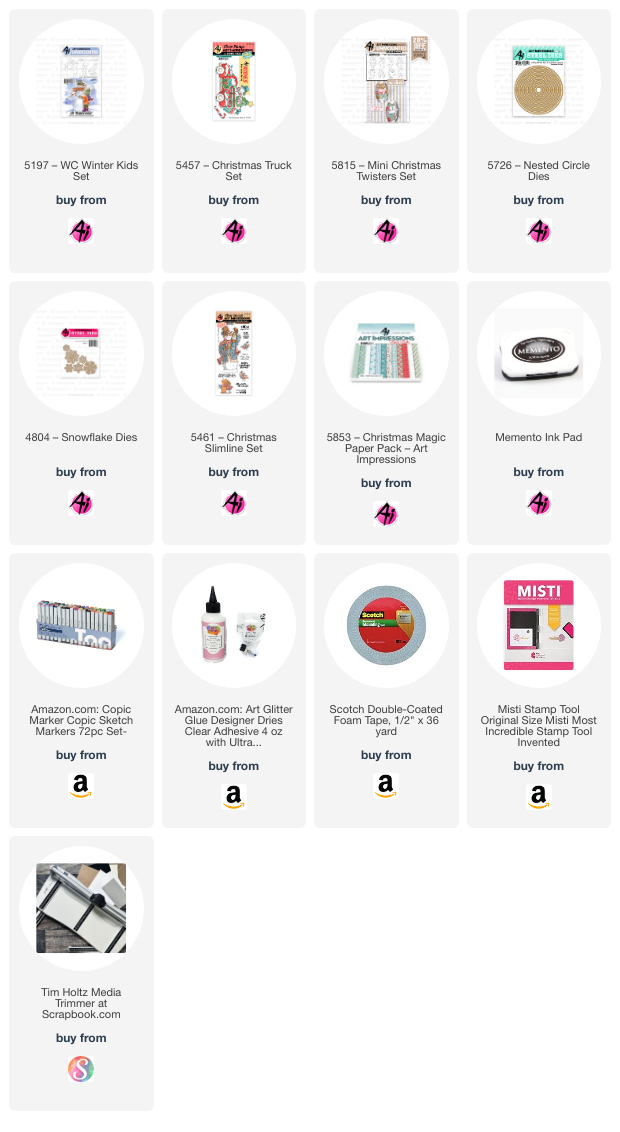
I have a fun card for you today that fits the "Under the Dome" challenge.  Who doesn't love snow globes?   I used the #5815 Mini Christmas Twister snowman along with the #5457 Christmas Truck cubbie and the #5197 WC Winter kids sets.  


I used a plastic dome cover from the packaging of a battery powered light.  You can use any size covering from most household items.  Find one around your home that fits your scene or go to your nearest dollar tree and look for an item that the covering would work.  πŸ˜€  My measures 2 3/4" so it is perfect for my scene and made for a nice snow globe.  

I stamped the images onto copic friendly paper and colored with my copic markers listed below.  I die cut the images with the coordinating dies except for the little girl in front, which I fussy cut, but it was simple enough.  I inked the hillsides and the background with Broken China Distress Oxide ink.  I layered the scene together on a circle die cut larger than the base of the globe.  Once the scene was created, I painted with some stickles and let dry.  Before I added the snow (glitter) to the globe, I dusted the inside of the globe with my anti-stick powder pouch.  I then filled the globe with glitter and placed liquid glue around the edge and placed the scene piece onto the globe.  I die cut a circle frame using pattern paper from #5853 Christmas Magic PP and two sizes of the #5726 Nested Circle dies, making sure that the inner circle fit around the base of the globe.  I created two more hillsides to place on the bottom of the card, stamped the sentiment from the #5461 Christmas Slimline set and inked the edges with the broken china distress oxide ink.  I adhered the little girl to the bottom right and a few snowflakes around.  

This is such a fun card to play with.  

Thanks for joining me today and I hope you decide to enter the challenge to have a chance to win a free stamp set.  Make sure to check out the tab above for details.

Enjoy your day creating!!!

Copics used:  C1, C3, C5, C7
E43, E44, E47
B0000, B12, B14, B16
YG63, YG67
R20, R22, R24, R27

Thursday, November 7, 2024

Dancing Santa Tag

 Happy Thursday AI Friends!

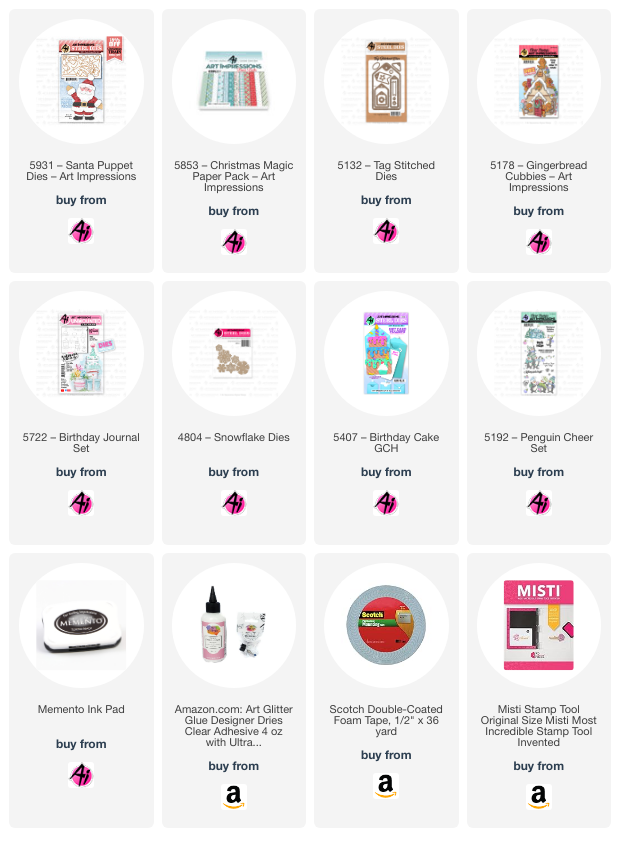
Have you seen the new Art Impressions Christmas release?  Wow, what a bundle!  Two cute stamp sets, a die set and two beautiful paper packs.  I decided to play with the #5931 Santa Puppet die set and boy, did I have fun making several versions of this Santa.  I have several more that aren't christmas so I'll save those for another post.  Stay tuned.

For my first Santa, I made him a dancing tag.  His body and legs move.  Check out the video below.


I partial die cut the pants (cut up to top of pant and then hand cut to make pant waist higher - see Pic 1).  I die cut all of the other pieces as well as an extra jacket and hands and decorated accordingly (see Pic 1 below).  The oval white piece on the right is a rough cut of the back of the head as you will need a base piece.  I then punched a hole in the three pieces as seen in Pic 1.  To put them together so that Santa dances, hold the leg piece where you want it to fall under the finished jacket.  Turn this over and adhere a foam dot into the hole (Pic 2).  Layer the extra jacket behind the back of the other jacket and adhere with the foam dot (see Pic 3).  Next hold the face over the front of the jacket, turn over and place another foam dot into the hole on the back of the jacket (see Pic 4).  Adhere the head base piece onto the foam dot in the jacket.   Your dancing Santa is ready for decorating with a pompom on the hat and a string to hang from the tree or present.

         Pic 1                                                                                                              
  
                                Pic 2

         Pic 3                                                                                                                
   
                                  Pic 4

      Pic 5

My other variations using the 5931 Santa Puppet die set:

Cut my Santa in half and made two tags, one of which using the 5132 Tag Stitched Die.  I popped up the chimney and placed the body of Santa upside down into the chimney.   The second tag, I scored the arms before putting the cuffs on and folded them in half, then put the cuffs on the outer side so he was wrapping his arms around the star.  I also added google eyes to him for fun.  I cut several snowflakes from the 4804 Snowflake dies and the icicles on the chimney are from the 5407 Birthday Cake gift card die.  The sentiment is from 5350 Animal Nativity Set and candy canes are from 5187 Gingerbread cubbies and 5457 Christmas Truck cubbies.


For the following tag I decided to make him a gnome santa.  I shortened his arms and legs and placed the hat lower on his face.  For his beard, I cut two but I cut one differently, by cutting half and then moved the die to stretch his beard and make it wider.  Another thought, you could use the 5223 Bookmark die and cut the top tab off to make a smooth beard.  He actually fits perfectly, but I wanted a fuller beard.  The die used for the santa sack is included in the 5931 Santa Puppet die set.  I believe it is actually to be used as the santa face base, however, I saw someone suggest a possible santa sack so I borrowed her great idea.  I wish I could remember who it was, so I could give her a shout out.   The candy canes are from the 5178 Gingerbread Cubbies and the banner is from 5722 Birthday Journal die set.  The sentiment is from the 5192 Penguin Cheer set.


Thursday, October 31, 2024

Hello Fall

 Happy Thursday AI Friends!

My card today is inspired by the Challenge "All the Fall".  I should probably have made a Halloween card since today is Halloween, but oh well.  😏  Instead, I chose to welcome in the Fall season using the 5776 Front and Back Sitting Girl, the 5460 Halloween Slimline and the 5783 Fall Leaf Frame die.

I began by stamping the images using Memento black ink on copic friendly paper and colored with copic markers listed below.  For the wagon and the pumpkins, I did a partial stamp of the bottom portion of the 5460 Halloween Slimline set.  I used the die to cut it out and then cut off the owl and above leaving the pumpkins and the wagon.  The sitting girl fits perfectly on the pumpkins and I added a leaf to cover the missing portion of the pumpkin.  I cut her arm to place the leaves under so it looks like she is holding them.  

I cut two leaf frames from two different colors of cardstock and inlaid the opposite color die cut pieces into the corresponding spot on the other frame.  This will give you a two for one frame to use on another card.  I placed a piece of the falling leaf pattern paper from the 5838 Fall paper pack behind the frame for the background.  I then popped up the girl sitting on the pumpkins and adhered to the frame.  Since I didn't have the same color pop dots or nuvo drops, I made my own.  I placed a piece of packing tape over the rust colored cardstock and punched out several pieces using a hole punch.  The packing tape gives a glossy look, but you can also add glossy accents.  I recommend adding the glossy accents after adhering the dots to your card as they are tiny and hard to work with when loose.

Hope you enjoyed my card today!

Happy Halloween, Happy Fall and Happy Nevada day for those of us in Nevada.

Copics used:  E00, E01, E8, E11, E13, E15
E21, E23, E25, E42, E44, E47, E53
N0, N2, N4, N6
R20, RV52, RV55, RV66
YR14, YR16, YR18, YR21, YR68

Thursday, October 24, 2024

Witchy Spinner Card by Dori Mendiola

Happy Thursday AI Friends!

Halloween is almost here so I wanted to get one more card in before the witching hour.  πŸ˜ƒ
This one was created using the #5506 - Peek a Boo set.  This set has the cutest little characters plus an interactive window along with dies for each.  Such a cute fun set!  Several other sets were used to create the final card so make sure to check out the links below.


I started by stamping the images onto copic friendly paper and coloring with my copic markers listed below.  After coloring, I die cut each of the images out with their corresponding dies. 

To make the interactive spinner card:  I first cut a black A2 size card base.  I layered a piece of patterned paper (web pattern from the #5849 Halloween S2 PP) onto the front of the card base.  Then I cut a circle out of the front of the A2 card base (I used the #5064 Double Stitched Circle dies).  Keep this inner circle for later.  For the inside, cut a 5 3/8 x 8 3/8" piece of black card stock.  Score and fold at 2 7/8, 5, 6 1/4 (valley, mtn, mtn).  Flip this piece over and adhere the 2 7/8 to the inside right of the A2 card base leaving a slight border.  Fold it down onto itself and place glue on the left fold side.  Hold it in place and bring the front over to close onto the fold.  It should fit right into the score of the A2 card base.  For the last step - take the inner circle from before, and with the card shut, place glue onto the right half of the inside folded piece.  Fit the inner circle back into place over the glue on the right side.  Your spinner action is now working when you open the card.
 

  The witch is popped up on top of a rosette.  This can be created by taking a 12" x 1" strip of patterned paper.  Score and fold at every 1/4 inch.  Glue the ends together.  Cut two circles (1/2" and a 1" approx.) out of scrap paper.  Gather your rosette into a circle and glue the small one to the top of the rosette.   Place glue onto the larger circle and carefully slide the rosette onto that circle to glue to the bottom.  Hold until both are adhered nicely.  Glue the witch to the top side of your rosette. 
As for the spider webs, I die cut two from the #5769 Halloween FB Fence set and cut one in half and half again to create the corner edges.  I took the other web die cut and used the circle die to cut a portion to place on the outside circle edge.  

Hope you have a wonderful day.
Keep creating!

Copics used: C00, C1, C3, C5, C7 
E00, E01, E11, E21, E23, E25, E53, E55, E57
R20, Y17, Y19
YR12, YR14, YR16, YR18
V06, V09

Thursday, October 17, 2024

Tres Chic Tags

 Happy Thursday AI Friends!

I have a couple of tags for you today that are inspired by the "Tres Chic" challenge going on this week.  Have you ever tried something out of your norm?  Every challenge expands your creativity and it's fun seeing where your imagination will go.  Plus it's extremely inspiring to others!  Please join us for this challenge.  Check out the tab above for details and a chance to win a free stamp set.  WhooHoo!! 

Both tags were made with many of the same die sets but produced quite different looks.

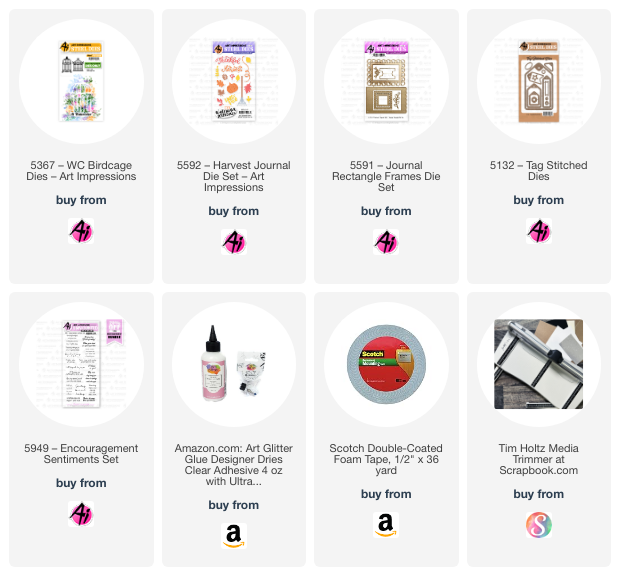
My first tag uses the #5367 Birdcage die.  I die cut it twice, once with black cardstock and one in a pattern paper.  I placed the black die cut behind the pattern piece slightly to the left to create a shadow look, plus to offset to give it more dimension.  I also used #5132 Tag Stitched Die and #5591 Journal Rectangle Frame die.  I inked all of the edges with Distress Oxide Vintage Photo.  The wood bird, heart, ribbon and flowers came from my stash that I have had for years.  Finally I can say I used them.  πŸ˜„  


For my second tag, I used #5592 Harvest Journal Dies for the pumpkins, leaves and the "Hello Fall" die cuts.  I also used the #5132 Tag Stitched dies as well as the #5591 Journal Rectangle frame die.  Again, I inked all of the edges to give them a distressed look.  Placed a checked ribbon around the frame and at the top of the tag and, voila, tag is complete.  


I hope my tags today have inspired you to try something outside of your norm.  You never know where your imagination and creativity will go.  Have fun with it!!

Have a great day and keep creating!!

Thursday, October 10, 2024

Frog Slider Card

 Happy Thursday AI Friends!

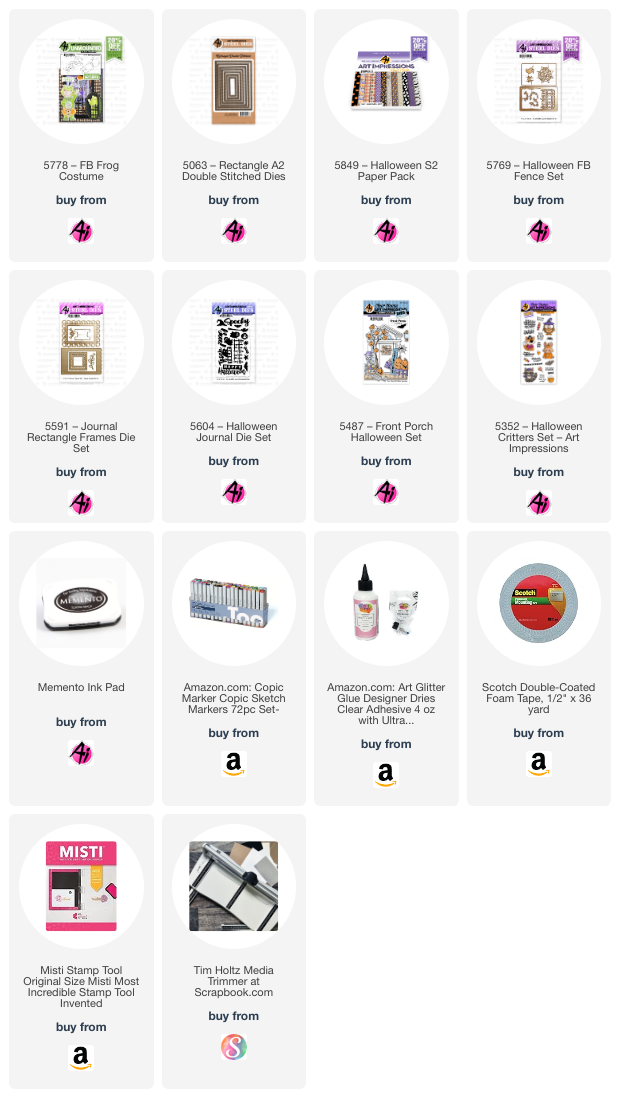
Today I have a fun Halloween interactive card for you.  I love frogs and so when I saw this Front & Back stamp set - #5778 Frog Costume, I knew I had to have him.  Soooooo cute!!  This card is really very easy to put together and no special dies are needed.   


I first stamped my images with Mememto black ink onto copic friendly paper and then I colored with my copic markers listed below.  I die cut each with the corresponding dies.

To create the interactive card:  Start with a base panel (I used black cardstock) cut 4 1/4" by 5 1/2".  Place a pull tab to the right side before layering a patterned piece on top of the base.  Die cut a rectangle or square out of this panel, wherever you'd like your slider to be (center, closer to top, etc.)  Your base panel is ready.  
Now for the mechanism slider piece:  Die cut a piece of cardstock (again, I used black) with the larger corresponding die (best to use two sizes up).  If you don't have a corresponding larger die, you can use your cutter, just add 1/2" more to the sides (for example, panel cut is 2 1/2" x 2 3/4", then cut a 3" x 3 1/4").  Score this piece at 1/2" (down long end) and fold towards you (see Pic 1).  Now take your original die (the one used for the base panel) and place it along the non-folded edge leaving a 1/4" frame on top and bottom (see Pic 1).  Tape down and mark the mid point on top and bottom.  You need to do partial cutting to just past that point.  After cutting, you should have a folded edge on the right and two tabs (one on top and one on bottom on opposite side (see Pic 2).  Line up this panel piece to the left, under the opening on your base panel, so that 1/2 of this panel will fit through the opening (see Pic 3).  Hold onto the right side and test to make sure the piece comes through the window.  Place glue onto the B tabs and adhere to the back of the base panel.  Place glue to the backside of the A tab and glue to your A2 base card.  ONLY adhere this tab to your card base.  At this point, you should be able to pull on the pull tab and your slider should work.  You may need to pull the slider and enforce the A fold to make it move more freely.

Pic 1                                                Pic 2                                                                       Pic 3


I hope you try out this fun card for yourself.  Once you make one, you'll want to make many more.  You can rotate the opening to be on the top or the left as well, just rotate you mechanism piece.

Have a wonderful day!
Keep crafting!


Copics used:  E000, E00, E01, E11, E21, E23, E25
YR12, YR14, YR16
YG21, YG23, YG35
C1, R20, G24