Thursday, June 27, 2024

Get Well Mini Scallop Frame

 Happy Thursday AI Friends!

Have you seen the latest release at Art Impressions?  Fairies, Castles, papers and dies, oh my!  So much was released last week!  Make sure to check it out on the website.

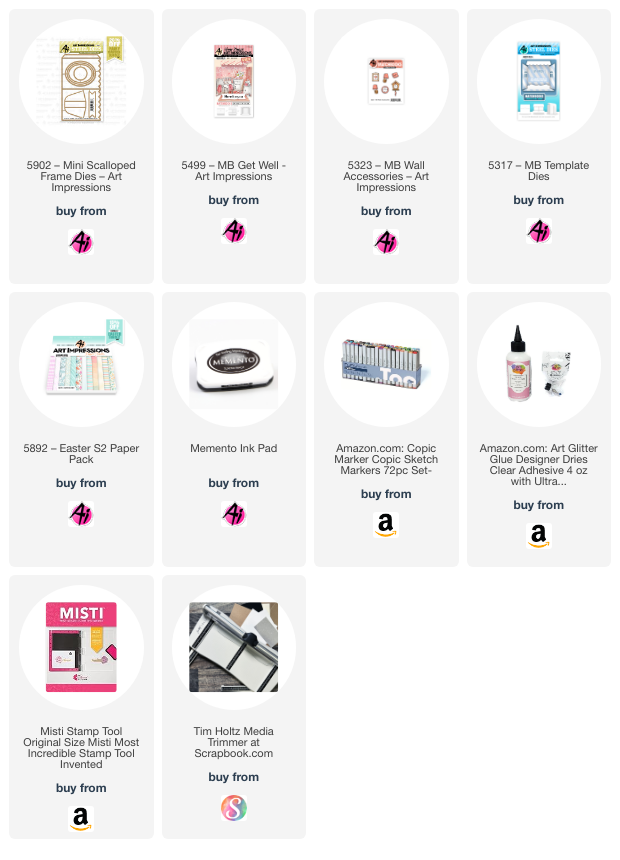
I am a huge fan of dies so I decided to highlight the #5902 Mini Scalloped Frame die set that was released.  This set, plus the #5901 Mini Rectangle Frame die set, are must haves.  These make creating mini cards/frames so fun and are SO cute!


I created a mini get well tunnel card using the #5499 Get Well Matchbook stamp set.  This card measures approx. 3 1/2" by 2 1/2" and props up to sit on your desk, countertop, windowsill, etc. by the use of the easel that comes with the #5902 Mini Scalloped Frame die set. 


To make the tunnel card, I cut the scallop frame out of heavy cardstock using the Mini Scallop Frame die and the largest oval from the same set.  Fold the frame at the score lines and glue the tab to the off-setting side to create the frame.   To create the middle layer of the tunnel frame, I cut a single piece (approx. 3 1/4" x 2 1/4") of heavy cardstock with the middle size oval.  The outside pattern paper, as well as the background pattern paper, are from the #5892 Easter S2 paper pack.  I used the largest oval die to cut the outside pattern paper and adhered it to the outside frame.   Adhere the background pattern piece (approx. 3 1/4" by 2 1/4") to the back of the frame.  Place a strip of glue down one side of the middle layer and adhere to the frame.  Now you are ready to decorate the frame/card.

I stamped the images on copic friendly paper and colored with my copic markers (listed below).  I then die cut each of the images out with the coordinating dies from the matchbook stamp set.  I cut off the tabs from each of the images so that I could layer them within the tunnel card.   Create your scene on each layer as you wish. 

What a fun card to receive, if you know someone who is feeling under the weather!

Make sure to visit the website and check out the new releases.
Have a great day and enjoy creating!


Copic pens used:  C00, C01, C02, C03
B000, BG000, BG53, BG57
E51, E53
R20 and R22


Thursday, June 20, 2024

Celebrate the Red, White & Blue

 Hello Fans!

I'm excited to share my feature post for the new Art Impressions blog challenge - Stars and Stripes Forever.   Any card or project with stars and stripes will work for this challenge so I hope you will play along.  I love all of the July 4th fanfare here in the good ole USA, from parades to barn dances to fireworks displays.   Such a great time for family fun and celebration!

So, with that, I decided to create an interactive card that is sure to get us all in the mood for the festivities.

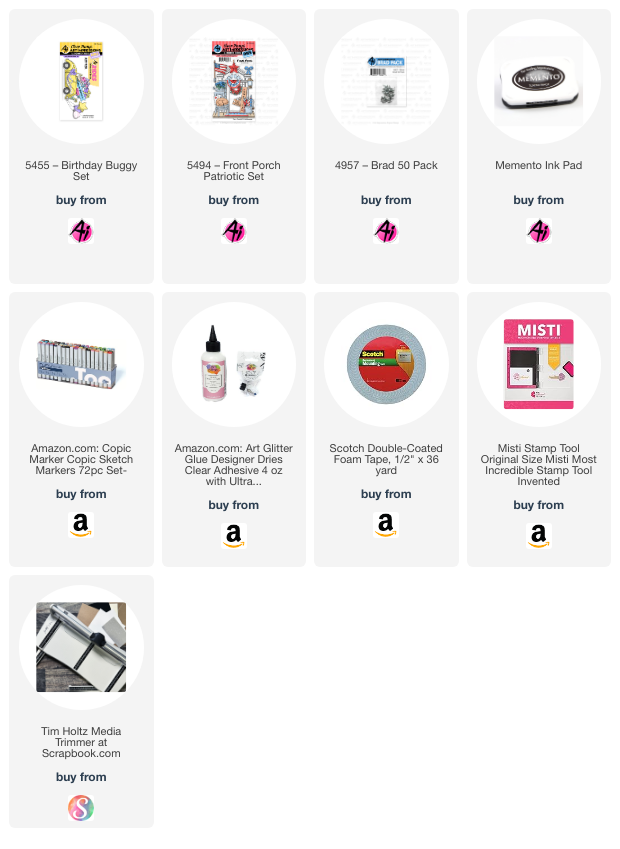
I began with the #5455 Birthday Buggy set and the #5494 Front Porch Patriotic set.  I stamped all of the images onto copic friendly paper and colored each with my copic markers (colors listed below).  If you look at the pictures below, you will notice there is a pull tab and when you pull it to the right, the flags pop up.  So much celebration going on in this little buggy.  LOL!  


This mechanism was inspired by the Lawn Fawn Swish n Pop die set.  The acetate piece (arm) was cut manually so that the flags could hide behind the buggy when down.  Picture 1 shows the shape of the arm and the two small holes cut into the base of the arm.  As you can see, it doesn't have to be pretty or exact because it will be hidden.  There are also 4 small holes in the background paper.  Depending on which hole you use, will determine where your pop up displays.  I used the farthest one to the left for the flags.

Picture 1:

The pull tab is attached with a small brad (#4968 White Brad 50 pack) to the bottom hole of the arm and another brad attaches the arm to the background paper.  (See picture 2)  In order for the pull tab to not flap around, you will want to create a collar to minimize the movement of the pull tab.  Glue the collar to the background paper and slide the pull tab through it.  Test your mechanism to see where the flags will pop up.  Glue the flags to the acetate arm, making sure the buggy will cover them when down and they pop up where you want them to.  Place a small piece of foam tape as a stopper so the flags don't go over too far when up.  Place foam tape to the bottom of the background paper making sure not to hinder the mechanism from moving.

Picture 2:

Lastly, place your bottom panel over the foam tape and test the mechanism by pulling on the pull tab.  If all works well, adhere to the card base.  While the flags are down, mark the pull tab where it matches up to the side of the card.  (See Picture 3)  Pull the tab out and cut along your mark.  Stamp the tab end with the word "Pull" or cover with a piece of colored paper with an arrow so the recipient knows to pull the tab.

Picture 3:

Now you are ready to decorate the card.  I cut a piece of black cardstock (about an inch wide) and used a gold pen to create the yellow lines in the road.  Place the road on the bottom panel and glue down.  Glue the buggy onto the road, making sure that the flags pop up where you want and are hidden when down.  I choose to add a thin strip of silver glittered cardstock to the top of the gray polka dot paper to create a nice transition but also to hide any foam tape (oops).  LOL!  It also accentuates the glittered stars.  I die cut stars and the word "Celebrate" using dies from my stash.


Hope you enjoyed my card today and you are inspired to join the challenge for a chance to win a free stamp set of your choice!

Have a great day!

Copics used:  E21, E23
C00, C0, C02, C03, C05
B24, B26, B28
R35, R43, R46

Golfer Dad

 Happy Thursday Ai Friends!

I realize that Father's Day was last weekend but I wanted to share the card I made for my husband.  He likes to golf.   However, lately he isn't such a fan.  ๐Ÿ˜  I think every golfer has those days, right?

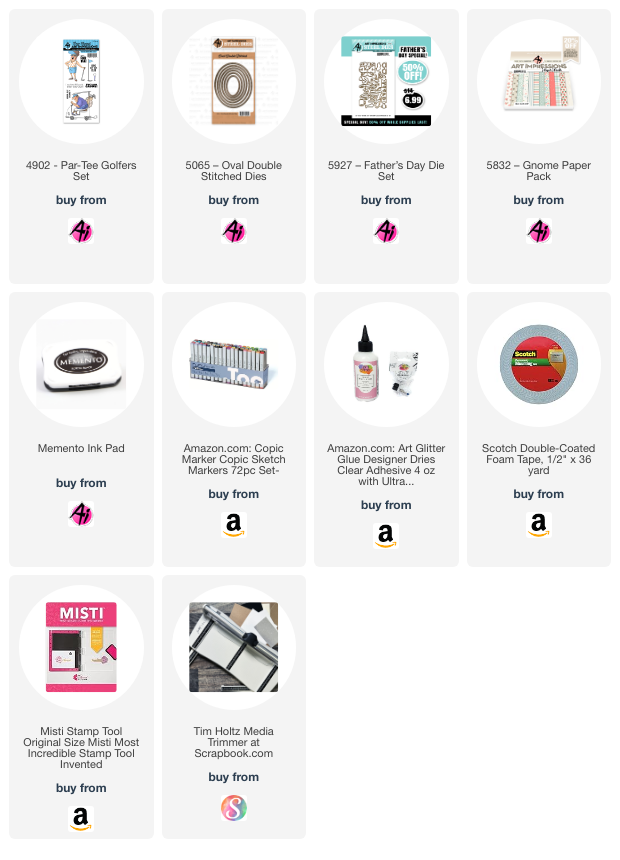
The #4902 Par-Tee Golfers has always been one of my favorite stamp sets.  I just love this golfer guy!  So, to show him off, as well as the #5927 Father's Day die set, I decided to make my card an easel card.  This Father's Day die set is on sale while supplies last, so make sure you visit the website and grab your die set today.  It's a great one and so is the Par-Tee Golfers stamp set!

Opened it looks like this:

And closed, it looks like this:

I stamped the image on copic friendly paper and colored with copic markers.  (Colors listed below) After coloring the golfer, I cut him out using the #5065 Oval Double Stitched Die.  I also cut a piece of kraft cardstock out of the same oval die to adhere to the back of the colored image to hide the copic coloring on the back side and also add strength to the colored image.  I used the #5832 Gnome paper pack for the striped background paper and also used a small piece for his hat.  The easel card is a 5 1/2 x 5 1/2 card with the front side scored at 2 3/4 and folded in half.  I then cut two 2 1/2 x 5 1/4 panels of kraft cardstock and two 2 1/4 x 5 panels of the striped pattern paper for each of the front folds.  I die cut the #1, Super Dad and the Happy Fathers Day out of the kraft cardstock.  I cut the "Dad" out of the Super Dad die cut and made the card say #1 Dad.  Easy Peasy card!

I hope you enjoyed my card today!

Have a great day!

Copics used:  

E000, E01, E11, E21, E23, E42, E43, E44

T0, T2, T4

R20, B000, B32, B34

BG90, BG93, BG96


Thursday, June 13, 2024

Twirling Panda

 Happy Thursday AI Friends!

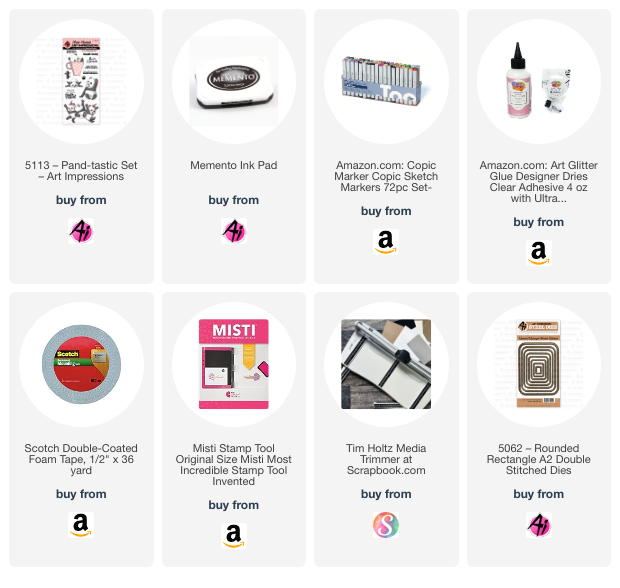
My inspiration for today's card came from the current Art Impressions challenge "Panda-Modium".  This Pand-tastic stamp set is just the cutest and when I saw this interactive-style card, I knew that these pandas would be perfect and I just had to make one.  It looks like this panda will just run across the card, but actually he cartwheels across it.  Check out the video below to see him in action.  


I started off by stamping the pandas with Memento black ink on copic friendly paper.  I colored the images with my copic markers (colors listed below).  After coloring the pandas, I fussy cut them out.  The Pand-tastic stamp set has three pandas together as one image and the one on the right looked like he was prepping to do a cartwheel, so I decided to cut him off of the threesome and use him as the twirling panda.

To make the bottom panel, I cut the green cardstock with the largest Rounded Rectangle A2 Double Stitched die.  I then cut the grass edge and the slider channel with dies I had in my stash.  Stamp the sentiment onto the green panel at this point, before creating the mechanism and attaching the foam tape.  Create the pull tab by cutting a piece of 1/2" x 6" green cardstock to match the grassy panel.  Cut a matching piece out of heavy weight cardstock and adhere to the backside for more stability.  Punch a 1/4" hole into one end of the pull tab and stamp "pull" on the other end.  Cut two discs (about 1/2" diameter) and glue a (1/4"or less) piece of rounded foam dot onto the middle of one of the discs.  Place the foam dot through the pull tab hole and through the slider channel to the front of the panel.  Adhere the other disc to the foam dot.  Attach your twirling image to this disc (front side).


To make the mechanism so that the panda twirls, I first made a sleeve, or collar, for the pull tab so that it wouldn't move around when pulling.  To do this, just take a scrap piece of paper (approx. 1/4" x 1 1/2") and fold into thirds.  Glue the tail down and then place the pull tab within the collar.  Glue the collar to the backside of the grassy panel making sure to hide it so it doesn't show through the slider channel.  Now here is the trick to make it twirl.  Take a piece of fishing line, adhere one end to the foam tape on the right side of the panel.  Make sure the front side of the panel is facing down and the grassy edge is facing up.  Bring the fishing line under the disc and then wrap clockwise three times around the disc.  Pull tightly, leaving no slack, and adhere the other end of the fishing line to the left side over the collar, with foam tape (see above).  Place another piece of foam tape over the fishing line and pull the line back over the new tape.  Place double foam tape around the edges.  Test the mechanism and adhere the green grassy panel to the card base.  Your image should be doing cartwheels across the card.

Add your finishing touches and your interactive card is complete.


Thank you for joining me today and I hope you enjoyed my card!
Have a great day!

Copics used:  C00, C1, C3, C5
R20, R22, R43, R46
BG53, BG57, YG13, YG17


Thursday, June 6, 2024

Bait & Tackle Shop - matchbook

 Happy Thursday AI Friends!

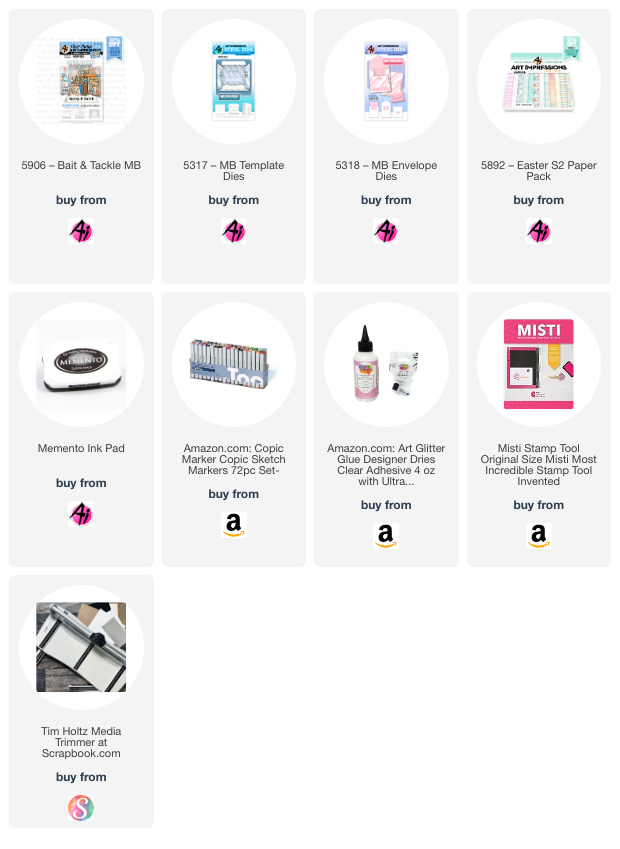
I hope you all have had a chance to check out the four new Art Impressions matchbook sets that were released last week. They are so so cute and fun to make. Today I want to share the #5906 Bait and Tackle Shop. Bonnie did such an amazing job at creating this little shop. She included everything!!!!!  This is perfect for the fisherman in your life!  Just in time for Father’s Day!!


I stamped the images onto copic friendly paper with Memento Black ink and then colored with my copic markers (see list below).  Once colored I assembled the matchbook using the corresponding #5317 MB template die set (sold separately).  Check out Bonnie's tutorial at https://www.youtube.com/watch?v=cTqXgY0Ebmk for assembling instructions.  I also used the #5318 MB envelope die set to make the corresponding envelope that the matchbook fits into.   
These die sets work with all of the matchbook stamp sets.  There are over 20 to choose from.

Hope you try out some of these sets.  They are just so cute and a treat for anyone to receive.  

Thanks for joining me today and I hope you have a wonderful day! 


Copics used:  C00, C01, C03, C05
E42, E43, E44, E50, E51, E53, E55
B01, B32, B34
BG01, BG02, BG90, BG93, BG95
R02, R05
YR01, YR02