Thursday, August 15, 2024

Golf Shop Matchbook

 Happy Thursday AI Friends!

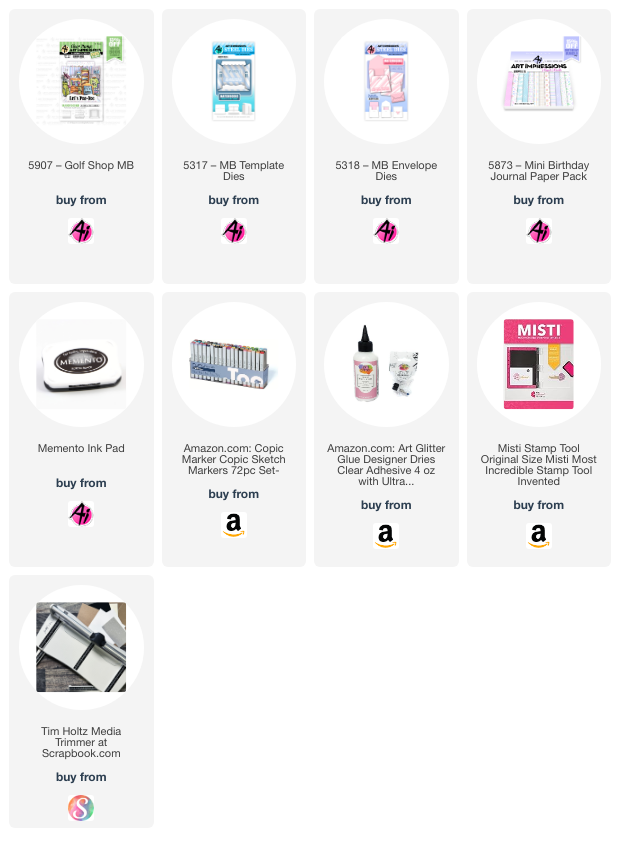
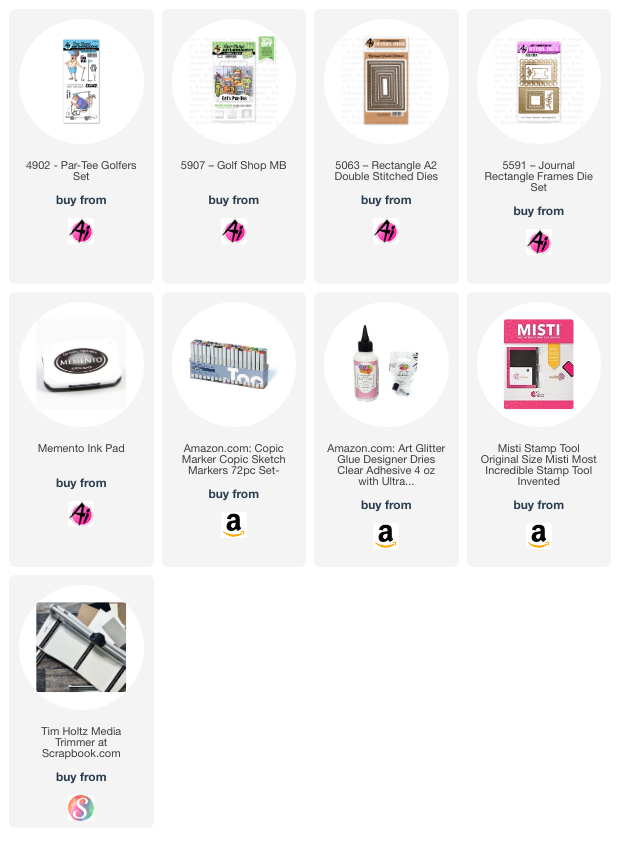
Today I want to share one of my favorite AI matchbook sets - #5907 Golf Shop.  These matchbooks are so cute and fun to make for your favorite golfer friend or spouse.  Bonnie did such a great job at including all the golf necessities in this little shop.

If you have never made one of these cute little matchbook sets, you have to give it a whirl.  There are over 25 different sets to pick from on the AI website.  You are sure to find one that is perfect for that special someone.  Just make sure you have the #5317 Matchbook Template dies, as you will need that for the base of this little card.

I started out stamping all the pieces from this set onto copic friendly paper and coloring with my copic markers listed below.  I then cut each of the pieces with the coordinating dies that are included with the set.  Since these images are small, I found that if you pick your colors and then color each item with the lightest color, it helps to see if you have your colors spaced apart nicely before doing your shading.

Bonnie has a youtube video https://www.youtube.com/watch?v=cTqXgY0Ebmk explaining how to put these matchbooks together if you need assistance.  As you can see, I forgot to put the window frames on this card, so don't do as I do.  LOL!

If you want to make an envelope for your matchbook card, you will need the #5318 Matchbook Envelope Die.  I made my envelope below with the #5873 Mini Birthday paper pack.  Art Impressions paper packs are awesome.  They are high quality, double sided papers and come is such great color combinations.  The golf bag on the front of the envelope is the same golf bag from the left side of the matchbook.  I just colored and fussy cut leaving off the sale sign and pole.


I hope you enjoyed my card today.  Enjoy creating!


Copics used:  C00, C01, C03
E51, E53, E55, E57
V12, V15
B41, B45
G40, G43


Thursday, August 8, 2024

Lady Golfer

 Happy Thursday AI Friends!

Today I am sharing a card that is inspired by the current bi-weekly challenge - "Never Have I Ever".  Check out the tab on the Art Impressions Blog for details and make sure to enter for a chance to win a free stamp set of your choice. 

I laugh because I buy all these stamp sets and swear that I have used them all only to find out that there are many images on each set that I have never used.  Actually, more than I should admit.  LOL!   One I found in my collection of "Never Have I Ever" is the lady golfer from the #4902 Par-Tee Golfer stamp set.


I stamped the lady golfer image on copic friendly paper and colored her with copic markers.  I then used the #5063 Rectangle A2 Double Stitched Die to cut the panel.  I also cut a red frame with two of the dies to highlight the image.

 I also stamped the sentiment "Wanna Play Around" and the ball and tee from this same stamp set onto a slightly larger panel to fit under the frame.  The golf sign and the "Let's Par-Tee" sentiment comes from the #5907 Golf Shop Matchbook.

To make the Pop-Up Slider, check out the Jennifer McGuire - DIY Pop-Up Slider youtube video.  She explains it very well.


I hope you enjoyed my card for today.  Until next time, enjoying creating!!

Copics used:  E000, E01, E11, E21, E23, E25
N0, N1, N2, N3
B0000, B000
R20, R24
G43, G46
Y15, Y17


Thursday, August 1, 2024

Fairytale Shaker

 Happy Thursday AI Friends!

Today I have a fun little shaker card for you using the new Fairytale Houses #5935 stamp and die set along with the Woodland Fairies #5915 stamp set.

       I've been wanting to make a shaker card for the longest time, so I thought this stamp set would make a cute one using the coffee pot from the Fairytale Houses and the little accessories that are included in the set.  I stamped the coffee pot on a 4 x 4 piece of copic friendly paper and colored with my copic markers listed below.  Each of the other images were stamped with memento black ink on a separate piece of copic friendly paper and colored with copic markers as well.  I cut each of the images with the coordinating dies, other than the coffee pot. 

To make the shaker, I used a scalloped edge circle die from my stash to cut the circle from the white cardstock.  I stamped the saying, from the Fairytale Houses set, to the bottom before creating the shaker.  I adhered a piece of 4 x 4 acetate to the backside of the circle to make the window.  I then took a thin strip of foam tape and placed it in a circle form to the backside of the window.  I placed another strip of foam tape over the other to double it up.  I placed some clear sequins into the well of the circle and then adhered the 4 x 4 square coffee pot image onto the foam tape.  


To finish off the card, I glued the bee and the flowers onto the acetate, tucking the stems of the flowers into the scallop edge of the circle.  Then I glued the fairy and the mushrooms onto the outer edge.  I put foam tape all around the backside of this cardstock and adhered to a yellow piece of 4 1/4 x 5 1/2 cardstock and placed onto a side folding A2 card base.

I hope you enjoyed my shaker card and try one for yourself.  They are really quite fun to play with.

Have a great day and enjoy creating!

Copics used:  E000, E01, E11
E50, E51, E53, E55, E57
C1, C2, C5
B0000, B000
R02, R05, R22, R24
Y11, Y15, Y17
G40, G43


Thursday, July 25, 2024

Buzzing By

 Happy Thursday AI Friends!

My card for today fits the All A-Buzz Challenge going on this week at Art Impressions Blog.  Check out the "Bi-weekly Challenge" tab for the details and join in on the fun.  Create a card/project using insects.  I used the #5925 - Honey Bee set for my card.  What a great fun set.  It includes flowers, bees, honey jar, bee hive and so much more plus dies to go with each of the images.  

A complete set for creating a beautiful scene.  


I love making interactive cards so this one is no surprise that I made the bees buzz around.  I stamped each of the images onto copic friendly paper and colored with copic markers listed below.  I die cut each of the images with the corresponding dies, included in the set, and placed them aside while I built the base for the card.  
I used the #5892 Easter S2 paper pack and the largest #5062 Rounded Rectangle A2 Double Stitched die to cut the pattern paper.  Then I used two circles from the #5064 Double Stitched Circle dies to cut the round track for the bees to buzz around.  I placed foam tape behind the circle as well as the rectangle, making sure not to place too close to the outside of the circle so the bees can spin, and adhered onto a black cardstock background.  I slipped a dime (or disc, thin button, etc.) under the track and placed a square pop dot, cut in half, on top of the dime.  Then I placed two bees on top of the foam dot.  I used two bees so that I could hide the dime from showing.  

After making the mechanism, I decorated the rest of the card using the images I had colored and die cut.  I created the grass using a die cut and patterned paper from my stash.  I also used the Rounded Rectangle A2 die to cut the bottom portion of the grass so it fit nicely over the striped base. I glued the stem portion of the flowers underneath the grass and popped up the flower portion using foam tape.  Lastly, I stamped the sentiment, from this same set, and die cut using the #5135 Hexagon Double Stitched Die set.

That's my card for today!  Hope you play along with us and enter your creative card/project into the challenge.  You could win a free stamp set and who can say "No" to that.  

Have a great day and enjoy creating!

Copics used:  N2, N4, N7
E21, E23, E25, E27
Y11, Y13, Y15, Y17
YG41, YG45
B0000, B000
R02, R05


Thursday, July 18, 2024

Beautiful Cross and Saying

Happy Thursday AI Friends!

I have a spiritual card for you today using the new #5909 Cross Dies as well as the #5417 Frameworks Sentiment.  These cross dies are so beautiful and elegant.  Seven unique dies come in the set and can be used together, as I did below, or individually.


I created the background using Ranger alcohol inks, but you can also use your Copic marker refills for this technique.  I made this background awhile ago so not positive on the colors but I believe I used Butterscotch and Honeycomb.  I made several different backgrounds using this technique and it was so much fun creating different variations.  

Using a piece of felt and the straight edge of a protractor, any straight edge will work, I wrapped the felt over the straight edge and taped the sides down to hold into place.  I then placed a drop or two of the butterscotch alcohol ink onto half of the felt and honeycomb onto the other half.  For the paper, I used the back side of a piece of photo paper.  Place the straight edge onto the paper and zig zag it across the length of the paper.  This will create the sun-ray look.  You can do this same technique using rainbow colors and run your straight edge in a half circle across the paper.  These are just a few ideas, but there are so many other ways to create amazing backgrounds.  Have fun playing.

I used the largest rectangle die from the #5063 Rectangle A2 Double Stitched dies to cut the background and the #5591 Journal Rectangle Frames die,  using #5892 Easter S2 PP, to cut the scalloped frame for the sentiment.  I die cut the large cross out of white cardstock and the smaller cross out of a piece of yellow cardstock wrapped in packing tape to give it a glossy finish.  This is a nice alternative to using glossy accents and it die cuts wonderfully.  

Hope you enjoy my card today and have fun trying the alcohol ink technique.  


Thursday, July 11, 2024

FairyLand PopUp Card

 Happy Thursday Art Impressions Friends!

Today I'm sharing a card that was inspired by the current challenge - Magical Creatures.  I decided to make a popup tunnel card using the new 5915 - Woodland Fairies and 5916 - Woodland Castles.  This type of card provides several layers so that you can display many of the little fairies.  From of this set, I was able to place five, out of the eight, nicely on this card.


I started with the background by inking up three panels of 6 x 6 Strathmore Bristol Smooth cardstock with Ranger Distress Oxide Spray.  I used tumbled glass and prize ribbon for the top portion of the panels and shabby shutters and mowed lawn for the bottom portion.  Once dry, I brushed on a layer of Ranger Distress Glaze over each panel and wiped off the excess.  I placed some Dr. Ph Martin's bleed proof white paint on my glass mat and diluted with some water.  I then dipped a No. 5 paint brush into this mixture and spattered onto each panel by tapping the brush over my finger onto the cardstock.  This will create a magical background.  I determined which panel I wanted for each layer of the tunnel and used the 5065 - Double Stitched Oval dies to cut the top two layers using the largest ovals.  Cut the forefront panel first with the largest die and then place the middle panel under the forefront and place the second largest oval die to cut the middle panel.

To make the popup feature, I used 80 lb. cardstock and cut two pieces of 2 1/2" x 6 ".  Score each piece every 1/2" lengthwise to form the side popups.  You should have four score lines on each piece.  Fold and score each (mountain, valley, mountain, valley).  Refer to picture below for adhering each background panel.  You may need to trim the middle layer down slightly so that it lays flat when popup is pushed down.


I stamped all of the images onto copic friendly paper with Memento black ink and colored with my copic markers listed below.  Using the coordinating dies, cut each of the images.  I used green polka dot paper and die cut with a grass die I had in my stash.  I inked the grass tines with mowed lawn oxide ink so it matched nicely to the background.  I stamped the sentiment, included in the 5915 - Woodland Fairies stamp set, onto a cloud die cut.  Lastly, I used stickles on the fairy wings to give them some sparkle.

This popup card will lay flat in an envelope and pop up when you take it out.

I hope you enjoyed my "magical" card.  Have a wonderful crafty day!  

Remember to join our challenge to win a free stamp set.  Check out the tab "Bi-Weekly Challenge" on the Art Impressions Blog to participate.


Copics used:  B0000, B00, B12, B14
C1, C3, C5, C7
E000, E00, E11, E21, E23, E50, E51, E53
R11, R12, R14, R20
V12, V15
Y21, Y23
BG000
YG41, YG45


Thursday, July 4, 2024

Critters Mini Trifold

Happy Thursday Art Impressions Friends!

Today I wanted to share my Mini Scallop Frame Trifold.  I had soooo much fun making this and I love the way it turned out.  I used the 5902 Mini Scallop Frame die set along with the 5400 Baby Critters stamp set.  


I die cut the mini scallop frame from cardstock and then partial cut another non-tab side of the die. I matched up this partial cut with the front of the frame and cut off an edge to create the third side.  Instead of gluing the frame together, I glued the buckle from the 5718 Mini Journal Template to the tab and also the partial piece to the tab to make the trifold.  I glued the other half of the buckle to the front over the oval frames.
 
I cut an oval frame using the two larger ovals and placed over an oval die cut of striped paper from the 5832 Gnome paper pack.  I used the blue oval cut from the frame for the inside message trim.  Lastly, I cut rectangle pieces of the heart paper from the same paper pack to fit each of the trifold sides. 

I stamped all of the images from the 5400 Baby Critter stamp set with Memento black ink onto copic friendly paper.  I colored each of the images with copic markers listed below.  To add dimension, I die cut extra images to glue to the back side of the colored images.  I then adhered the images within the trifold as desired.  Lastly, I stamped the sentiment and die cut with the banner die from the Mini Scallop Frame set and adhered onto the front of the card.


 I hope you enjoyed my trifold card today.  Until next time, keep creating!


Copics used:  C00, C01, C03, C05
 B0000, B000, B00, B01, B14
E51, E53, E55, E57
Y13, Y17, YG23, YG25
R20, R22, R24