Thursday, August 29, 2024

Panda Frame

 Happy Thursday AI Friends!

Have you checked out the Art Impressions #5901 - Mini Rectangle and #5902 - Mini Scallop frame die sets, yet?  These frame sets are so fun and easy to put together, plus they make the cutest little display card for any occasion.  Today I'm sharing a Panda wobble card using the #5902 - Mini Scallop frame and the #5113 - Pand-tastic set.


I stamped the pandas on copic friendly paper and colored with my copic markers (only used the C's and R20 and R22).  Simple coloring.  I fussy cut the pandas and placed the one on a wobble and adhered the base side of the wobble to the inside of the frame.  I stamped the sentiment and paw print onto a piece of white cardstock and die cut it out with the smallest #5063 Rectangle A2 Double Stitched die.  I added a few red die cut hearts for accents.

Hope you enjoy my card today.  Keep creating!!


Thursday, August 22, 2024

Happy Retirement

 Happy Thursday AI Friends!

My card today was inspired by the current challenge - Keep Calm and Celebrate On!  This challenge only asks you to create and enter a card/project for any type of celebration.  How easy and fun is that?  Check out the tab at Art Impressions - "Bi Weekly Challenge" for details.  Hope you play along for a chance to win a free stamp set.  

Since I recently retired, I decided to create a Happy Retirement card.  This seems to be the year for many of us.  Finally!!  LOL!

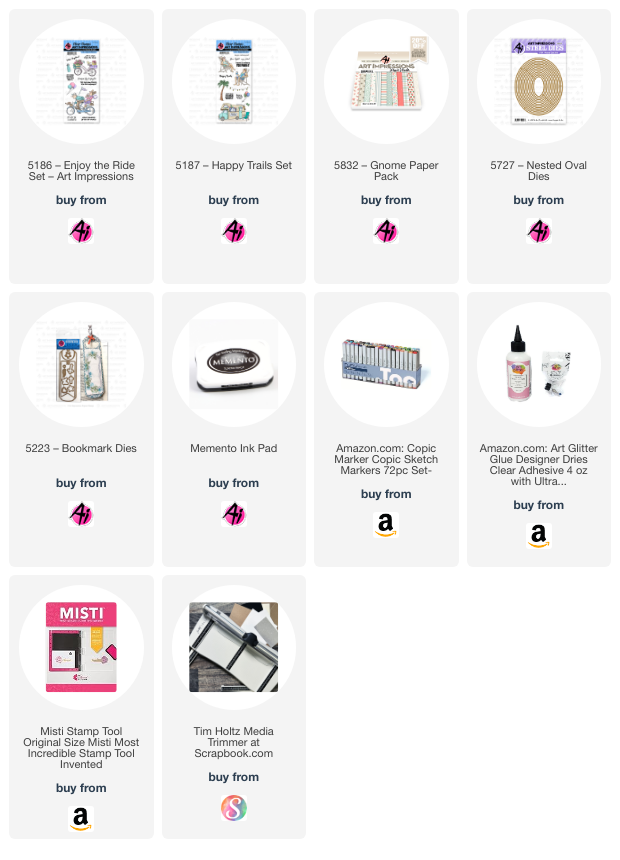
I love making fun fold cards so this one is a twist on the standard easel card.  I call it the reverse easel.  Very simple to make!  Let's create the base first.  Cut a standard A2 card base (5 1/2 by 8 1/2) and score the long side at 2 1/8" and 4 1/4".  Fold at the 4 1/4 and opposite fold at the 2 1/8 to create a valley and a mountain fold towards you.  See card picture above.  For the background base, cut two from green cardstock (one - 4 1/8 x 5 3/8 and one - 2 x 5 3/8).  For the pattern paper, I used the 5832 Gnome Paper Pack and cut two pieces (one, 4 x 5 1/4 and one, 1 7/8 x 5 1/4).  At this point I mounted the pattern paper to the corresponding green base.  Before adhering these to the A2 card base, I used the 5223 bookmark die and placed the top part of the bookmark over the pattern paper, making sure to place the bookmark portion of the die underneath the pattern paper so that won't cut.    See Picture 1.


                        Picture 1:

Then, I partially cut the tab on the large green/pattern paper piece.  I want the tab to remain intact so to partial die cut you need to place your cutting mat only over the portion you wish to cut.  See picture 2.
As you can see, I did this upside down so make sure you put the cut edge of the die facing the cutting mat.  ๐Ÿ˜ž  Since I'm admitting my boo boos, I suggest you cut the tab before adhering the A2 card base.  As you can see in the picture, I adhered to the A2 base first.  You'll find it's easier to cut through without the A2 card base plus it won't make an indent into your card base.   

                        Picture 2:

Okay, now that the base is done, let's go to the image.  I used the 5186 Enjoy the Ride stamp set.  I love this fun little couple and their dog, but I especially love the lady drinking her coffee with her feet up.  No help from her!  My husband says that is exactly why we'll never own a tandem bike.  LOL!  
He knows me too well!  

I stamped the image on copic friendly paper and colored with my copic markers listed below.  I stamped the sentiment, from the 5187 Happy Trails set, into a rounded shape by curving onto my stamping platform.  I used the two largest dies from the 5727 Nested Oval dies to cut the image and also the pink frame.  I adhered the bottom half to the folded part of the card and tucked it into the tab for display.  I added some enamel dots and a bow and it's ready to go.

I hope you enjoyed my card today and it inspired you to join the challenge.

Have a great day and keep creating!

Copics used:  E000, E00, E11, E21, E23
T0, T2, T4, T6
R20, R32, R81
BG000, BG01
G20, G21, G24


Thursday, August 15, 2024

Golf Shop Matchbook

 Happy Thursday AI Friends!

Today I want to share one of my favorite AI matchbook sets - #5907 Golf Shop.  These matchbooks are so cute and fun to make for your favorite golfer friend or spouse.  Bonnie did such a great job at including all the golf necessities in this little shop.

If you have never made one of these cute little matchbook sets, you have to give it a whirl.  There are over 25 different sets to pick from on the AI website.  You are sure to find one that is perfect for that special someone.  Just make sure you have the #5317 Matchbook Template dies, as you will need that for the base of this little card.

I started out stamping all the pieces from this set onto copic friendly paper and coloring with my copic markers listed below.  I then cut each of the pieces with the coordinating dies that are included with the set.  Since these images are small, I found that if you pick your colors and then color each item with the lightest color, it helps to see if you have your colors spaced apart nicely before doing your shading.

Bonnie has a youtube video https://www.youtube.com/watch?v=cTqXgY0Ebmk explaining how to put these matchbooks together if you need assistance.  As you can see, I forgot to put the window frames on this card, so don't do as I do.  LOL!

If you want to make an envelope for your matchbook card, you will need the #5318 Matchbook Envelope Die.  I made my envelope below with the #5873 Mini Birthday paper pack.  Art Impressions paper packs are awesome.  They are high quality, double sided papers and come is such great color combinations.  The golf bag on the front of the envelope is the same golf bag from the left side of the matchbook.  I just colored and fussy cut leaving off the sale sign and pole.


I hope you enjoyed my card today.  Enjoy creating!


Copics used:  C00, C01, C03
E51, E53, E55, E57
V12, V15
B41, B45
G40, G43


Thursday, August 8, 2024

Lady Golfer

 Happy Thursday AI Friends!

Today I am sharing a card that is inspired by the current bi-weekly challenge - "Never Have I Ever".  Check out the tab on the Art Impressions Blog for details and make sure to enter for a chance to win a free stamp set of your choice. 

I laugh because I buy all these stamp sets and swear that I have used them all only to find out that there are many images on each set that I have never used.  Actually, more than I should admit.  LOL!   One I found in my collection of "Never Have I Ever" is the lady golfer from the #4902 Par-Tee Golfer stamp set.


I stamped the lady golfer image on copic friendly paper and colored her with copic markers.  I then used the #5063 Rectangle A2 Double Stitched Die to cut the panel.  I also cut a red frame with two of the dies to highlight the image.

 I also stamped the sentiment "Wanna Play Around" and the ball and tee from this same stamp set onto a slightly larger panel to fit under the frame.  The golf sign and the "Let's Par-Tee" sentiment comes from the #5907 Golf Shop Matchbook.

To make the Pop-Up Slider, check out the Jennifer McGuire - DIY Pop-Up Slider youtube video.  She explains it very well.


I hope you enjoyed my card for today.  Until next time, enjoying creating!!

Copics used:  E000, E01, E11, E21, E23, E25
N0, N1, N2, N3
B0000, B000
R20, R24
G43, G46
Y15, Y17


Thursday, August 1, 2024

Fairytale Shaker

 Happy Thursday AI Friends!

Today I have a fun little shaker card for you using the new Fairytale Houses #5935 stamp and die set along with the Woodland Fairies #5915 stamp set.

       I've been wanting to make a shaker card for the longest time, so I thought this stamp set would make a cute one using the coffee pot from the Fairytale Houses and the little accessories that are included in the set.  I stamped the coffee pot on a 4 x 4 piece of copic friendly paper and colored with my copic markers listed below.  Each of the other images were stamped with memento black ink on a separate piece of copic friendly paper and colored with copic markers as well.  I cut each of the images with the coordinating dies, other than the coffee pot. 

To make the shaker, I used a scalloped edge circle die from my stash to cut the circle from the white cardstock.  I stamped the saying, from the Fairytale Houses set, to the bottom before creating the shaker.  I adhered a piece of 4 x 4 acetate to the backside of the circle to make the window.  I then took a thin strip of foam tape and placed it in a circle form to the backside of the window.  I placed another strip of foam tape over the other to double it up.  I placed some clear sequins into the well of the circle and then adhered the 4 x 4 square coffee pot image onto the foam tape.  


To finish off the card, I glued the bee and the flowers onto the acetate, tucking the stems of the flowers into the scallop edge of the circle.  Then I glued the fairy and the mushrooms onto the outer edge.  I put foam tape all around the backside of this cardstock and adhered to a yellow piece of 4 1/4 x 5 1/2 cardstock and placed onto a side folding A2 card base.

I hope you enjoyed my shaker card and try one for yourself.  They are really quite fun to play with.

Have a great day and enjoy creating!

Copics used:  E000, E01, E11
E50, E51, E53, E55, E57
C1, C2, C5
B0000, B000
R02, R05, R22, R24
Y11, Y15, Y17
G40, G43