Thursday, September 26, 2024

Get Well Soon

     Happy Thursday AI Friends!

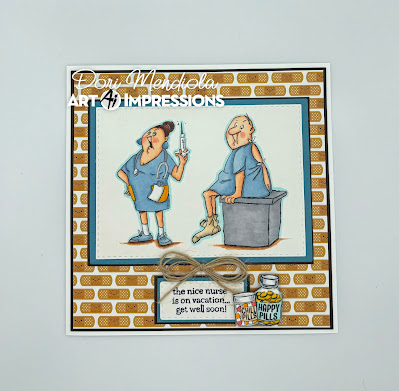
 I have been wanting to make a card with the #SCO681 Get Well stamp set for quite some time.  I just love the expressions on their faces!   Classic!!

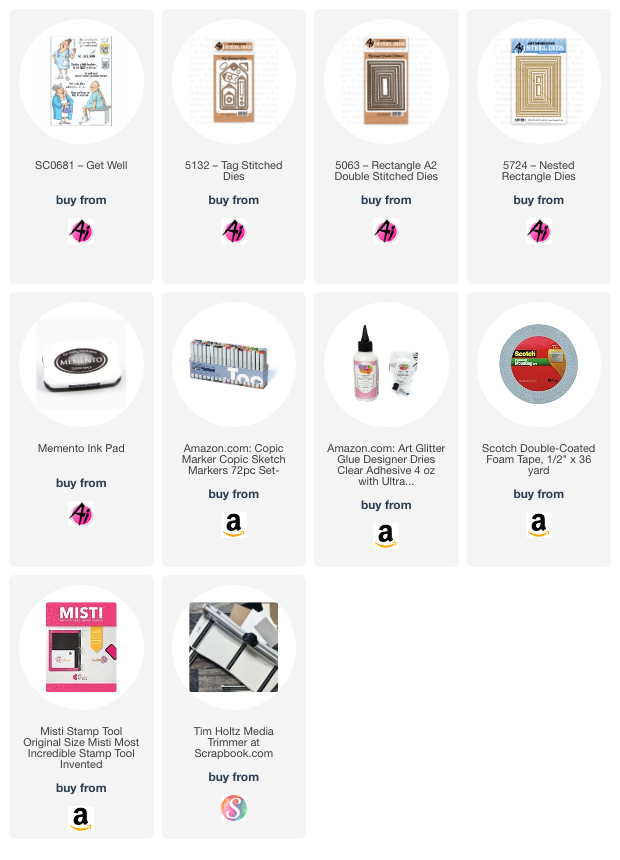
I stamped the images on copic friendly paper and colored with my copic markers - colors listed below.  I die cut the image panel from the #5063 Rectangle A1 Double Stitch dies and the sentiment from the #5132 Tag Stitched Dies (partial cut).  I then used the #5724 Nested Rectangle Dies to frame both the image panel as well as the sentiment with the blue and brown cardstock.  I fussy cut the pill bottles and popped them up with foam tape.  I added a twine bow and the card is complete.

This stamp set just makes me giggle!  The images as well as the sentiments are just too funny and sure to make someone that is under the weather chuckle.  The supplies I used are listed below and you can find each of them in the Art Impressions store.  Just click on the product link below.

Hope you have a wonderful day and keep creating!

Copics used:  E000, E01, E11, E21, E23, E25, E50, E51
B0000, B000, B91, B93
N0, N1, N2
R20, R22
Y15, Y17

Thursday, September 19, 2024

Hydrated

 Happy Thursday AI Friends!

Today I have a card that fits both the Art Impressions Monthly Challenge - "We Don't Use Enough Purple" and the Bi-Weekly Challenge - "Not Just Paper".

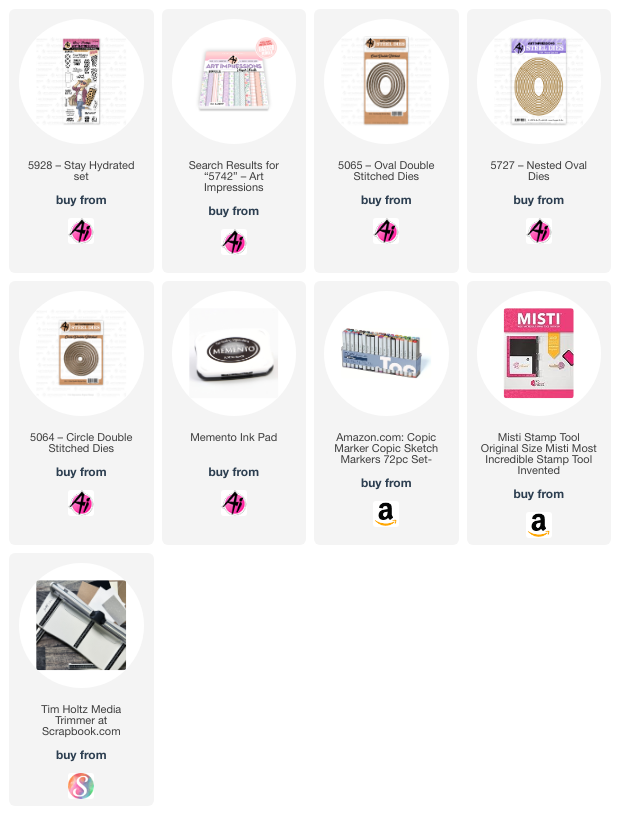
I used the cute #5928 Stay Hydrated stamp set, which includes the die for the girl as well as for the tumbler.   I stamped the images and sentiment on copic friendly paper and colored with my copic markers (colors listed below).  The stamp set includes several different patterns for the tumbler and several fun sentiments.  What a fun way to change it up!

I hope you enjoyed my card today and you decide to play along with either or both of the challenges currently going on.  Check out the tabs above for the rules to enter for a chance to win a free stamp set.  Who doesn't like to win a free stamp set?

Have a creative day!

Copics used:  E000, E01, E11, E21, E23, E25
R20, R22
YG41, YG45
RV63, RV66
Y32, Y35
V12, V15, V17
YR32


Thursday, September 12, 2024

Best Friends

 Happy Thursday AI Friends!

My card today just screams friendship.  I think all of us would agree that Friends are the Best!  I don't know what I would do without my Besties!! 

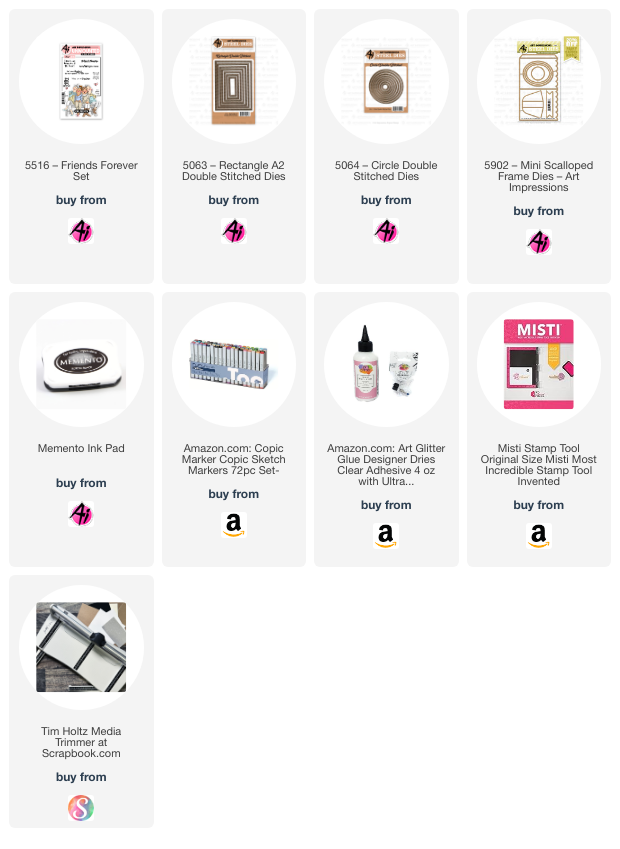
I created a fun-fold card using the #5516 Friends Forever stamp set.


I stamped the image on copic friendly paper and colored with copic markers listed below.   I made the window on the front using the #5063 Rectangle A2 Double Stitched die.  I used the inside rectangle for the frame of the image and the outside stitched portion for the window frame.  I made a square 5 1/2" card but you can make this on a A2 card base as well.  For the fold piece inside, I cut a piece of 80 lb cardstock 8 1/4" x 4 1/2" and scored at 2 3/4" and 5 1/2".   If you want to make a different size card, such as an A2 (4 1/4" wide x 5 1/2" high), the inside fold piece is computed as 1.5 times the width and scoring in thirds (2 1/8" and 4 1/4").  Adhere your image to the top fold piece only, so that it will swing into the window when opened.  See picture below.

I stamped the sentiment from the #5516 Friends Forever stamp set onto a stitched circle using the #5064 Double Stitch Circle die and the frame using the circle die from #5902 Mini Scallop Frame.  I added a few enamel dots and a bow and my card is finished.

Hope you enjoyed my card today.  Keep creating!

Copics used:  E000, E01, E02, E11, E13
E31, E33, E35, E37, E41, E43
C0, C1, C3, C5
R20, R22, R24
Y32, Y35
YR000, YR21
BG70, BG72, BG75


Halloween Mesh

Happy Thursday AI Friends!

 My card for the "Not Just Paper" challenge is a fun Halloween card featuring the #5934 Spooky Crew stamp set.  I don't usually decorate for Halloween, but Bonnie makes the cutest Halloween stamp sets that it's very hard to resist creating a card or project.  I made a fun-fold decoration using specialty halloween spider web mesh (from the dollar store) as the background.  You can easily turn it into a card by just adding another layer to the back.  This can fold flat and fit nicely into an A2 size envelope.


To create the fun fold, cut an A2 top folding card base out of black cardstock.  Cut another piece of black cardstock 4 1/4" x 6" and score at 1", 3 1/4" and 5 1/2".  Fold this piece on the score marks as a valley, mountain and valley. 
To create the background, cut a 6" x 6" piece of the spider web mesh and a corresponding 6" x 6" piece of iron on fusible webbing (which I found at my dollar store).  Iron the fusible webbing onto the mesh.  Let cool and peel the backing off.  Then iron onto a 4 1/4" x 5 1/2" piece of black cardstock.  To save your iron, take a piece of parchment paper and fold in half.  Place your mesh and webbing in between the parchment paper and then iron the parchment paper vs. directly onto the mesh or webbing.  


Before adhering the background to the inside of your A2 base, do two things.  1) Adhere the pattern piece to the front of the A2 base and cut the window with the 5062 Rounded Rectangle A2 Double Stitched Die.  2) Take your fun fold piece and glue the 1" fold piece onto the bottom on the back side of the A2 top fold base.  Adhere your background to the back side of your top fold base.  Add another piece of pattern paper (striped paper) to the front of the bottom fold.
I stamped the images onto copic friendly paper and colored with copic markers listed below.  I die cut the images with the corresponding dies that are included in the stamp sets.  I then adhered the front 1/2" fold piece to the back bottom of the front A2 card base.  Your project is now ready to decorate with the images that you have colored and cut.  I layered these images and placed the spiders throughout, placing some on the web background.  I tied a black string bow and placed a glow in the dark enamel dot in the middle of the bow. 

I hope my project inspires you to join in the current challenge - "Not Just Paper".  
Have a great day and keep creating!!

Copics used:  W0, W3, W5, R20, 
V15, V17
E21, E23, E25, E27, 
Y15, Y17
YG21, YG23, YG25, 
YR14, YR16, YR18
Thursday, September 5, 2024

Sweet Day

 Happy Thursday AI Friends!

Hurry! Hurry! Hurry! and get this SSE24A Sweet Bday stamp set from Simon Says Stamp.  This set is an exclusive for Simon Says Stamp and is only sold for a limited time so hurry to their website and get your set now. 


I stamped these images onto copic friendly paper and colored with my copic markers listed below.  I used #5873 Mini Birthday PP to paper piece the shirts on these cute ladies.  This just adds a cute pattern to their outfits.  I made a basic A2 top folding card and adhered it to a 5 1/2" x 8" (scored and folded at 6") base to create a fun standing card.  I fussy cut and popped up the donut stack on the bottom right of the card to add more fun donuts.  

Love this image!

Hope you enjoyed my card!

Keep creating!!

Copics used:  E000, E00, E01, E11
E21, E23, E25, E33, E35, E51, E53
C0, C1, C2, C3
YR20, YR21
R20, R22, R24
BV01, BV02, BV04
B91, B93, B95